Teaching Logic by using Pear Deck

So Yesterday Julie Ruelbach introduced me to Pear Deck. Pear Deck makes notes interactive and it is integrated with google apps. All students sign in through their google drive and all the data I receive from my students can be exported to my to my google drive.

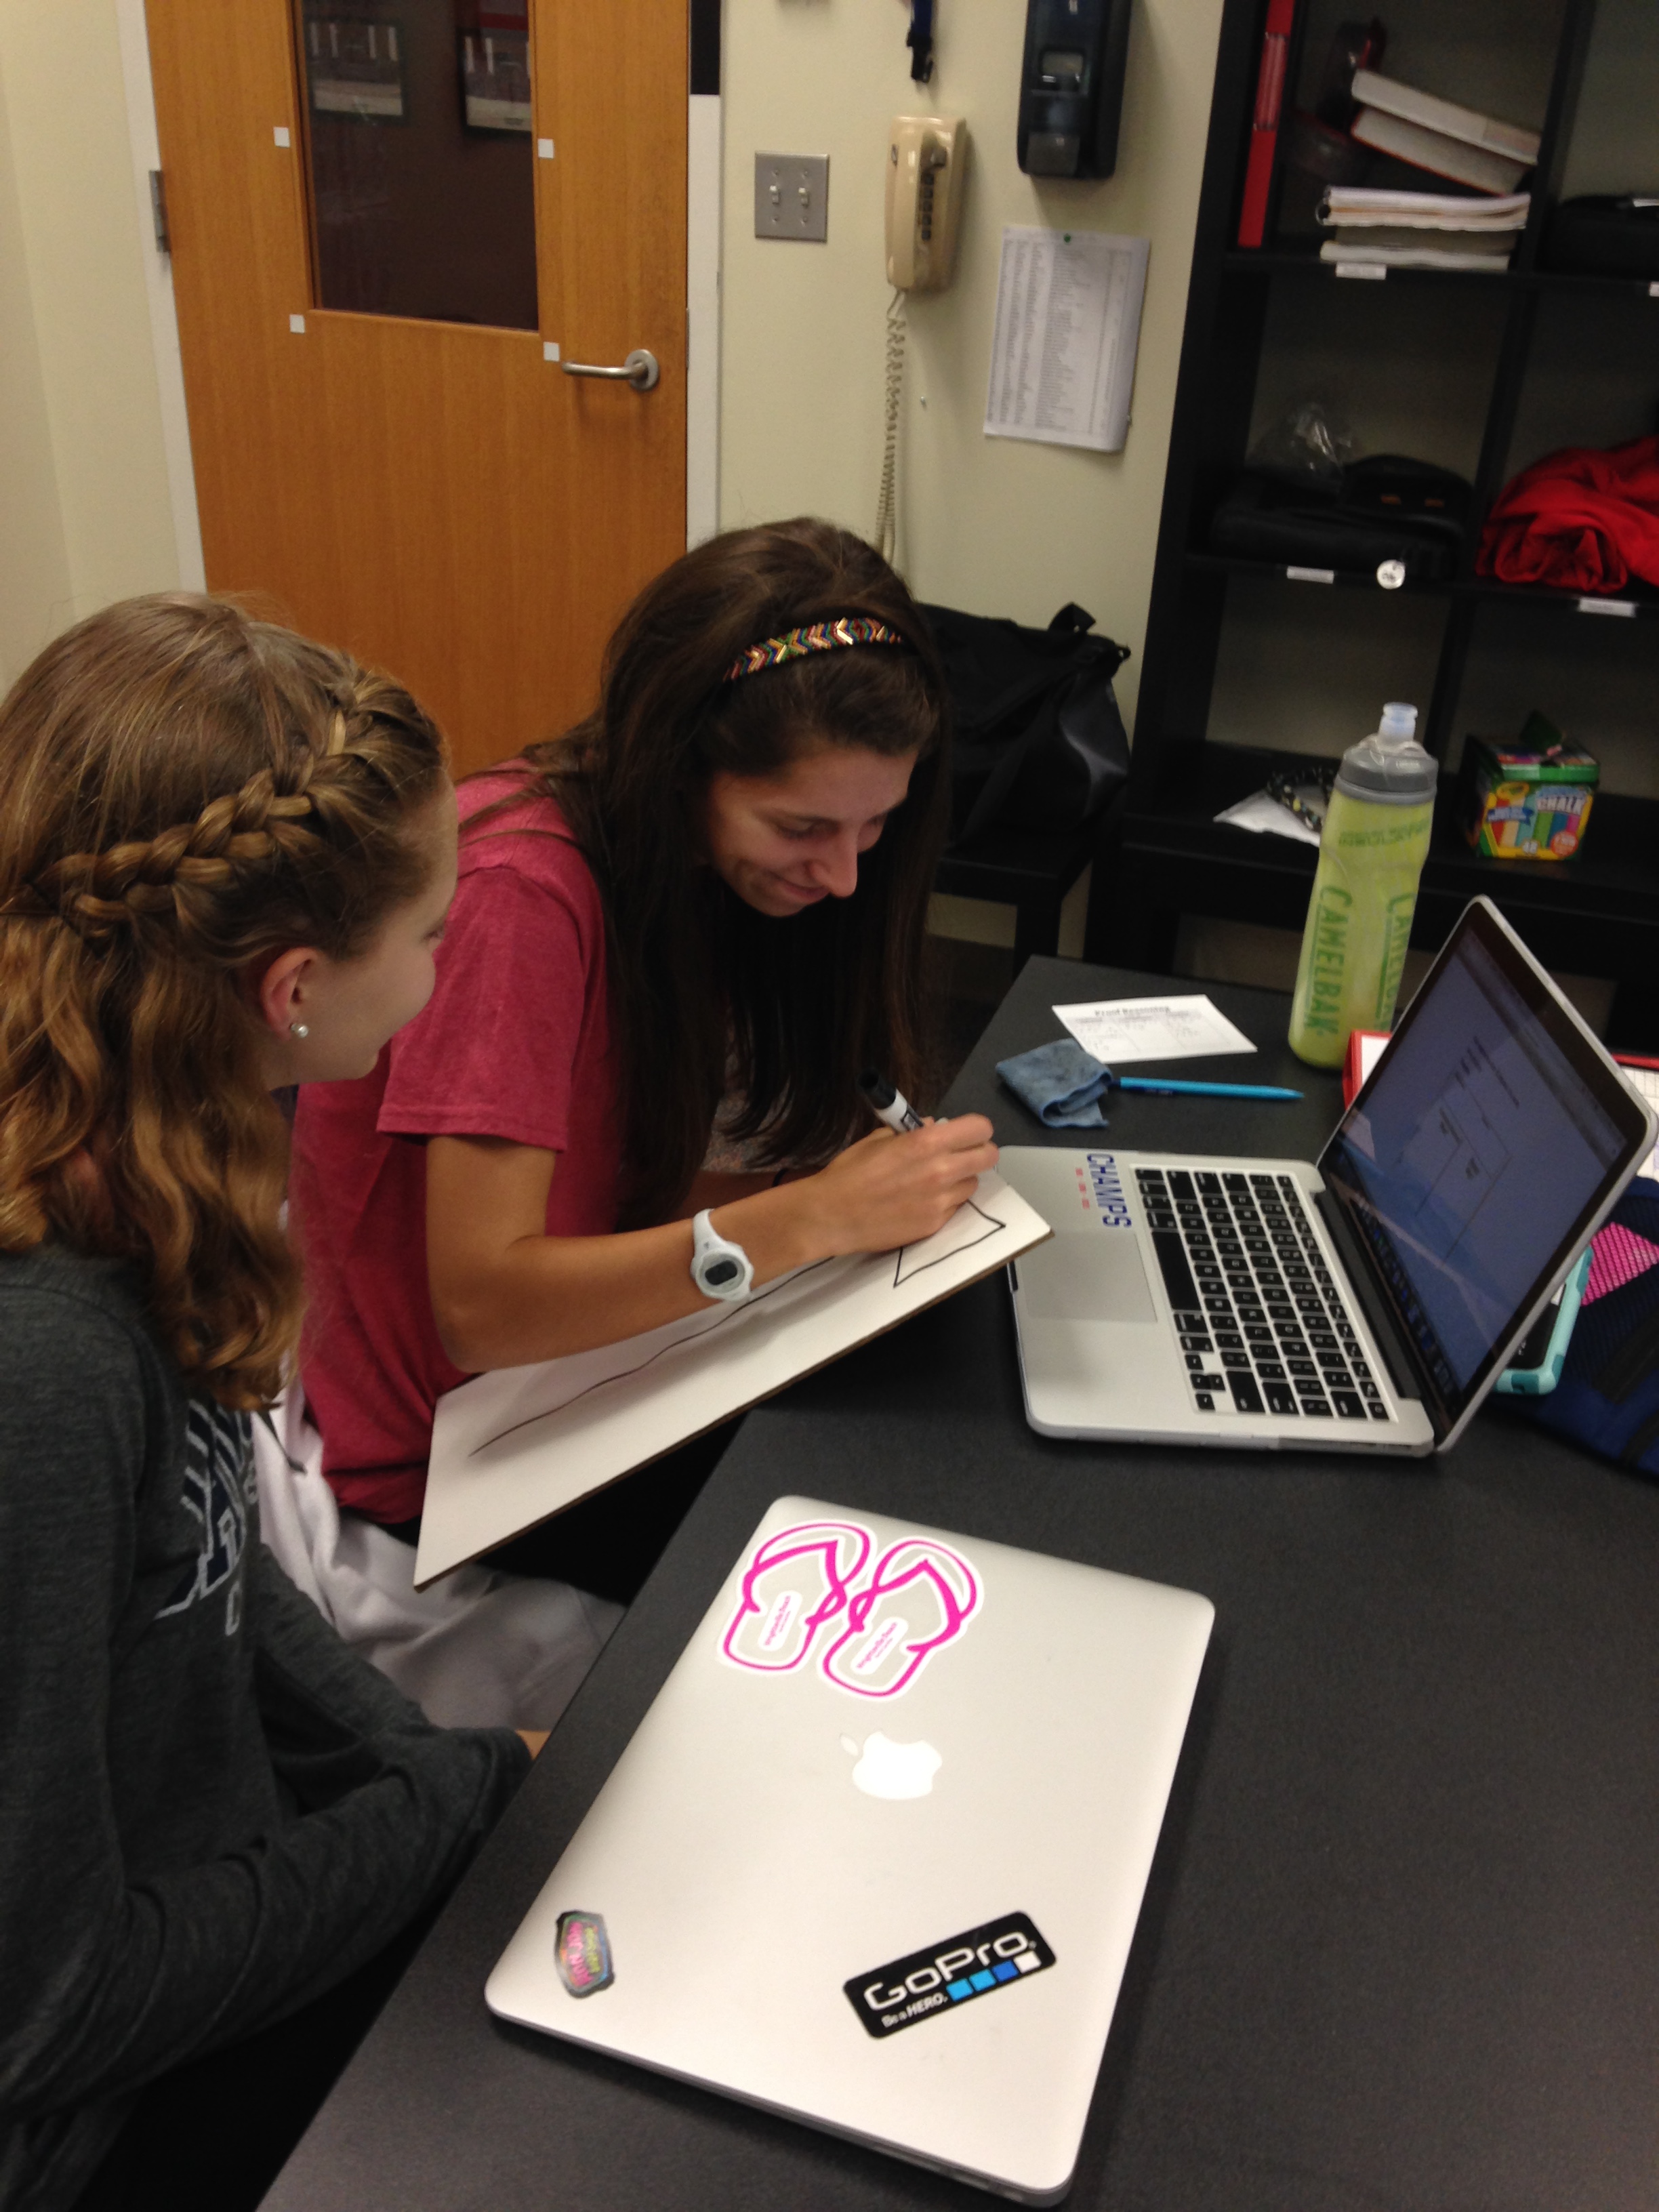
After I saw it demonstrated in Julie’s Algebra 2 class yesterday, I decided I wanted to try it out in my Alg 1 class. I used it briefly in my algebra 1 class to look at graphing functions, and my students LOVED IT. I decided to try in out in my geometry class today. Students follow along and interact in the lesson on their computers or phone.

Today’s Agenda: 

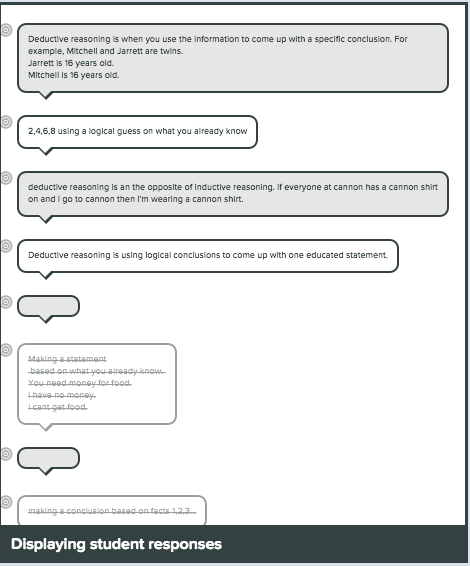
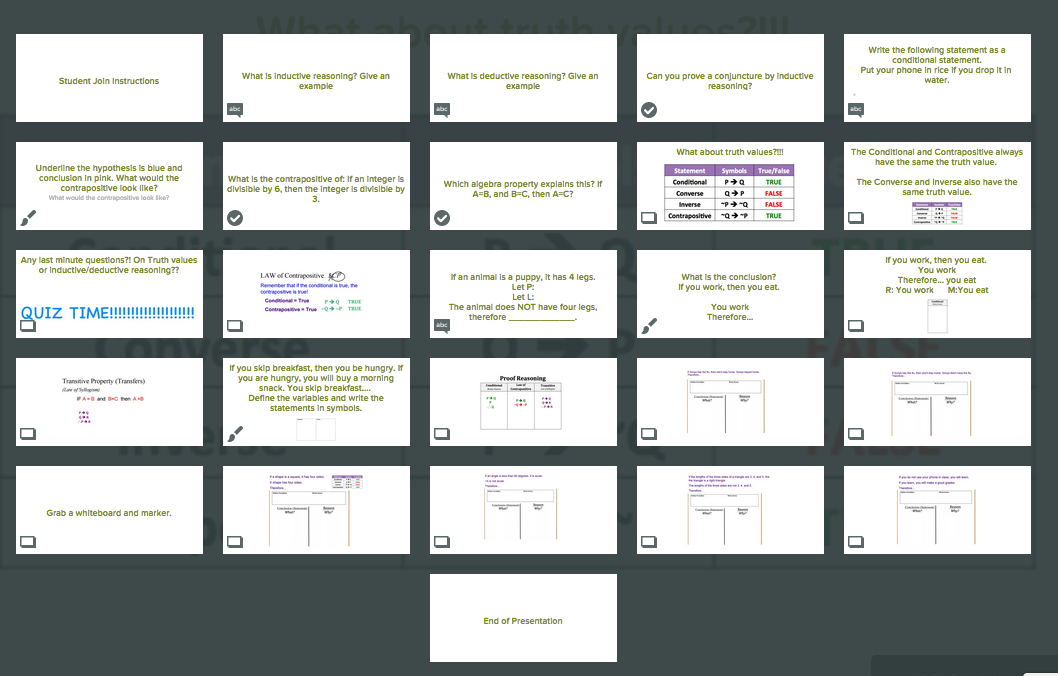
Formative Assesment:  What is deductive and inductive reasoning? Provide examples of each. Students responses showed up on the board. I had the Smart Board on student view so every students response showed up on the board, but no one could see who posted what. I could  hide students responses and wait to show them until I wanted them to show up on the board. I could also freeze student responses to keep students from changing their answers. THIS WAS GREAT! I was giving a quiz halfway through class and this was a great way for the whole class to review and for me to see what students understood. This also got students ASKING QUESTIONS and really participating in the review.

Screen Shot 2015-09-25 at 6.11.23 PMScreen Shot 2015-09-25 at 5.46.03 PM

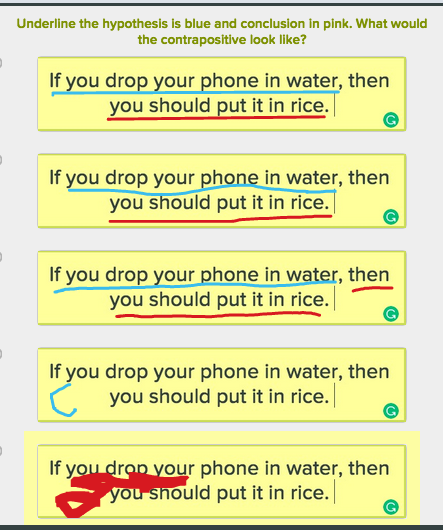
Other questions asked: Underline the hypothesis in blue and conclusion in red of the statement.  Students could draw on the statements and their responses showed up on the Smart board. So cool!!

Screen Shot 2015-09-25 at 5.45.53 PM IMG_6048

Quiz: After we did a quick review of the lessons from the past few days we had a quiz. I quizzed not using pear deck, but when students finished I had them reopen their computers so we could finish our lesson.

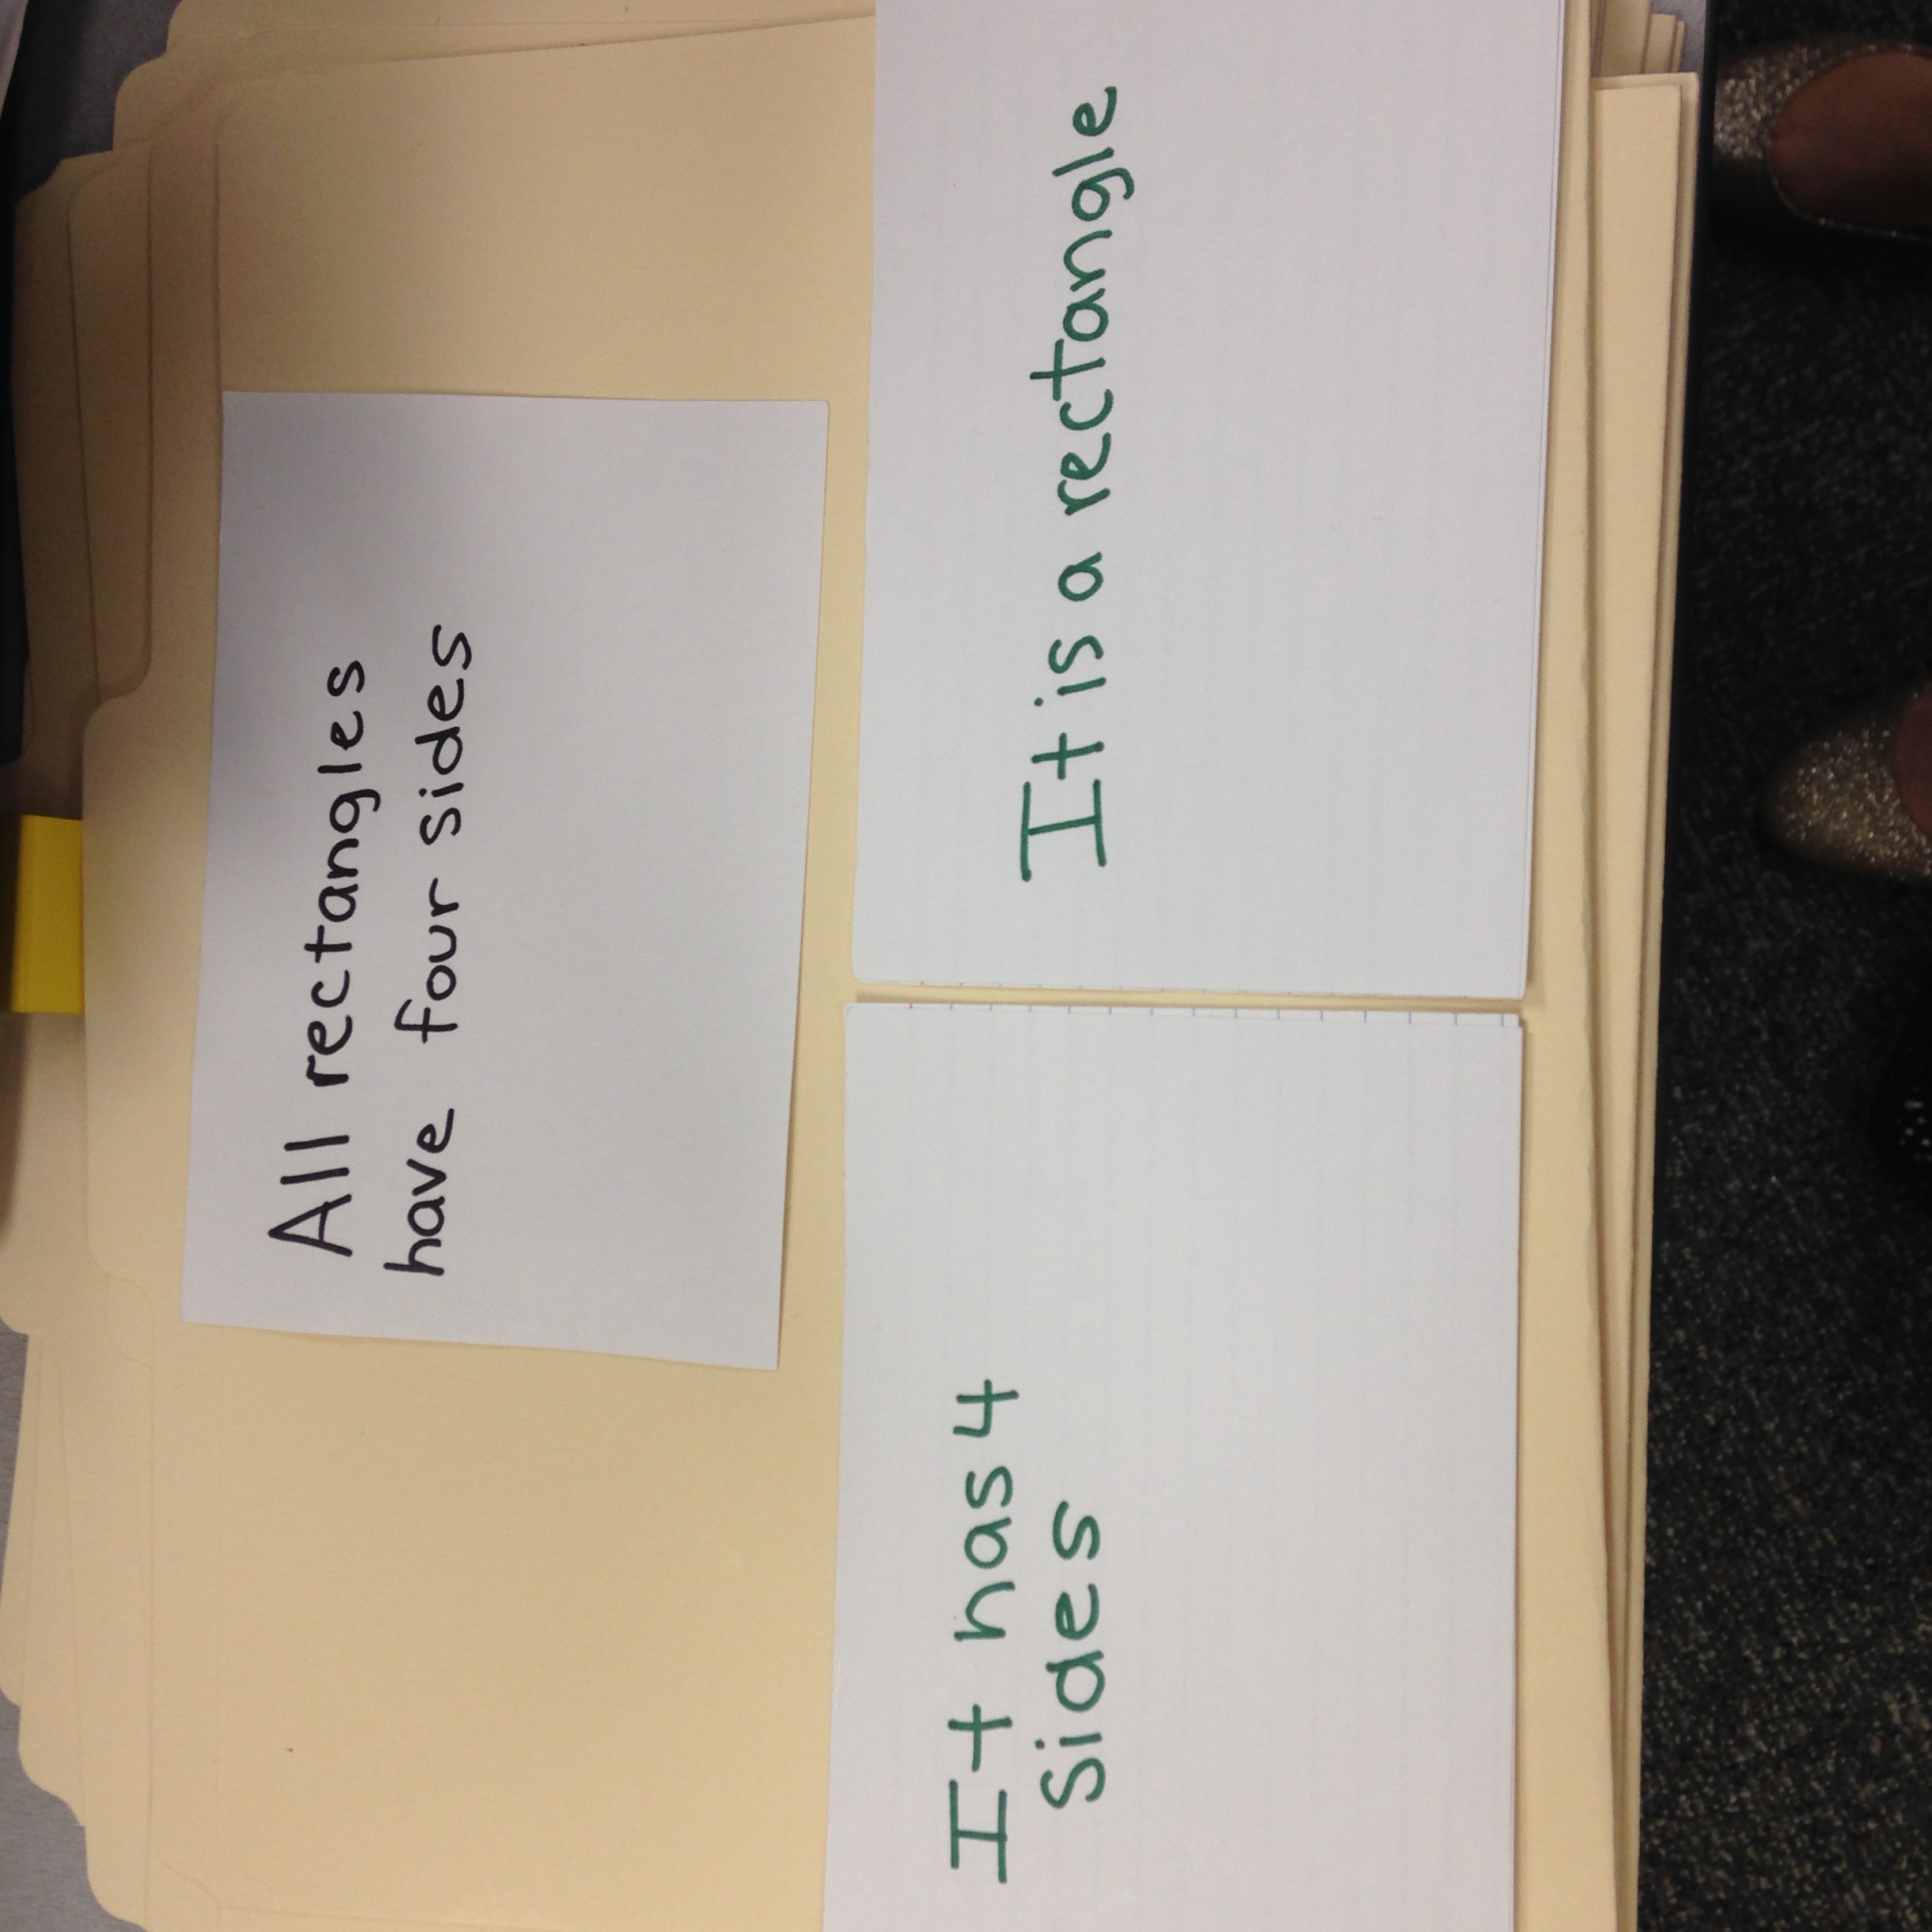
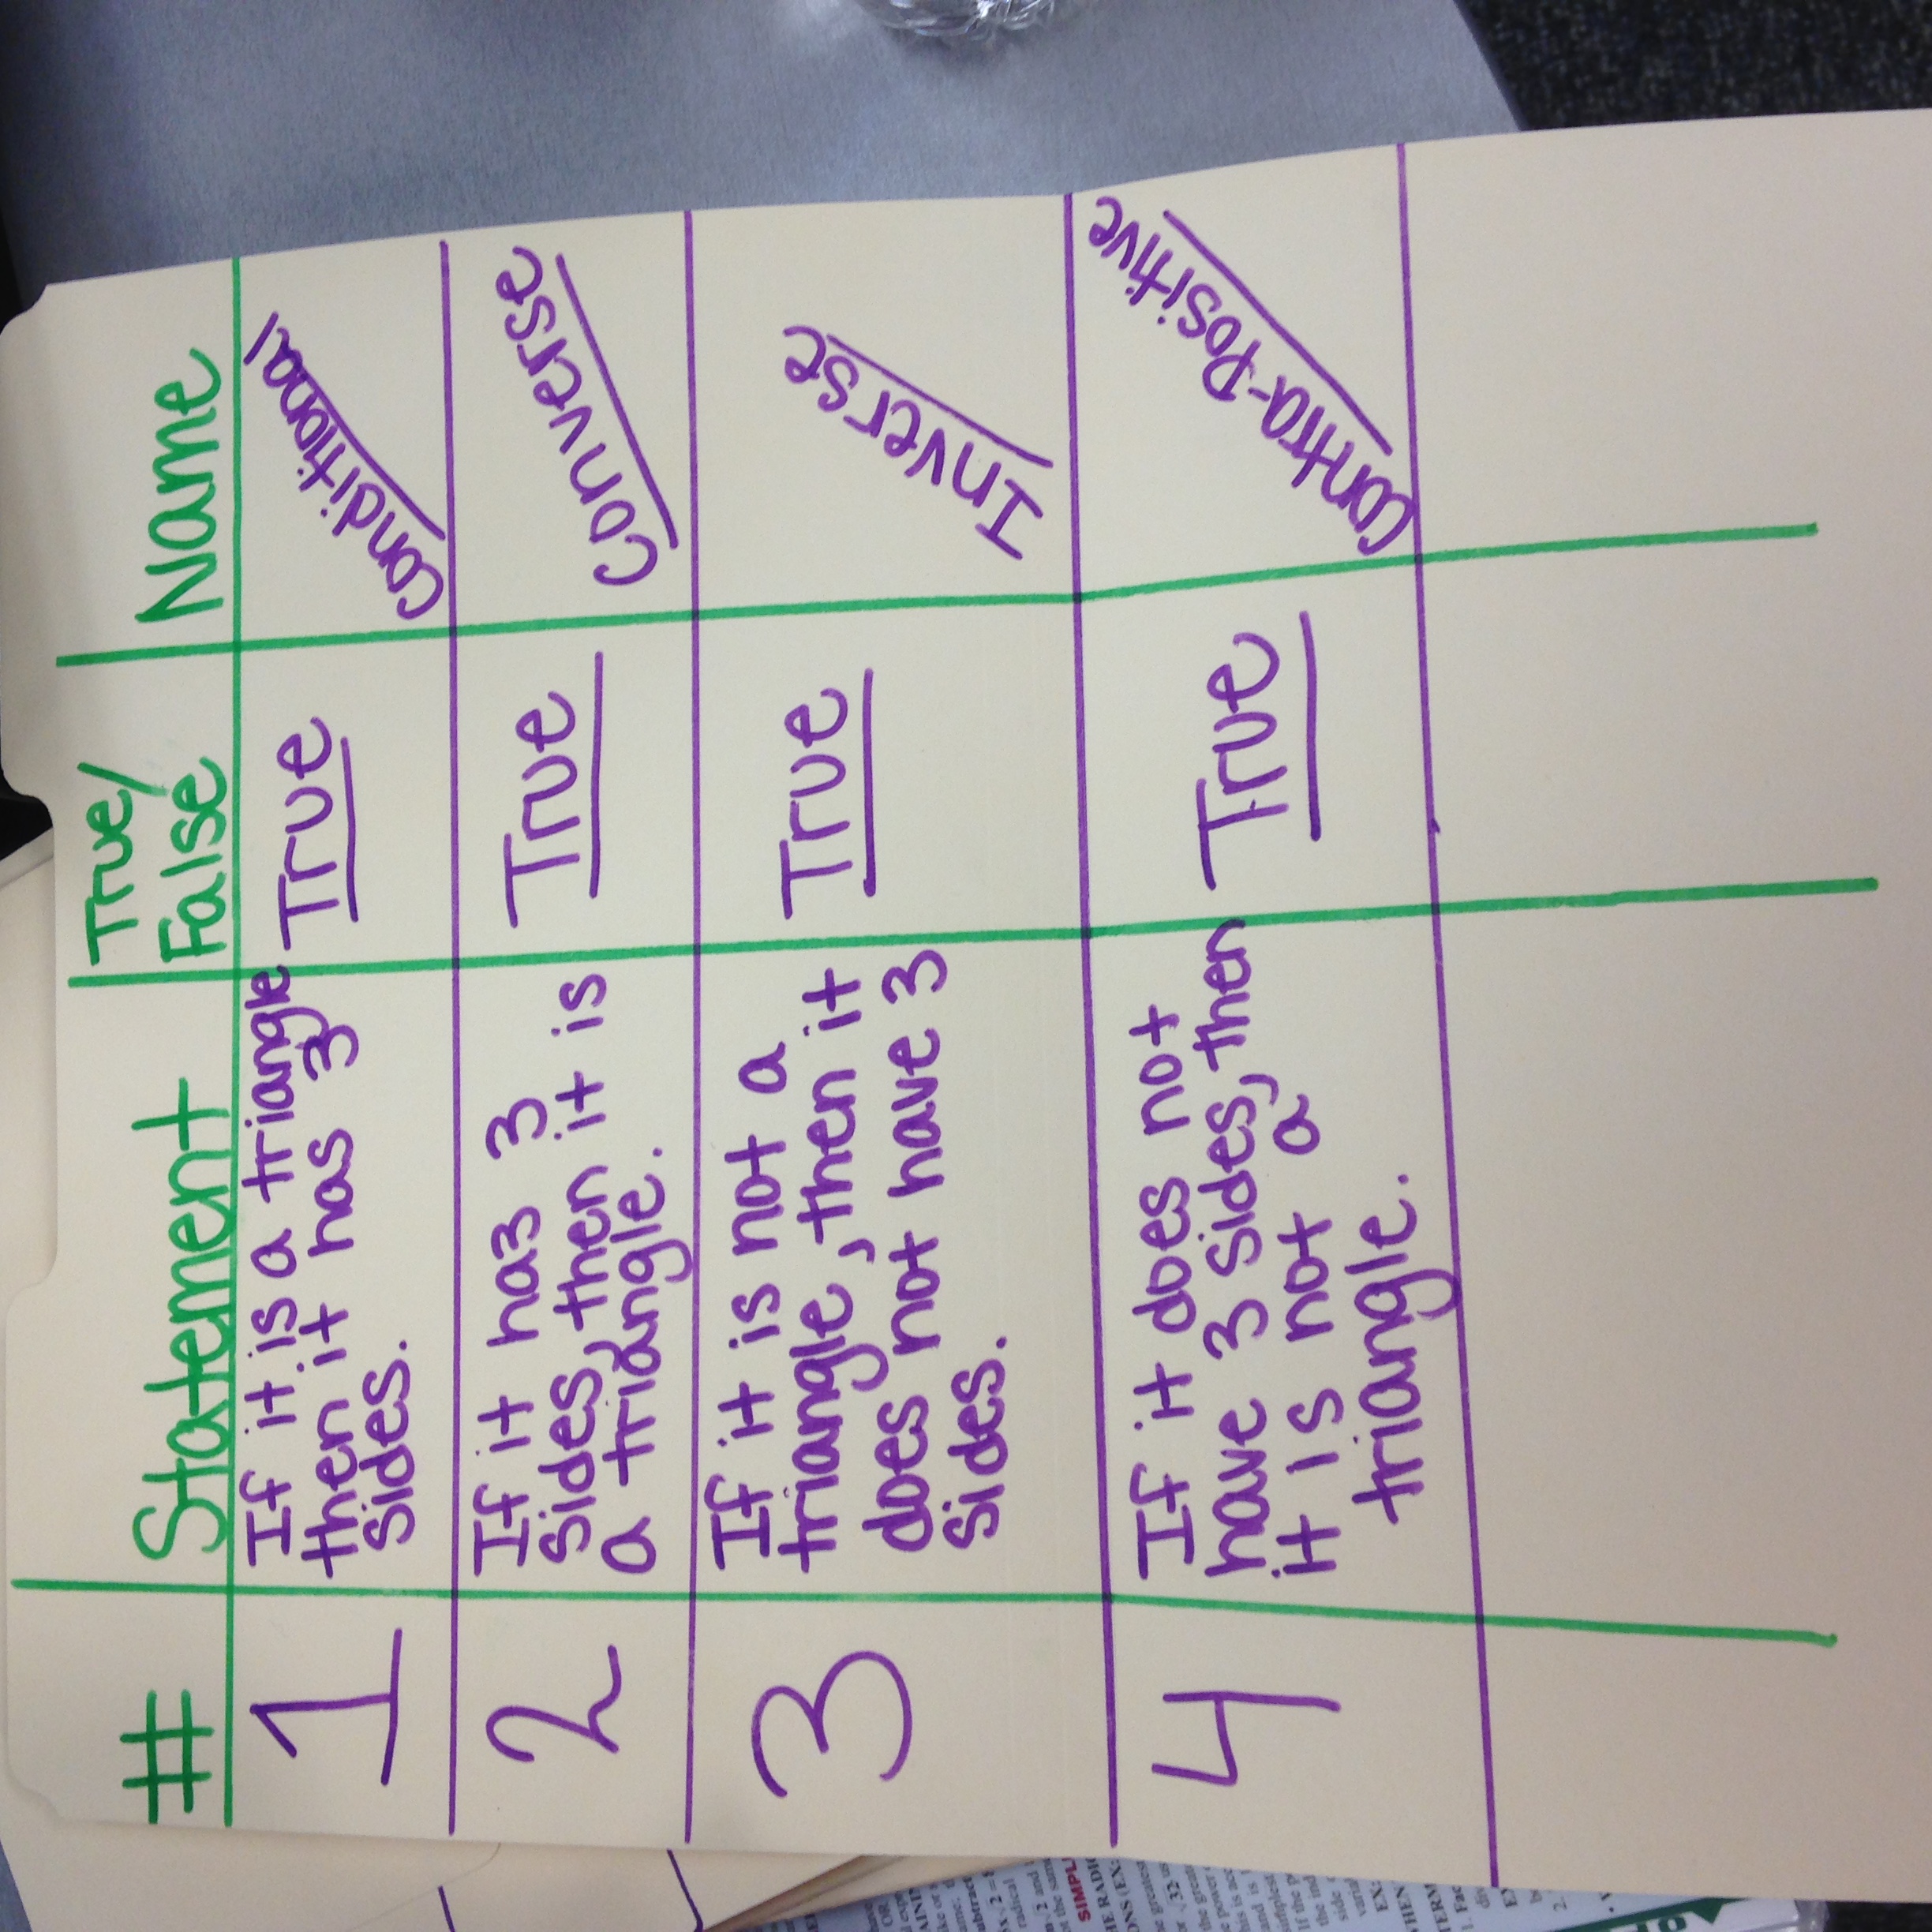
New lesson: During this lesson I introduced Law of Contrapositive, Law of Syllogism. and Modus Ponens. After giving them these laws, we used our knowledge to create proofs on Pear Deck. It was great to see what they could do before we worked through a proof together!!

Screen Shot 2015-09-25 at 5.47.16 PM Screen Shot 2015-09-25 at 5.48.41 PM Screen Shot 2015-09-25 at 5.48.29 PM Screen Shot 2015-09-25 at 5.58.55 PM

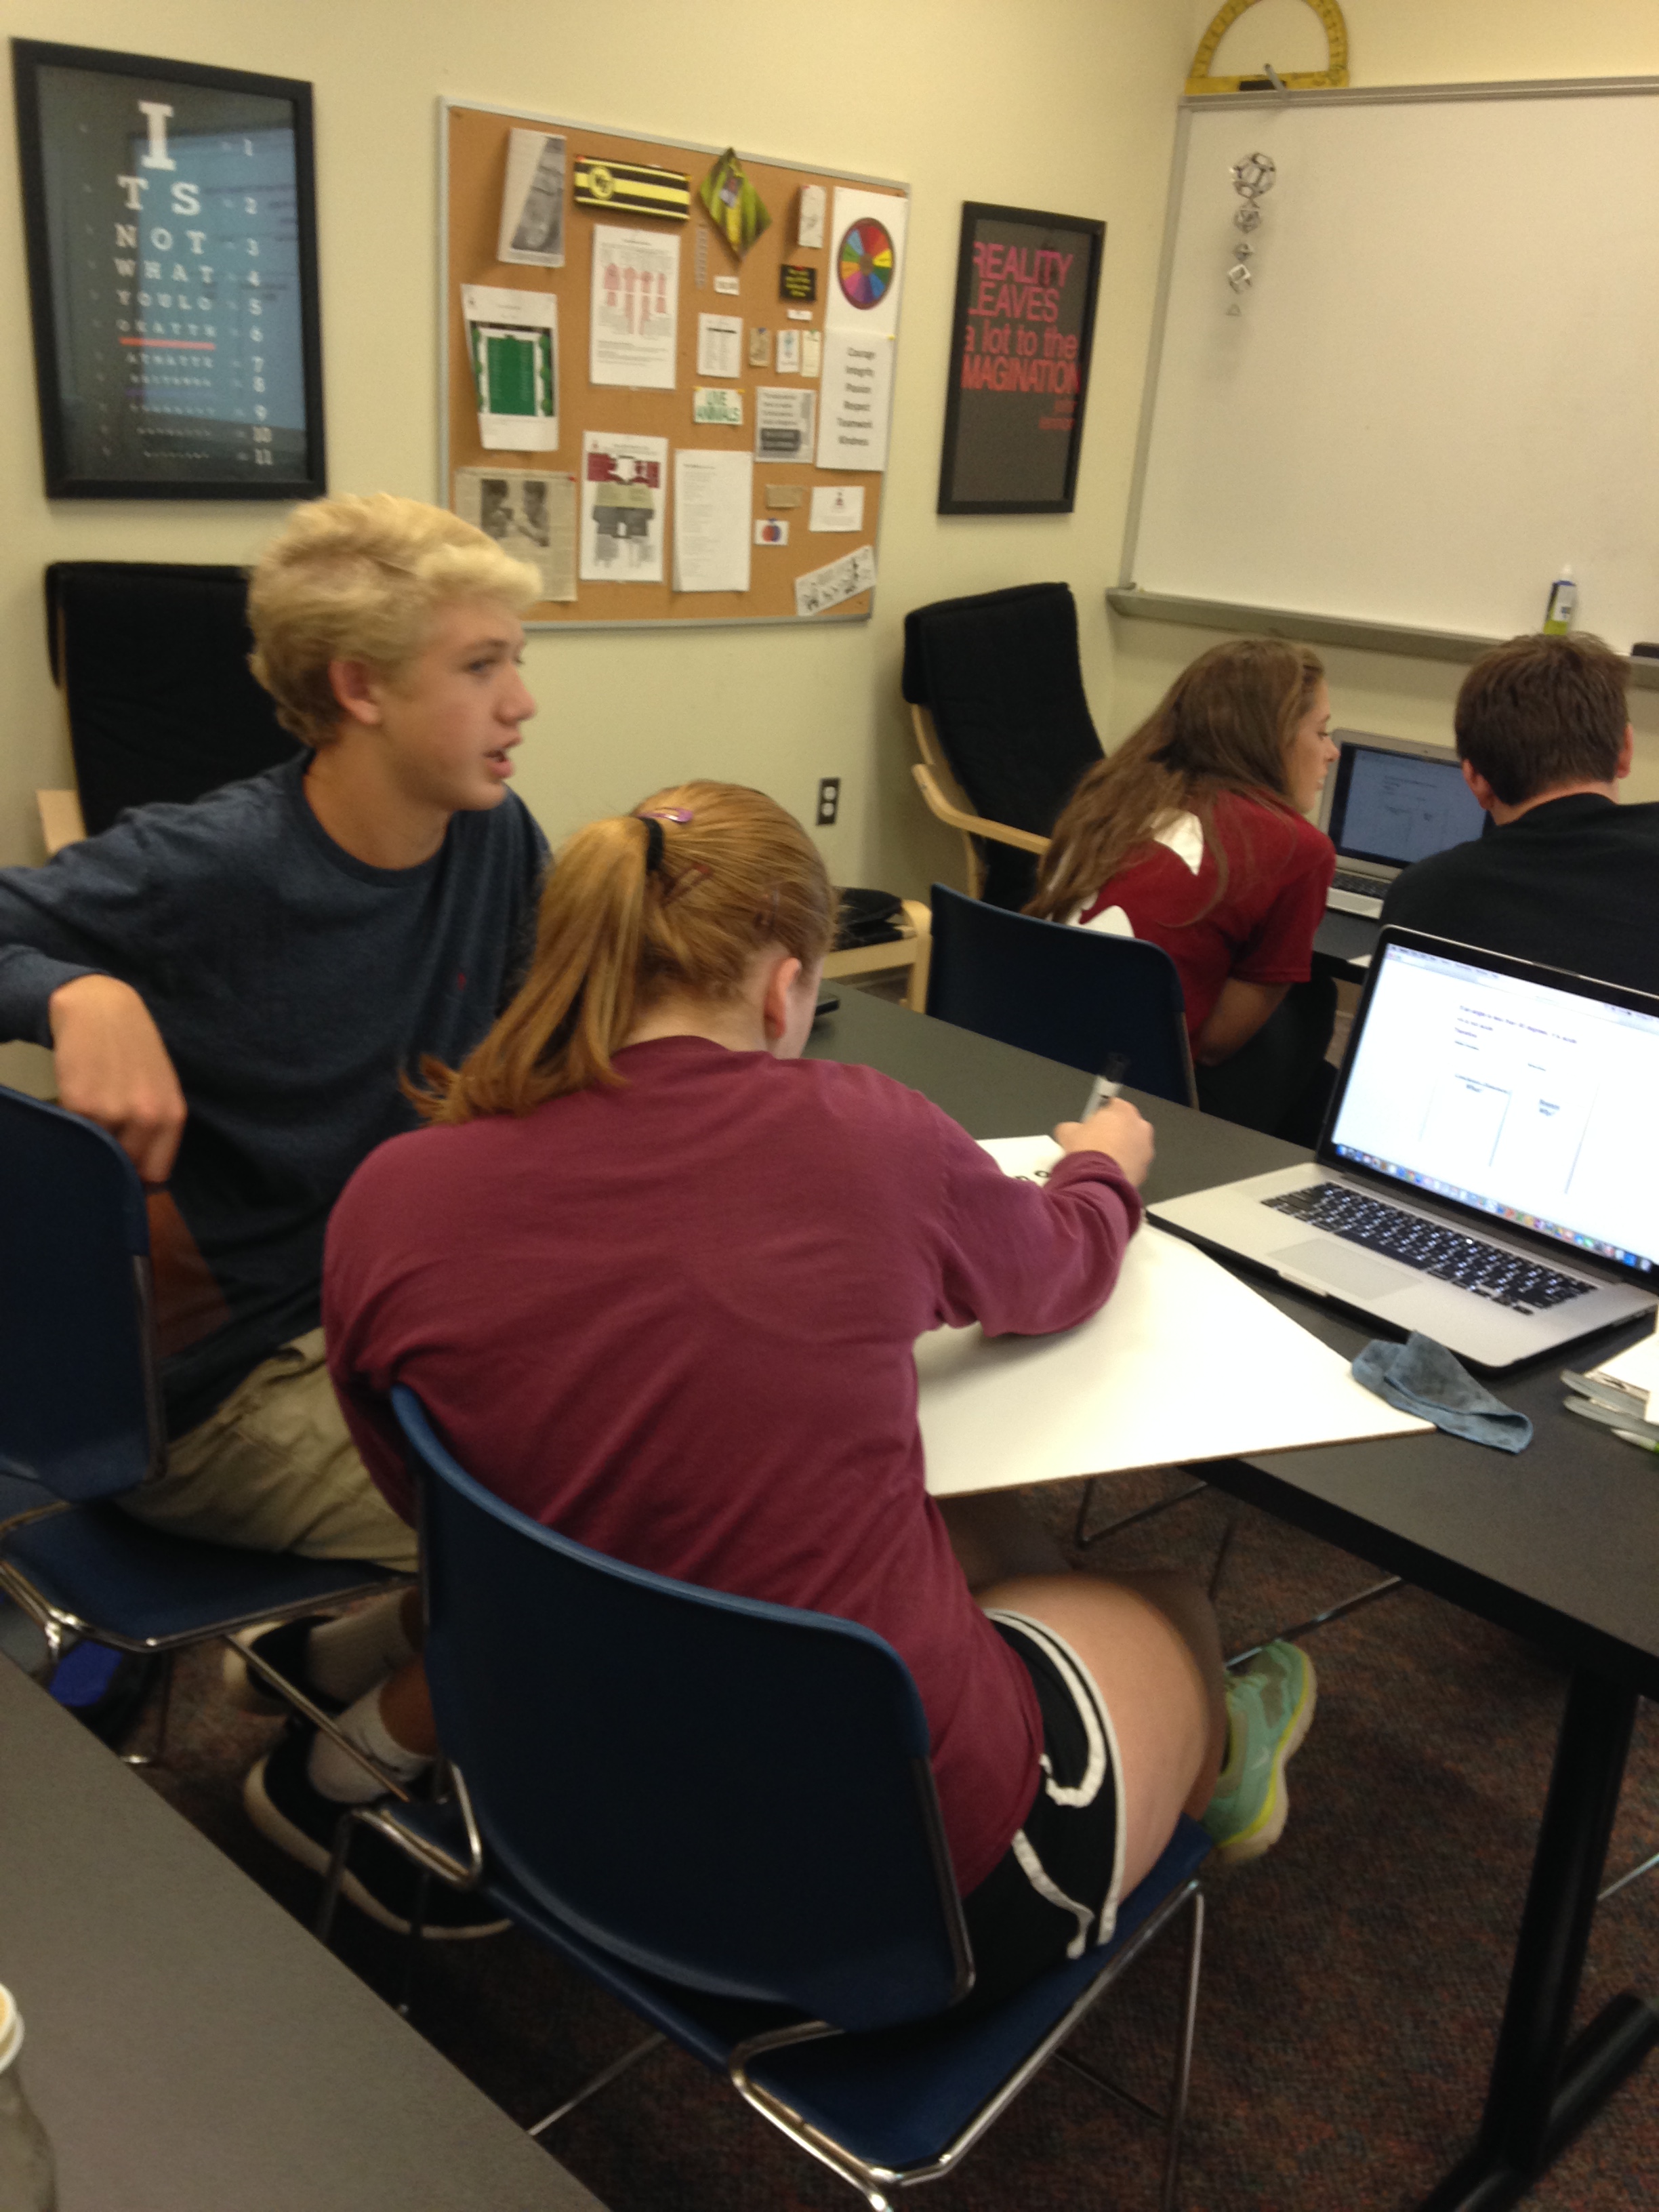
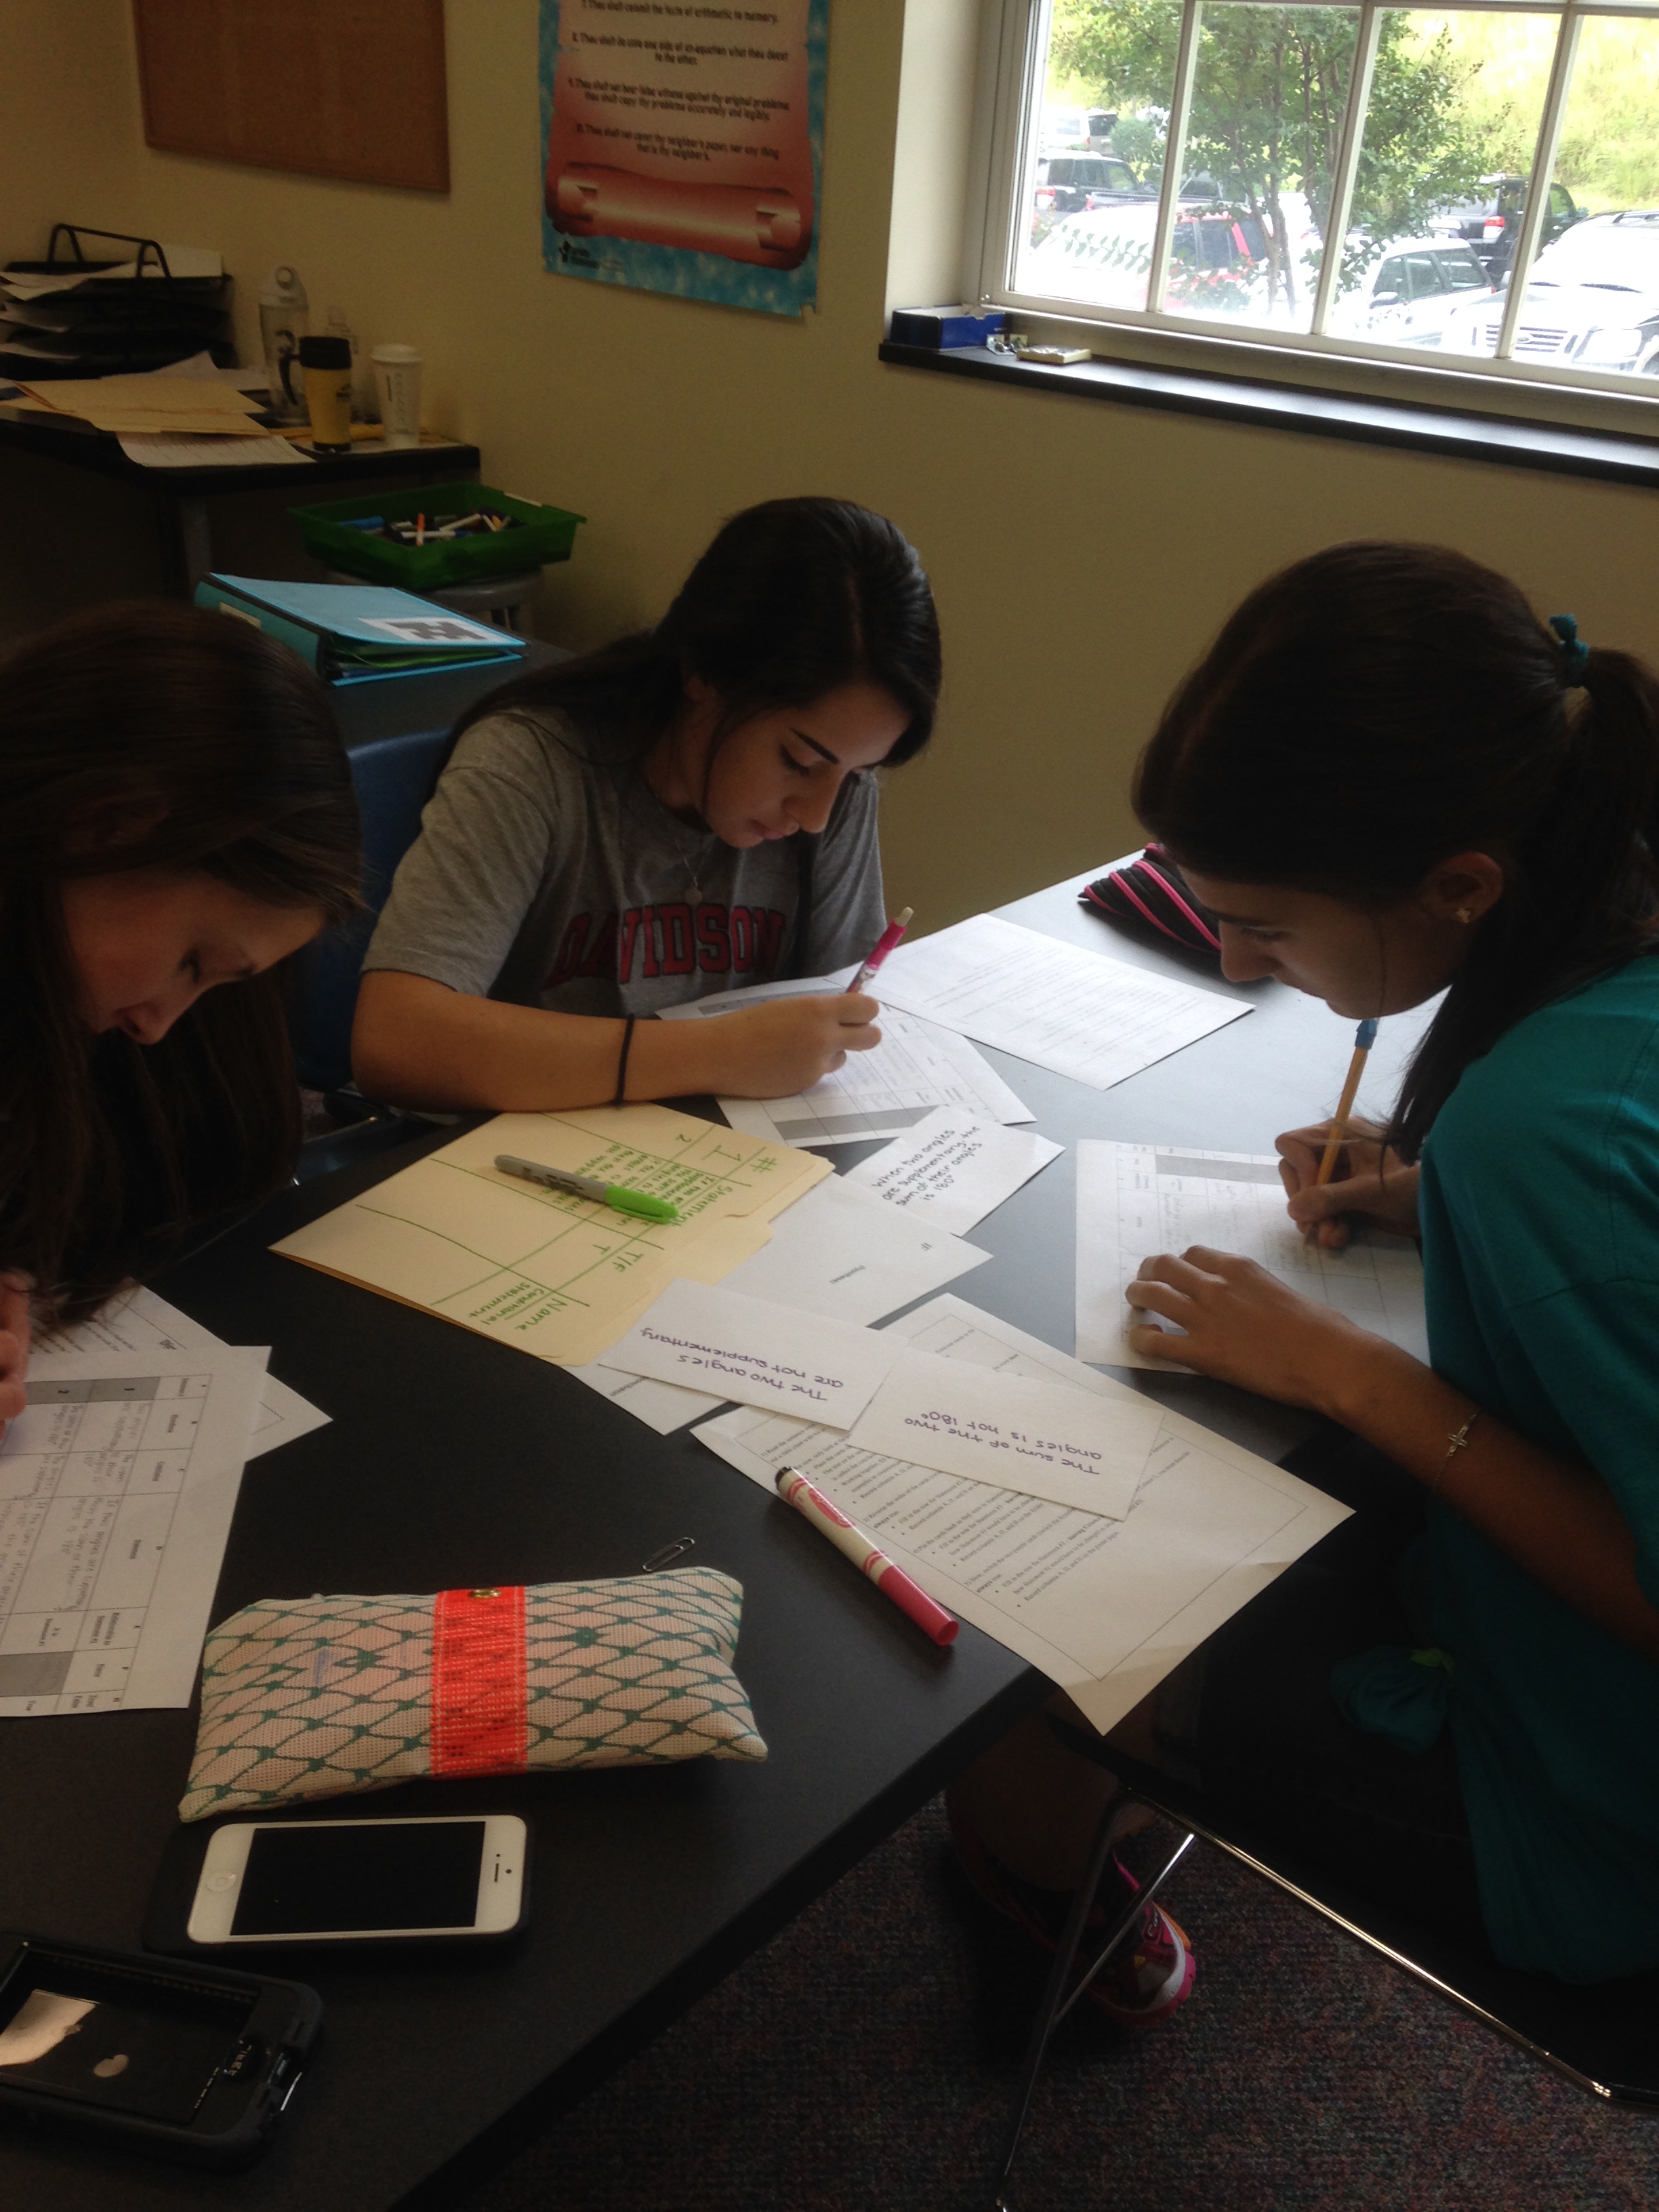
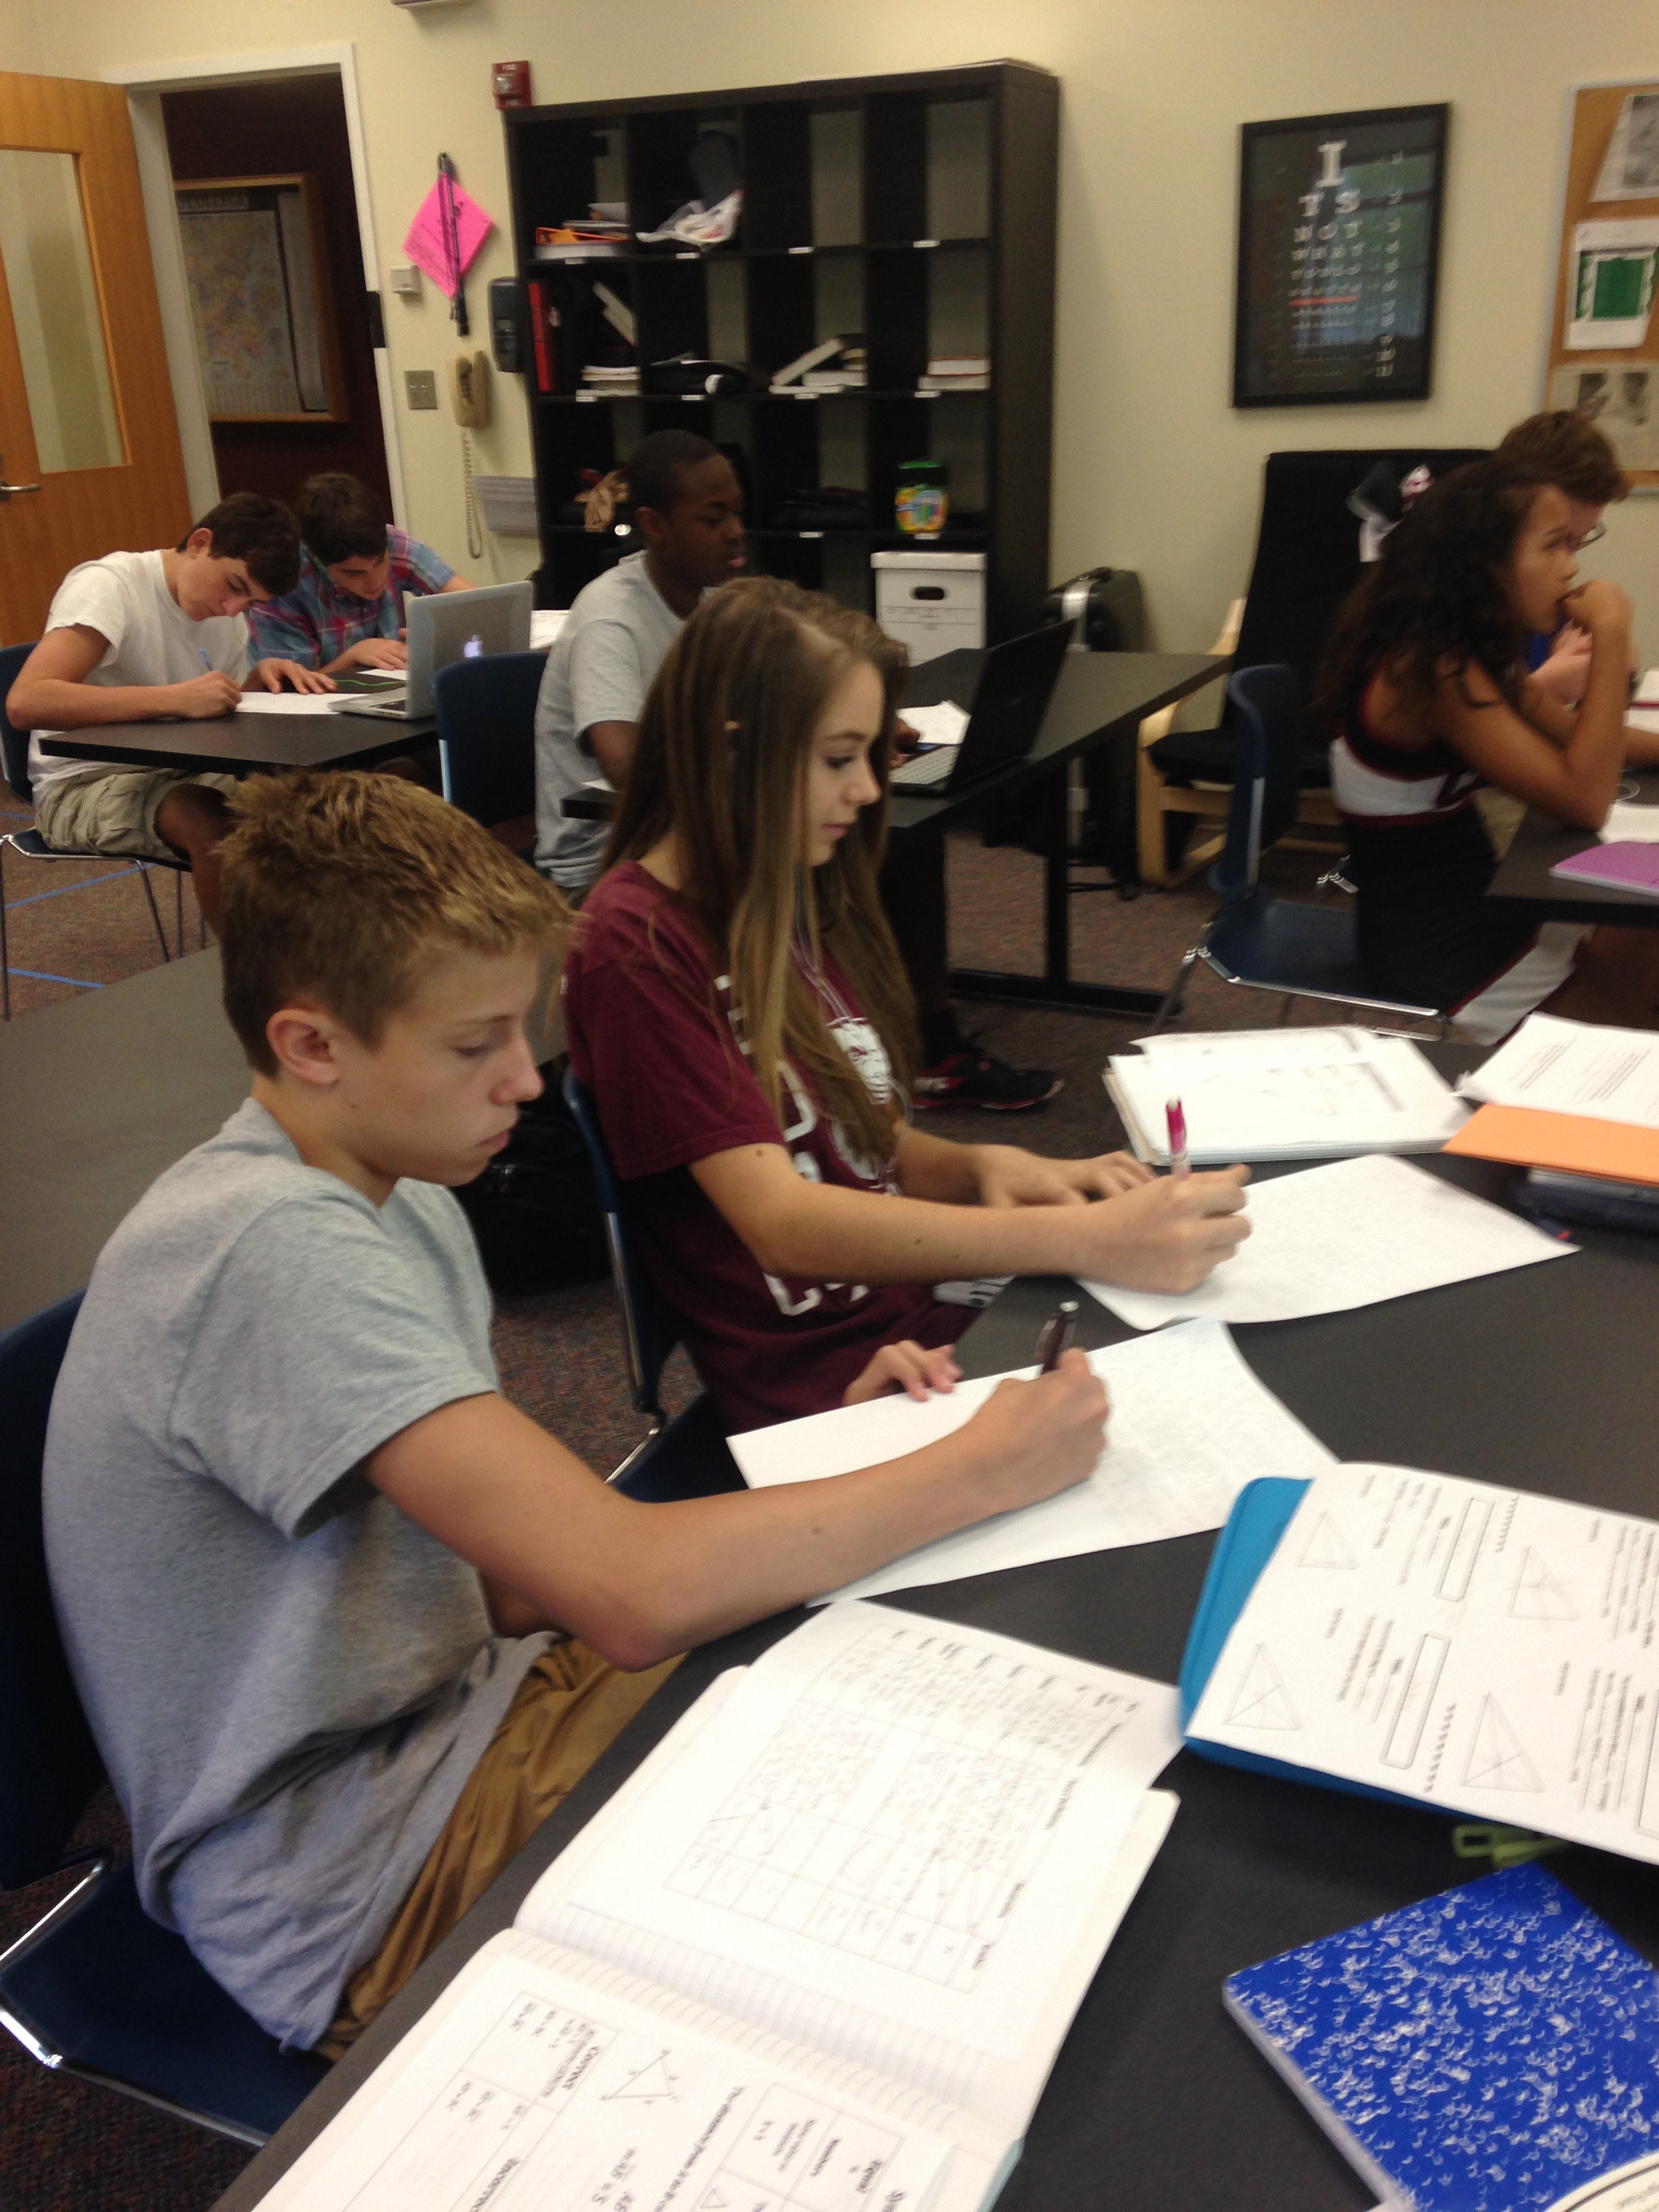
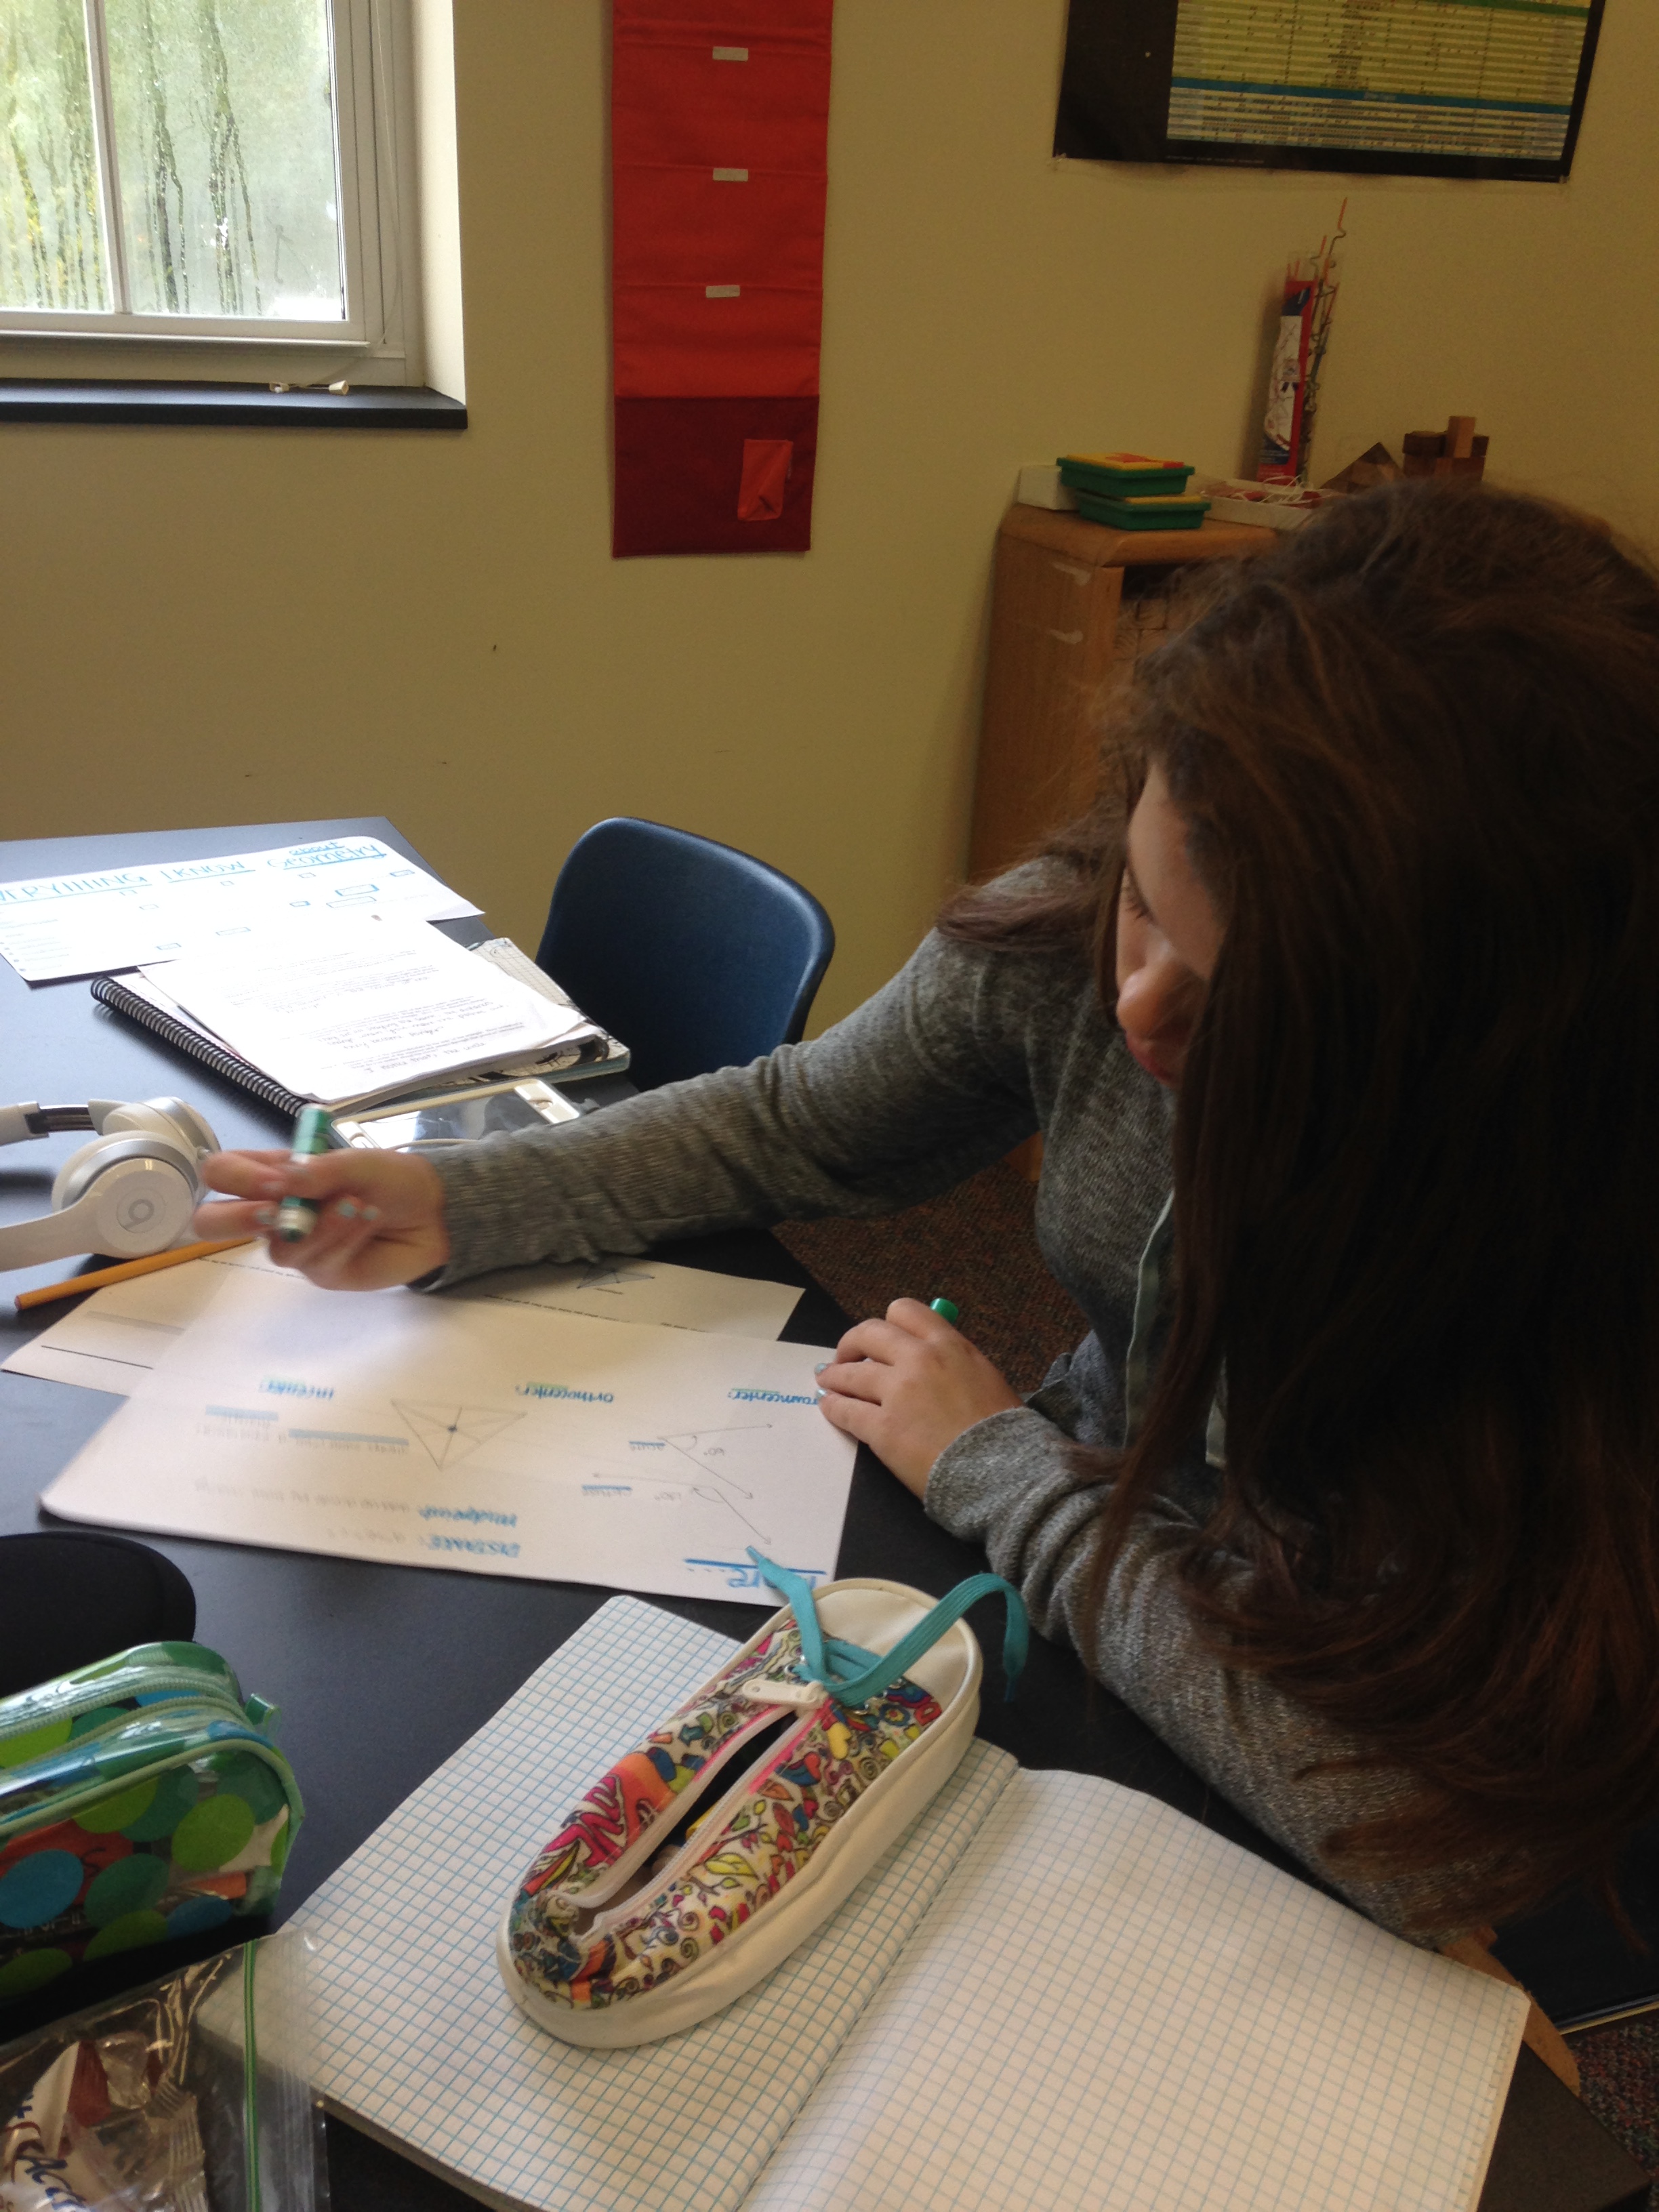
After they completed one proof on their own, I completed two with them. I then put more examples on my Pear Deck. However, these were not interactive slides. Students grabbed a white board to share with their partner and they worked through different proofs together on their whiteboards. During this time, I was able to walk around and see students understanding of the lesson.

IMG_6063 IMG_6059

This was the most interactive day of taking notes!! I had students tell me to “do this again! This was fun!!” It was amazing on how engaged they were in the lesson. Students were able to take notes during the entire class, and I was able to see students progress the entire class!

Even better! I can go back and look at every class and every students’ work throughout the lesson! I can also export this onto my google drive! I’m definitely going to use this in my classes more often. Currently, I am using a 30-day free trial but I trying to convince my school to purchase a license. It’s amazing!

IMG_6057Screen Shot 2015-09-25 at 1.54.39 PM

Converse, Inverse, Contrapostive Exploration

Converse, Inverse, Contrapostive Activity from Sam Shah and PCMI

I wanted to introduce Converse, Inverse, and Contrapositive in a way that had students discover what they were before I introduced them to any new vocab.  This activity is aweome!!!

I started out by letting students pick their own  partner. Each group had two small charts, an “if-then” sheet, 1 manilla folder (my Ss actually thought I misprounounced vanilla), two markers, and one directions sheet.  I next walked around and handed each group three cards. Once card had the conditional statement writen in black sharpee. The next card had a hypothesis written on one side in green and the negation of the hypothesis on the other side in purple. The last card had the conclusion written on one side in green and the negation of the conclusion on the other side in purple. I glued together two index cards to create these cards because the sharpee markers bled through the card. I reccomend telling your students NOT to tear the cards or you should lamenate your cards together. Even with this warning I had students trying to seperate the card.

IMG_6051 IMG_6050

Next I had students following directions on the sheet. They had to identify the conclusion and hypothesis for the original statement and correctly order their green cards on the if-then chart. They had to identitfy if the statement was true or false. I then had them switch the order and record what they saw on their small chart (hypothesis, conclusion, what happened compared to conditional, truth value). I then had them put the cards back to where they started and had them turn them over to the purple sides. I had them move them around so they discovered Converse, Inverse, and Contrapositive. I then had them copy their four statements and truth values onto their manilla folder. I also had them make a row for the “name” but told them to leave it blank.

IMG_6023 IMG_6041 IMG_6033 IMG_6029

I gave them 25 minutes to do this. When they finished we came together and filled out a chart together and I introduced them to the names of the things they were doing. I also gave them ways to

Students then passed around their folders to other groups so they could see other examples. I LOVED this activity. I think that it was a great engaging way to introduce Converse, Inverse, and Contrapositive.

IMG_6045 IMG_6042

Intro to Logic… Reasoning and Conditional Statements

Logic… OH BOY.  Teaching logic is like introducing an entire new languScreen Shot 2015-09-22 at 6.57.23 PM
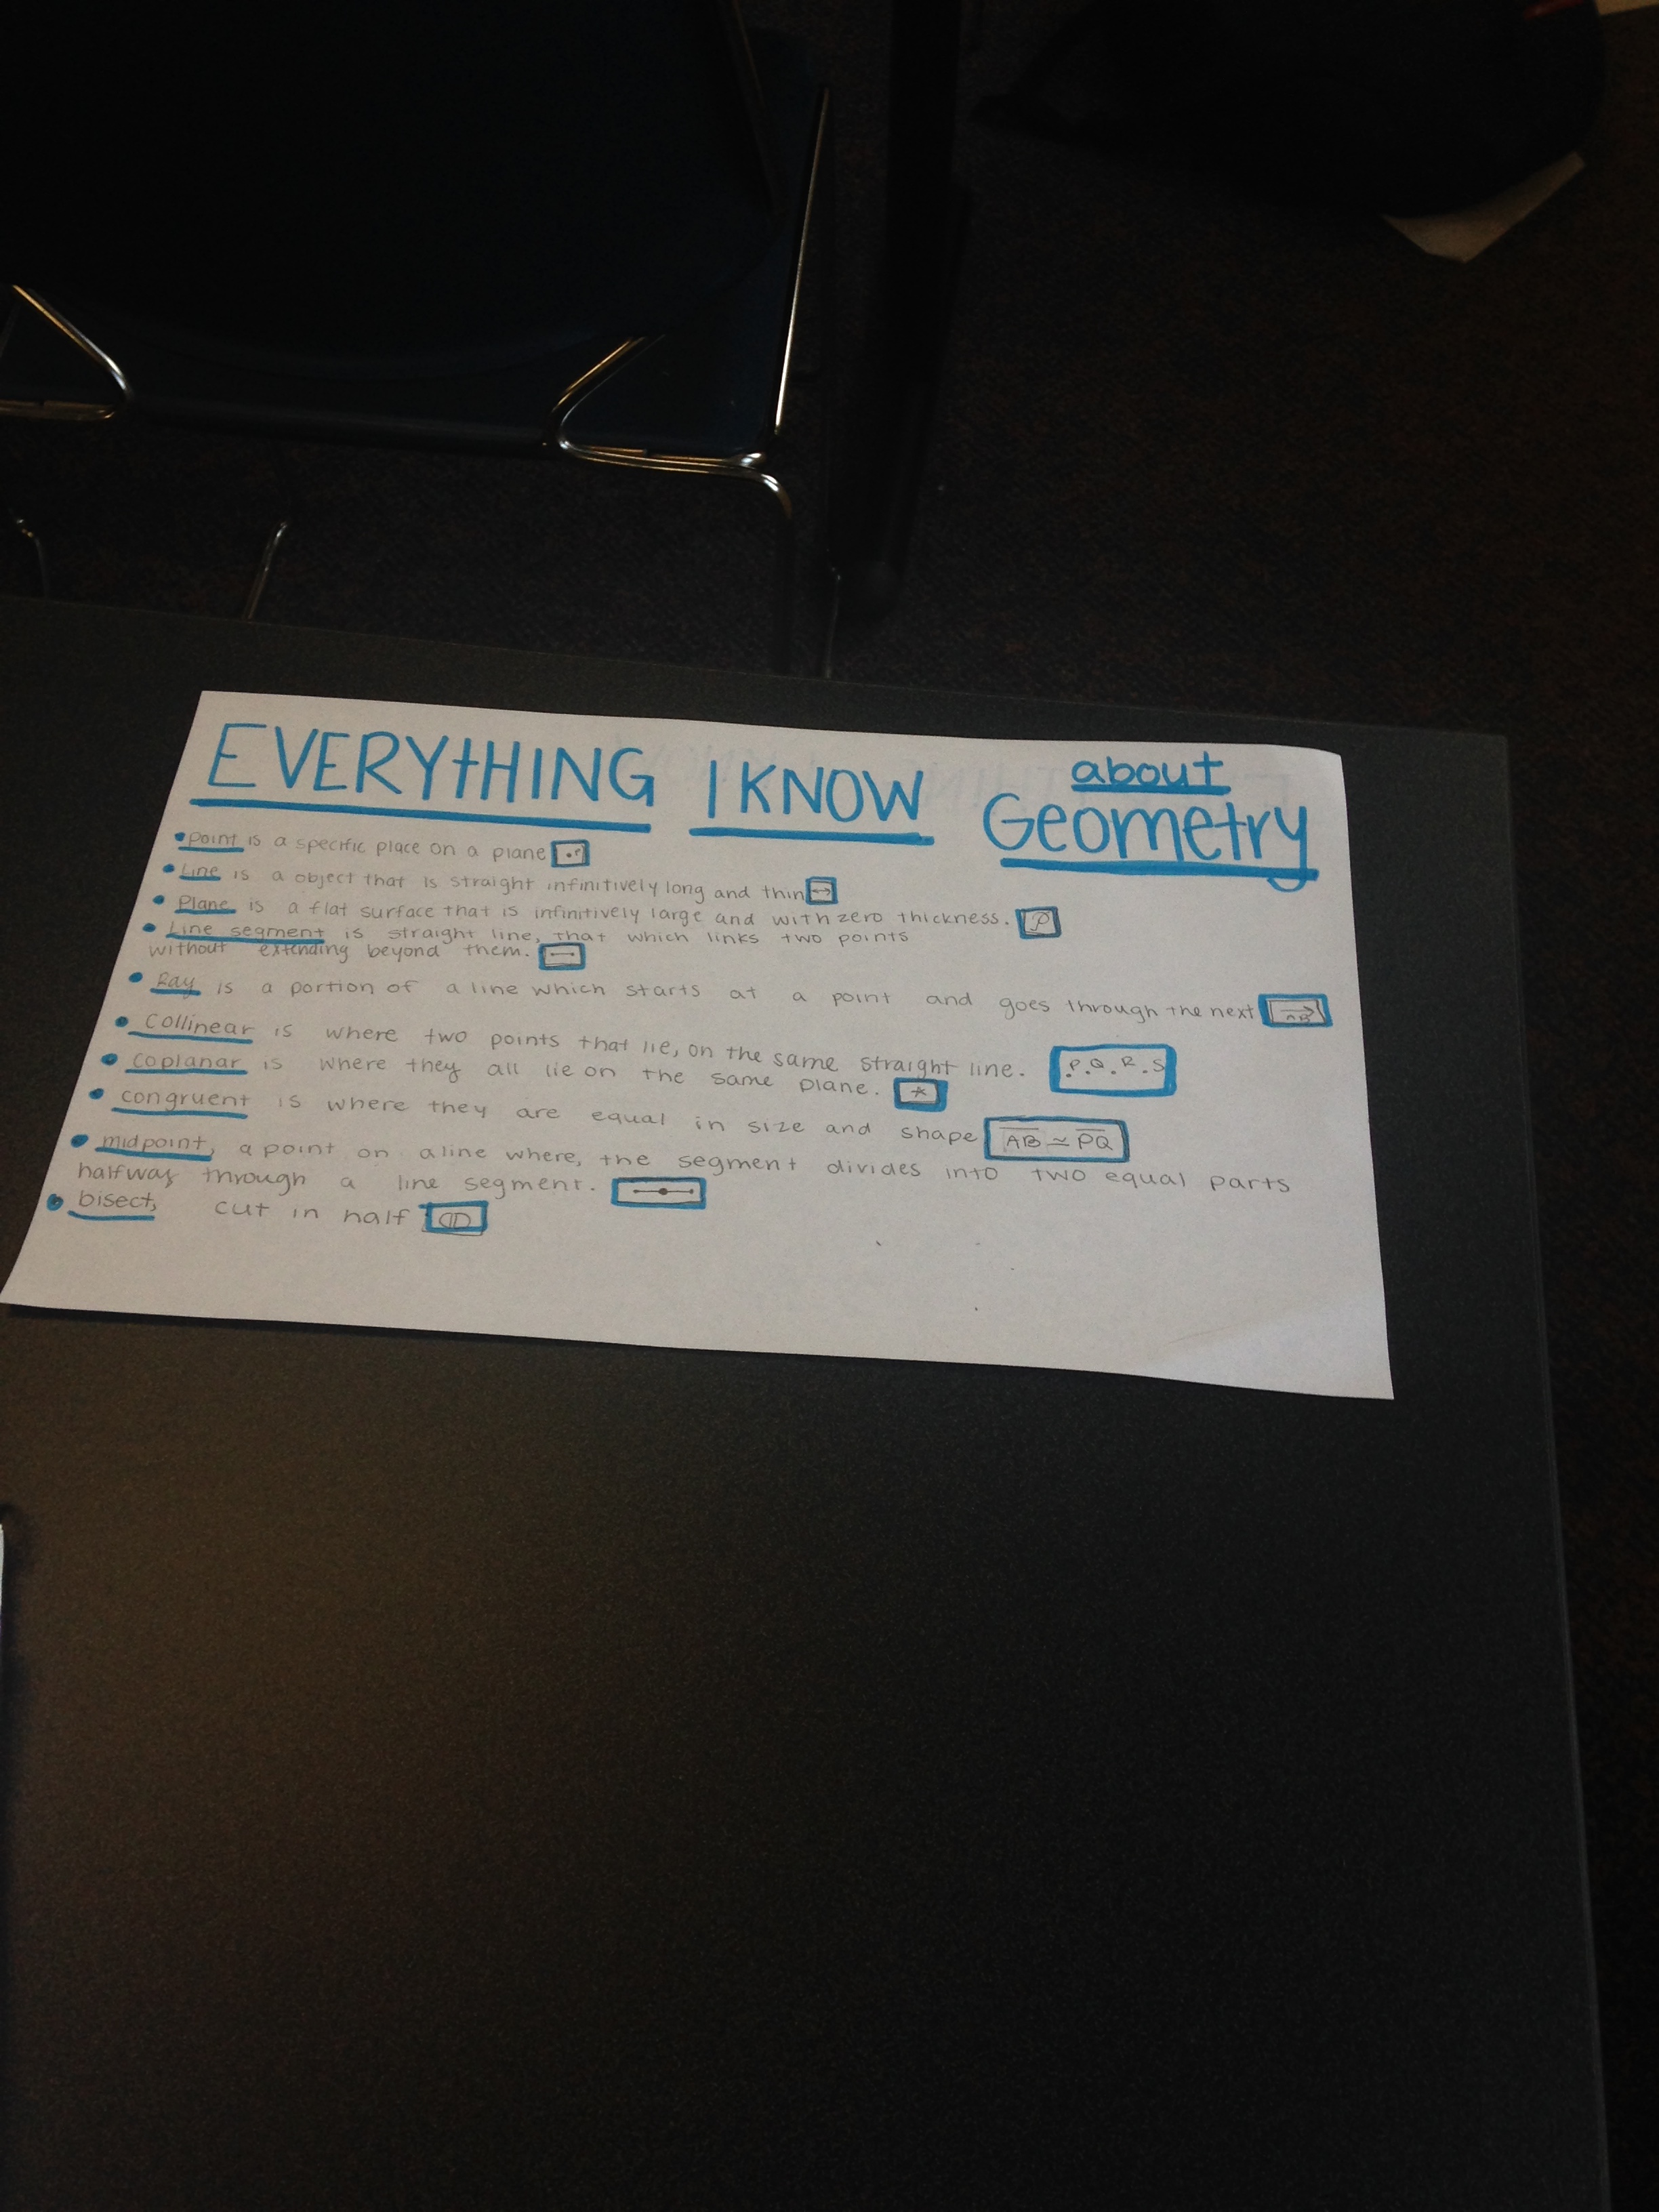
age to my students. The language of math. I started out this unit with a lesson on inductive and deductive reason that was created by Julie Reulbach.  This lesson consisted of a SMART notebook and a foldable handout. 

I had students discover the difference between inductive and deductive reasoning by using slips of paper with the following statements, pictures, and numbers on it. I told them to separate the slips into two piles. How are the piles the same? How are they different? Why did you group certain ones together? A common response I heard was “one pile is words and the other is shapes and numbers”. It wasn’t until i had them finish each statement that they started to see the pattern. At the end of the lesson we watched this clip from the Princess Bride. It was great to show them logic in a round about way and good wrap up for the lesson. IMG_5998

Next time I would give students inductive reasoning examples that did not have numbers or shapes. When they did their homework they had a difficult time deciding which type of reasoning was which. My students were also over thinking almost every statement.

IMG_5996


So now day two…. Conditional Statements.

So first off… I am OBSESSED with Don’t Panic, The Answer is 42. I’ve found amazing things for my geometry class from her blog.

I used her lesson on Conditional Statements and decided to recreate it by adding my own little touch. I turned the note section of her lesson into a foldable and a SMART Notebook. I started the lesson out with students reading misleading newspaper article headlines to make them see that words can be misleading. We talked about how in math we need to come up with a universal way to get across what we want to say. BScreen Shot 2015-09-22 at 7.25.46 PMefore even introducing Conditional statements I had my students write 3 if-then rules that they live by. I then had 3 students to come to the board to write their rules. When I finally did introduce conditional statements we usScreen Shot 2015-09-22 at 7.17.34 PMed my students rules to point out the hypothesis and conclusion of each statement. This was good because the students felt by looking at their own rules. I also had students come up to the board and underline and label the hypothesis and conclusion. This got my students up and moving around the room. During a class that is mostly lecture it can be hard to keep students engaged. I tried my best to keep students moving and involved in the notes.

After students became comfortable with labeling conditional statements we moved on to using p and q to represent statements. I told students that mathematicians are “lazy” and wanted a quick way to write conditional statements that made sense to everyone. We worked through a few statements, making them conditional and then writing it in p q form.

Next we moved onto truth values and negations. I introduced truth values the day before but now they were being applied to conditional statements. Students seemed to understand negations pretty quickly. Although taking it one step at a time seemed a little show students seemed to truly understand what was going. Screen Shot 2015-09-22 at 7.17.09 PM

Students were finally introduced to truth tables by given a p and q and then multiple case scenarios. Students were able to see and figure out themselves that the only time the conditional statement was negative was when the hypothesis was false. I thought that this lesson went pretty well even though “math felt like an english class today”. The intro into logic can be tough and confusing, so I hope that my students continue to go into it with a solid foundation!

Brain Dumping… Test Review

It’s finally time for the first test! I wanted to create a review that was more than a practice test or worksheet . We had an long block today ((1hr30min), so I had plenty of time to do a good review. I started class with a 35 minute brain dump. I handed out large blank pieces of computer and told my students to dump their brains on to the paper with everything we’ve done in geometry. I told them to try and write everything down without their notes before turning to them. Some students used different colors and highlighting to organize their dump sheet.

After the 35 minutes I had my students turn to the person next to them. They were supposed to look and talk about their sheets. The purpose of this was to talk about what they wrote and see if their partner had something they may have forgetting. I gave them a quick 5 minutes break after they traded breaks and when they returned to class they had a new piece of paper on their desk.

This sheet was a graphic organizer that I put together. The first section of the sheet were vocabulary words that I expected them to know and recognize. Students then had to define each vocab word and represent it with a picture of symbol. The next section was a list of constructions they should know how to create on geoegebra. I had them create the constructions and explain to me what they did. The last section was all about points of concurrency. In words they had to explain to me how to create each point of concurrency and tell me what happens to the point in different types of triangles. I felt like this sheet was a guide to helps students study, but it wasn’t as direct as a practice test.

I think that I am going to use dump sheets as a review before every test. Not only does it help students organize their notes on to one page, but it also helps students see what they know and don’t know. Another bonus to our brain dumping is that students can save these sheets throughout the year and use them to study for midterms and finals.

IMG_5812 IMG_5813 IMG_5815 IMG_5816 IMG_5824 IMG_5826 IMG_5828 IMG_5831

Points of Concurrency … two days of geogebra exploration

Coming to the end of our construction unit it was finally time to teach points of concurrency. I decided to break this lesson up into two days. The first day was an investigation day to discover the incenter and circumcenter. The second day consisted of a review of the incenter and circumcenter and as a class we discovered orthocenter and centroid.

Day 1: 

My students were given a paper copy of an investigation work sheet in which they had to use geogebra to discovery points of concurrency.  When I passed out the assignment I instructed my students to follow the directions on what to create on Geogebra and then answer the questions on the sheet of paper. They were to work on investigation 1 by themselves and investigation 2 with their partner. Investigation one discovered the incircle and investigation 2 discovered the circumcenter.

Step 1 – Construct three points and connect them to form a triangle: Easy enough. Students also realized that they could use the polygon tool to create a triangle.

Step 2 – Construct the angle bisectors of each angle: This is where things got exciting. For the past two weeks my students have been working on constructions using Geogebra. I know that they are able to bisect angles using the compass tools!!! I didn’t want them to have to go through the process3 of bisecting an angle every single time, so I allowed my students to use the angle bisector tool. This made constructing the incenter so much faster AND much more clear to see. I also told my students to change the color of the lines so they could see what they were trying to intersect. This activity was a clarity that using Geogebra for constructions was the right choice.

Day 2: 

Day two consisted of some note taking. I started out class by passing at a foldable (created by f(t) and modified by I Speak Math)  and having students open a Geogebra worksheet applet that consisted of all of the points of concurrency. I told them not to look at the applet until I said so.

I started out class with a simple question. What does concurrent mean? I had students write down their thoughts in their notebook before sharing with the class. I wanted to go over circumcenter and incenter before moving on, so my next slide started with the question What is a perpendicular bisector? This question helped lead into talking about circumcenter. As a class we were then able to fill in the foldable fill in the blanks about circumcenter. After we filled in the notes I had my students turn to the geogebra applet and only click on circumcenter. I told them to move around the vertices of the triangle and write down what they noticed  about the circumcenter when there were different types of triangles. We then came together as a class and discussed about happened to the circumcenter.

I repeated this same process for incenter, orthocenter, and centroid. It was great because we had structured notes, but students also got to explore the points of concurrency themselves, and share their ideas with the rest of the class.

Here is an attachment to my Smart notebook. 

Screen Shot 2015-09-10 at 4.06.08 PM
First Smartboard slide
Screen Shot 2015-09-10 at 4.02.58 PM
geogebra applet 🙂 SO AMAZING

With about 10 minutes left in class I had my students will out a google form. This form asked students to write down everything they knew about incenter, orthocenter, circumcenter, and centroid. It also had a spot for students to ask questions. This gave me great feedback on what they knew/ understood and gave them a chance to ask questions.

IMG_5809
Closed foldable
My foldable notes from class

For homework I gave out a worksheet in which had students create all of the points of concurrency on one triangle (all the work for each point was in a different color) in order to explore Euler’s Line. Students had to complete this on geogebra. This was great because it had them practicing constructing points of concurrence and also exploring a new concept at the same time.

This is an example of a student exploring Euler's Line
This is an example of a student exploring Euler’s Line
Questions from the form I gave at the end of class

Constructions Mini-Project

We are halfway through our construction until, so I’ve trying to figure out a way to accurately assess my Geometry students on Constructions. Being able to create a construction on Geogebra and actually understand the construction are two completely different things, so I decided to create a mini-project to practice the constructing we’ve done so far. Students were asked to create the following constructions on Geogebra, and provide an explanation on  how you created it, as well as some justification as to why it is an accurate demonstration.

  • Congruent Segments
  • Segment Bisector
  • Angle and 2x Angle
  • Angle Bisectors
  • Perpendicular Lines
  • Perpendicular Bisector
  • Midpoints

I provided a rubric for my students to reference, so they knew exactly what I was looking for. If I gave this project again (and probably will) I would be more specific about what I was looking for with perpendicular lines and would combine segment bisectors with perpendicular bisectors.

I felt like this was a great way to test my students construction knowledge with out giving them a traditional quiz or test. I also gave my students complete autonomy to how they wanted to submit the mini-project.  I told them to “print out their work and creatively submit it”. I did not penalize students for not being extremely creative, however, I gave a small extra credit point for students who went above and beyond (students didn’t know this when they submitted their project). Although some were more creative than others all of the projects submitted were AWESOME! I truly got to see what my students understood about constructions, and my students who strive creatively had a chance to express themselves in a math class. This project also had my students writing mathematically. Three-weeks ago I introduced my students to writing in a math class. It’s insane on how much their mathematical writing has improved in such a short time (complete sentences, vocabulary, accurately expressing concepts in words).

Overall this project was a great way to assess my students knowledge of the past three weeks. Students had a chance to create constructions, mathematically write how and why they are constructing, and creatively express themselves.

Here are directions and rubric for this project if anyone is interested! Below are also a few examples of some of my students projects

IMG_5791IMG_5789IMG_5790IMG_5788

IMG_5787  IMG_5785 IMG_5784

Exponents exponents and more exponents.

After our zombie apocalypse game about exponents I decided to check my students understanding of exponents by doing a hands on activity. I passed out a stack of cards to each students. In each stack there were 15 white cards (the questions) and 15 blue or green cards (the answers). Each student sat at a table with one other student. Each table had one stack of blue cards and one stack of green. The questions in each stack were different, so students were able to work with their partner if they had questions, but they still did their work on their own.

IMG_5739 IMG_5740

I told my students to glue/tape the questions (white cards) to one side of their paper and the answer on the other, leaving room to do work between them. This caused my students to work out the problems (on paper) before matching it with the answer. It was AMAZING to see how much the students learned about exponents from the day before.

My students loved having manipulatives as they worked through the problems. This activity was much more effective than using a worksheet to check my students understanding. My students actually asked if I could organize our test in the same sort of way.  Although I’m not planning on using manipulatives I may make test matching (with more answers than questions) and create boxes for students to show their work.

IMG_5758

I got the cards forthis activity from Don’t Panic, the Answer is 42. I changed her directions around from being a class activity where questions or answers would be up on the board to a way that gave me tangible information about each students’ understanding of exponents.


IMG_5737IMG_5742

The Zombie Apocalypse of Exponent Rules

Today my Algebra 1 students started to learn about exponents. They’ve briefly worked with exponents in the past, but they have a very basic understanding. The idea for my lesson first came from Sarah Hagan’s Blog. I first asked students to draw seven X’s (I recommend less) on their dry erase boards. My students love using the white boards, so they were really excited when I told them we were going to learn exponent rules through a Zombie Game using the boards. I put the rules on the Smart Board for my students to read while I was explaining the direction. I have found that my students miss a lot of directions if they don’t see it in writing asScreen Shot 2015-08-31 at 7.39.17 PM well as hearing it.

I next used the exponent rules proof worksheets from Don’t Panic, The Answer is 42 to organize the game. My students had all of the sheets in a packet that they had turned over on their desk.  I put problems one at a time on the board for students to students to answer in 20 seconds. When time was up they all held up their white boards and I reveled the answer. My students then had 15 seconds to go erase an X from someone’s board if they got the answer correct. This is the point where this game got a little crazy. My class of 11 started running all over the place trying to erase their friends X’s. My students realize they needed to “defend” their X’s so they start trying to hide their boards from each other. It order to get my students back in their seats in time I told them if they weren’t in their seats by the end of my countdown then I would take one of their X’s. I split the game into 3 sections that covered four exponent rules, and their were 4 questions in each section. When each section was over they would complete the page in the packet dealing with that rule. Students would haveIMG_5723 to find a different partner for each rule. I told my students that completing each page was a necessity for surviving the zombie apocalypse. Students were only given5 minutes to work on each worksheet, so they were all very focused to complete it.  After they completed each worksheet we would come up with an algebraic rule together and then move on to the next rule. During class today we were able to cover the Product Rule, the Distributive Property of Products, the Quotient Rule, and Zero Exponent Rule.


This activity was great because it gave students the opportunity to explore the exponent rules and understand where they come from through a worksheet, but also have fun solving practice problems in order tIMG_5725survive the apocalypse. I was going back a
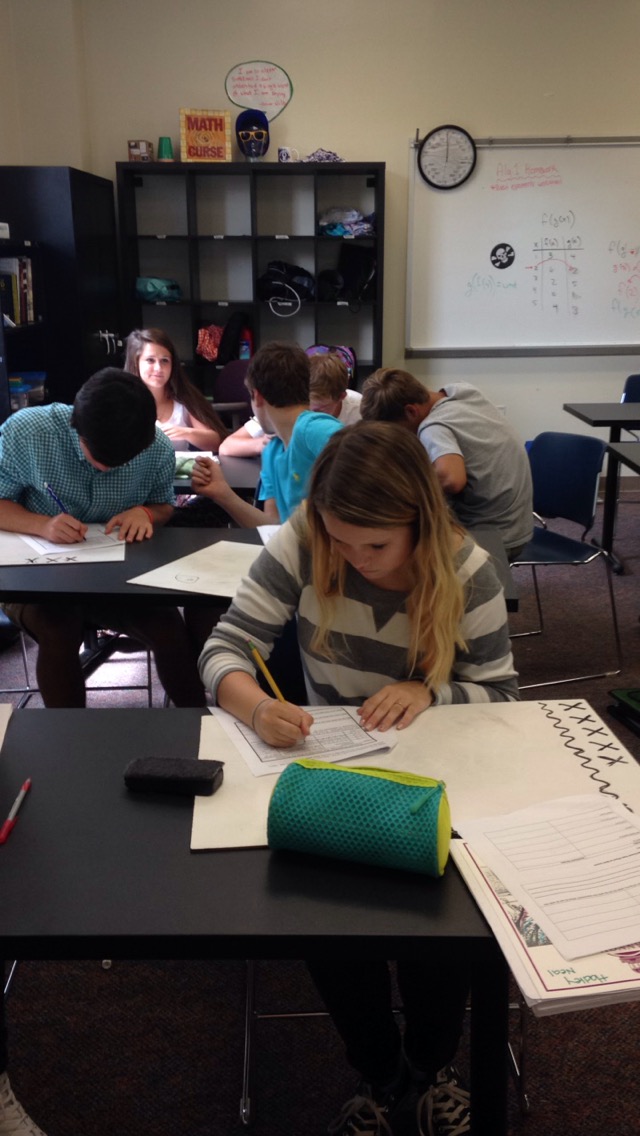
IMG_5724nd forth between which order to organize this lesson. I decided to give my students practice and exploration problems on the board before they even knew they were working on a certain exponent rule. When they started working on each worksheet they already felt confident on what to do because they just saw a few examples.

If I were to do this activity again I would position the room so students wouldn’t trip and hop of over desks and chairs trying to get each other. My class got a little wild trying to make their peers Zombies. I would also create more rules in the beginning (no running, yelling, standing on chair, ect,). I wasn’t anticipating on how rowdy they would get. Over all I think that this was a very successful lesson. Students stayed engaged the whole time!