Socratic Seminar in Geometry!

After attending Mattie and Chris‘ morning session at Twitter Math Camp, I really wanted to try and get students talking more in class. One idea (of many) that really stuck with me was doing a Socratic (Paideia) Seminar in my geometry class.   After talking to Mattie at lunch, I decided that doing it as an introduction to proofs was a great place for it.

Geometry is typically taught using two-column proofs. However, I wanted my students to be knowledgeable about all formats of proofs  and make the decision for themselves. Every format speaks to students differently, so I wanted to give them the autonomy to decide.

Every unit, my students receive a new booklet from me. This booklet includes all of the material they need for the unit and acts as their textbook. The first activity for this unit was proof exploration.  Students had to examine two-column proofs, paragraph proofs, and flow-chart proofs (these were given to them) and find one other source about proofs. In order to prepare for the seminar, students had show they activity read.

Ways  to show you actively read:

  • Highlight
  • Notes in the margins
  • Questions in the margins
  • Answer all questions

Students filled out the pages below before coming to class for the seminar. If you are interested in seeing the entire booklet, it can be found here. unit-3-introduction-to-proofs

This slideshow requires JavaScript.

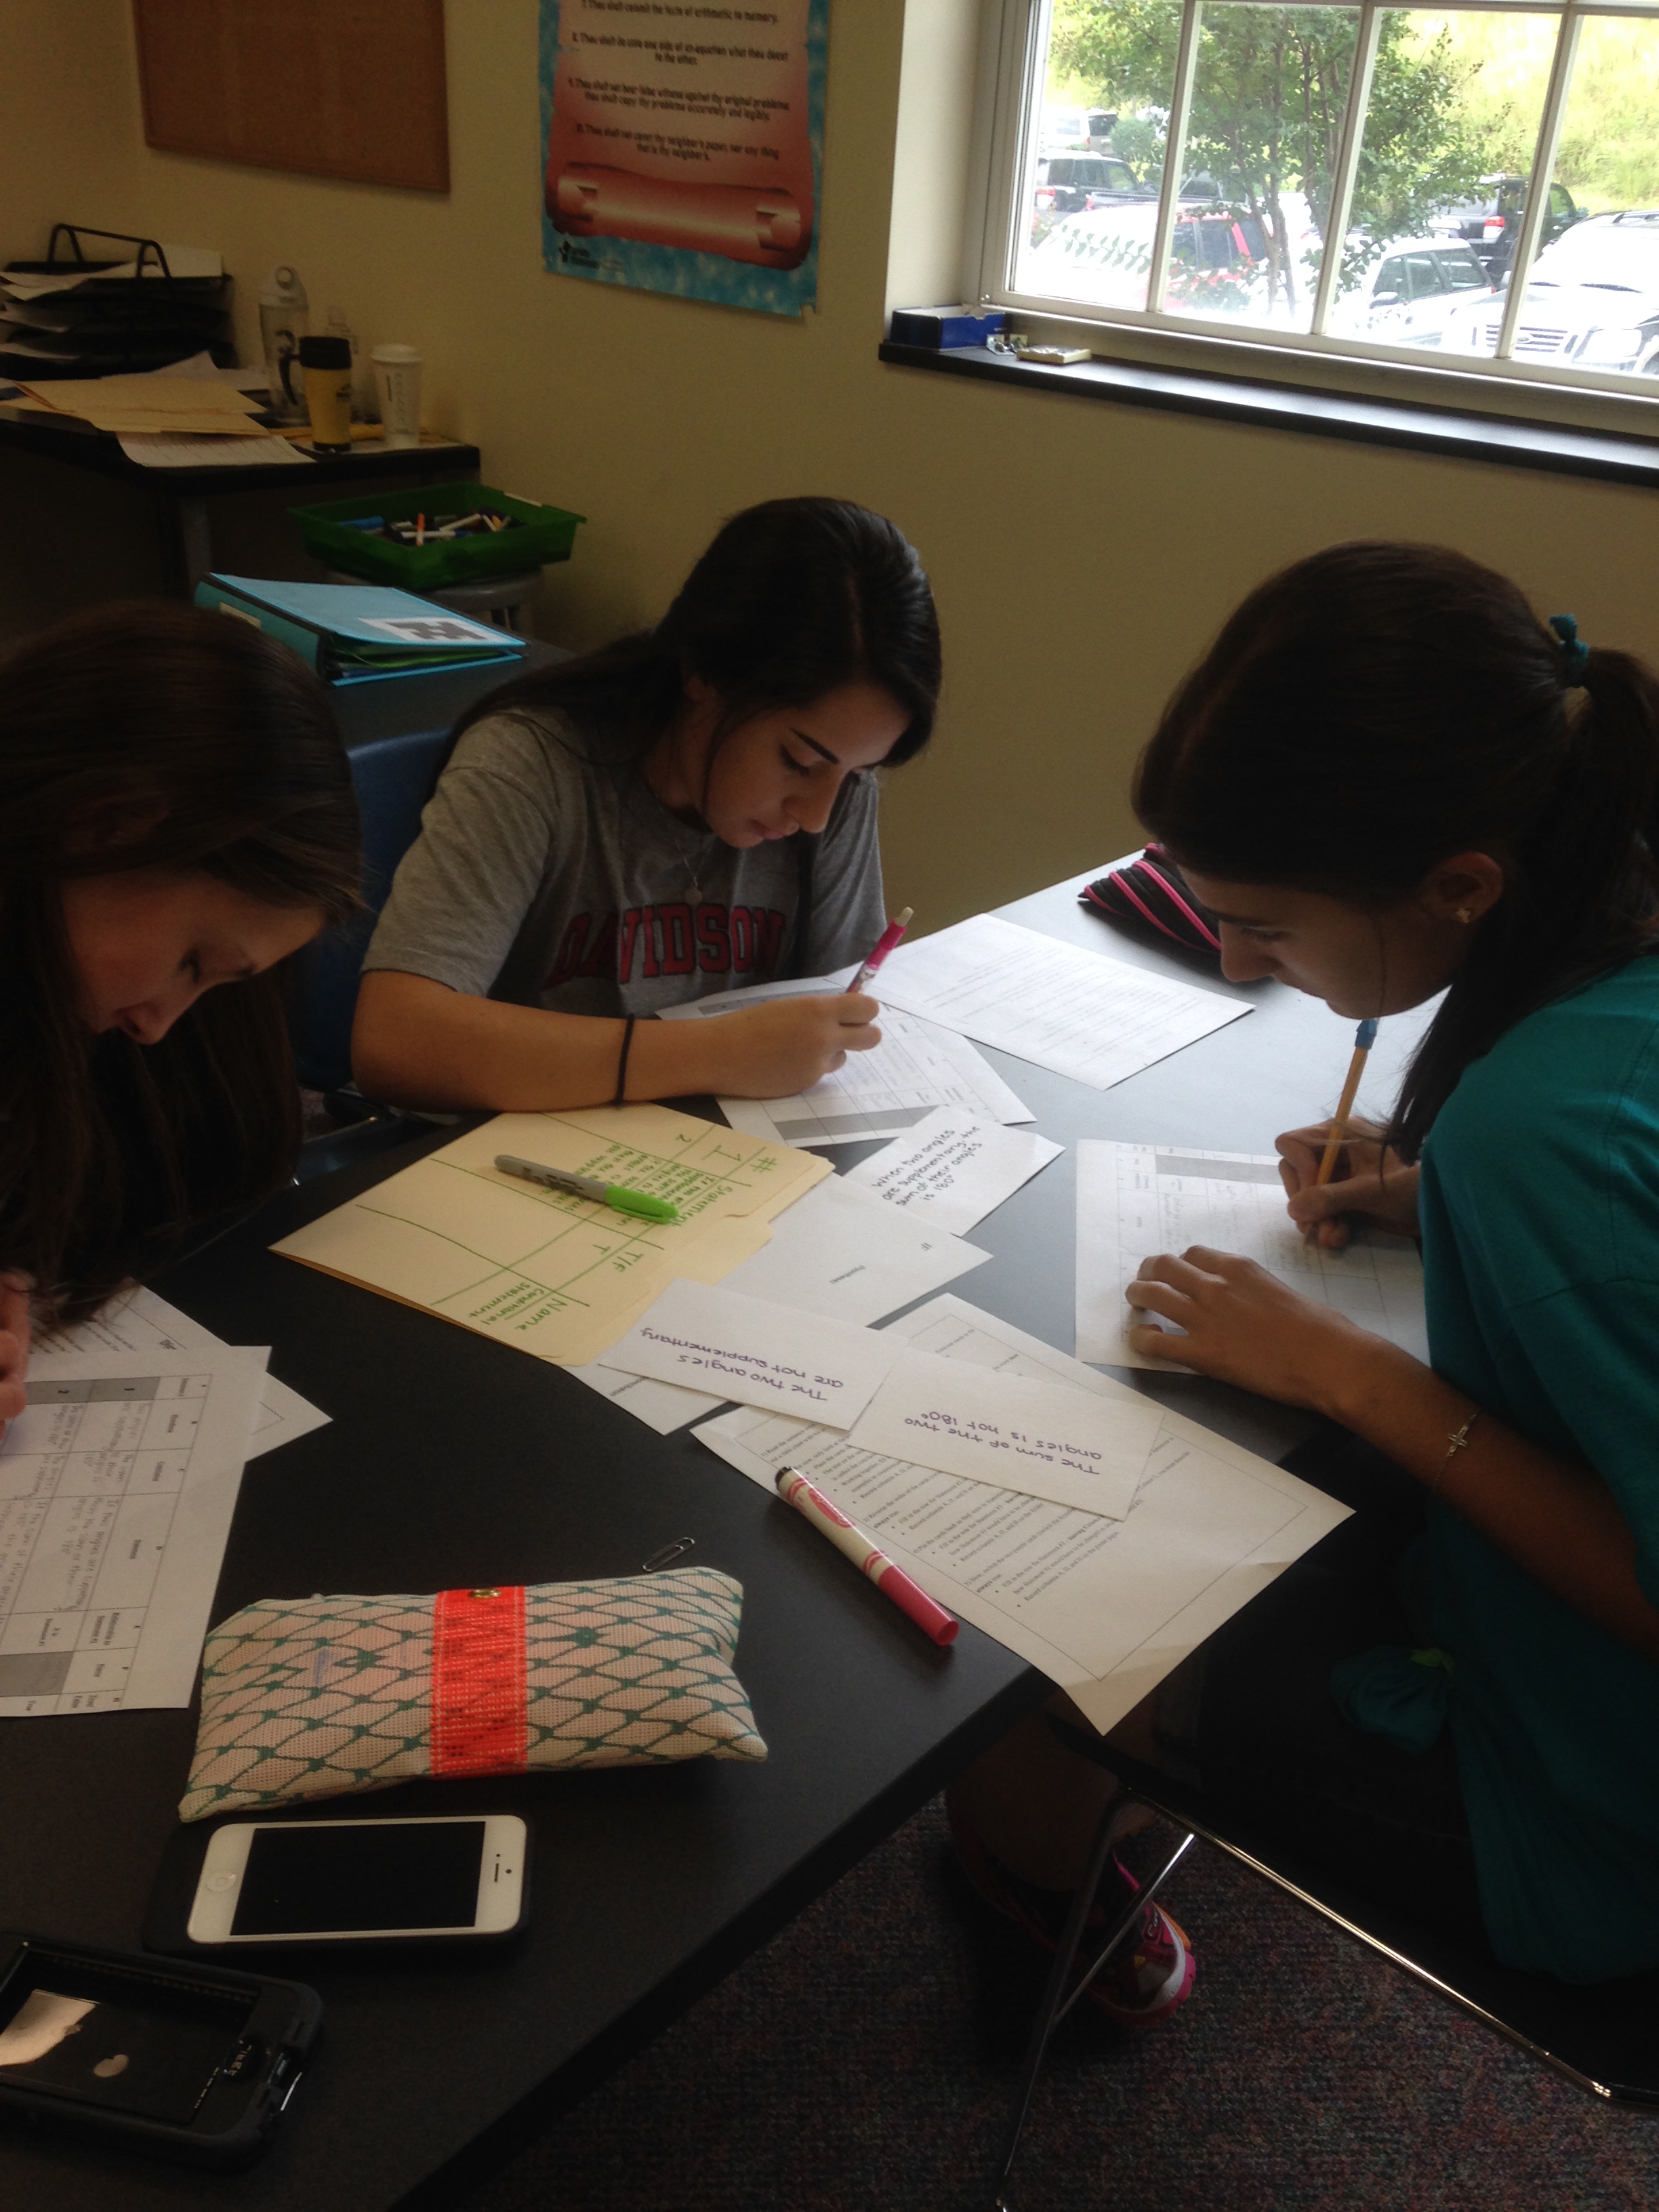
When students arrived to class, I had the class organized in two circles. The outer circle had tables and the inner circle only had chairs. I assigned students their “circles” and then asked them to take out their notebooks and computers.

The inner circle could use only their notebooks during the seminar. The outer circle would be on their computers. I used PowerSchool for students to “backchannel” during the seminar. On this “backchannel” students could engage in conversation with the rest of outer circle about the conversation going on in the middle circle. They could also talk about anything else as long it revolved around the subject. Many students chose to answer the questions being asked to the inner circle, and agreeing or disagreeing with comments being made.

Before we started, we went over the rules for each circle.


It was amazing how much students were talking and engaged in the activity. I heard very insightful comments from all ranges of students.  A lot of my students actually asked for deeper questions for next time (I went easy on them).  They said they had a deeper understanding of parts of proofs and why different parts needed to be included. They all also picked their favorite style of proof which they are allowed to use the entire year.

We look turns switching the circles as well! Below are some the questions that my students were asked. I did not reach the questions out loud. I just added a question when signaled by the students.

This slideshow requires JavaScript.

A video of part of our seminar can be found here! 


Converse, Inverse, Contrapostive Exploration

Converse, Inverse, Contrapostive Activity from Sam Shah and PCMI

I wanted to introduce Converse, Inverse, and Contrapositive in a way that had students discover what they were before I introduced them to any new vocab.  This activity is aweome!!!

I started out by letting students pick their own  partner. Each group had two small charts, an “if-then” sheet, 1 manilla folder (my Ss actually thought I misprounounced vanilla), two markers, and one directions sheet.  I next walked around and handed each group three cards. Once card had the conditional statement writen in black sharpee. The next card had a hypothesis written on one side in green and the negation of the hypothesis on the other side in purple. The last card had the conclusion written on one side in green and the negation of the conclusion on the other side in purple. I glued together two index cards to create these cards because the sharpee markers bled through the card. I reccomend telling your students NOT to tear the cards or you should lamenate your cards together. Even with this warning I had students trying to seperate the card.

IMG_6051 IMG_6050

Next I had students following directions on the sheet. They had to identify the conclusion and hypothesis for the original statement and correctly order their green cards on the if-then chart. They had to identitfy if the statement was true or false. I then had them switch the order and record what they saw on their small chart (hypothesis, conclusion, what happened compared to conditional, truth value). I then had them put the cards back to where they started and had them turn them over to the purple sides. I had them move them around so they discovered Converse, Inverse, and Contrapositive. I then had them copy their four statements and truth values onto their manilla folder. I also had them make a row for the “name” but told them to leave it blank.

IMG_6023 IMG_6041 IMG_6033 IMG_6029

I gave them 25 minutes to do this. When they finished we came together and filled out a chart together and I introduced them to the names of the things they were doing. I also gave them ways to

Students then passed around their folders to other groups so they could see other examples. I LOVED this activity. I think that it was a great engaging way to introduce Converse, Inverse, and Contrapositive.

IMG_6045 IMG_6042

Intro to Logic… Reasoning and Conditional Statements

Logic… OH BOY.  Teaching logic is like introducing an entire new languScreen Shot 2015-09-22 at 6.57.23 PMage to my students. The language of math. I started out this unit with a lesson on inductive and deductive reason that was created by Julie Reulbach.  This lesson consisted of a SMART notebook and a foldable handout. 

I had students discover the difference between inductive and deductive reasoning by using slips of paper with the following statements, pictures, and numbers on it. I told them to separate the slips into two piles. How are the piles the same? How are they different? Why did you group certain ones together? A common response I heard was “one pile is words and the other is shapes and numbers”. It wasn’t until i had them finish each statement that they started to see the pattern. At the end of the lesson we watched this clip from the Princess Bride. It was great to show them logic in a round about way and good wrap up for the lesson. IMG_5998

Next time I would give students inductive reasoning examples that did not have numbers or shapes. When they did their homework they had a difficult time deciding which type of reasoning was which. My students were also over thinking almost every statement.

IMG_5996


So now day two…. Conditional Statements.

So first off… I am OBSESSED with Don’t Panic, The Answer is 42. I’ve found amazing things for my geometry class from her blog.

I used her lesson on Conditional Statements and decided to recreate it by adding my own little touch. I turned the note section of her lesson into a foldable and a SMART Notebook. I started the lesson out with students reading misleading newspaper article headlines to make them see that words can be misleading. We talked about how in math we need to come up with a universal way to get across what we want to say. BScreen Shot 2015-09-22 at 7.25.46 PM
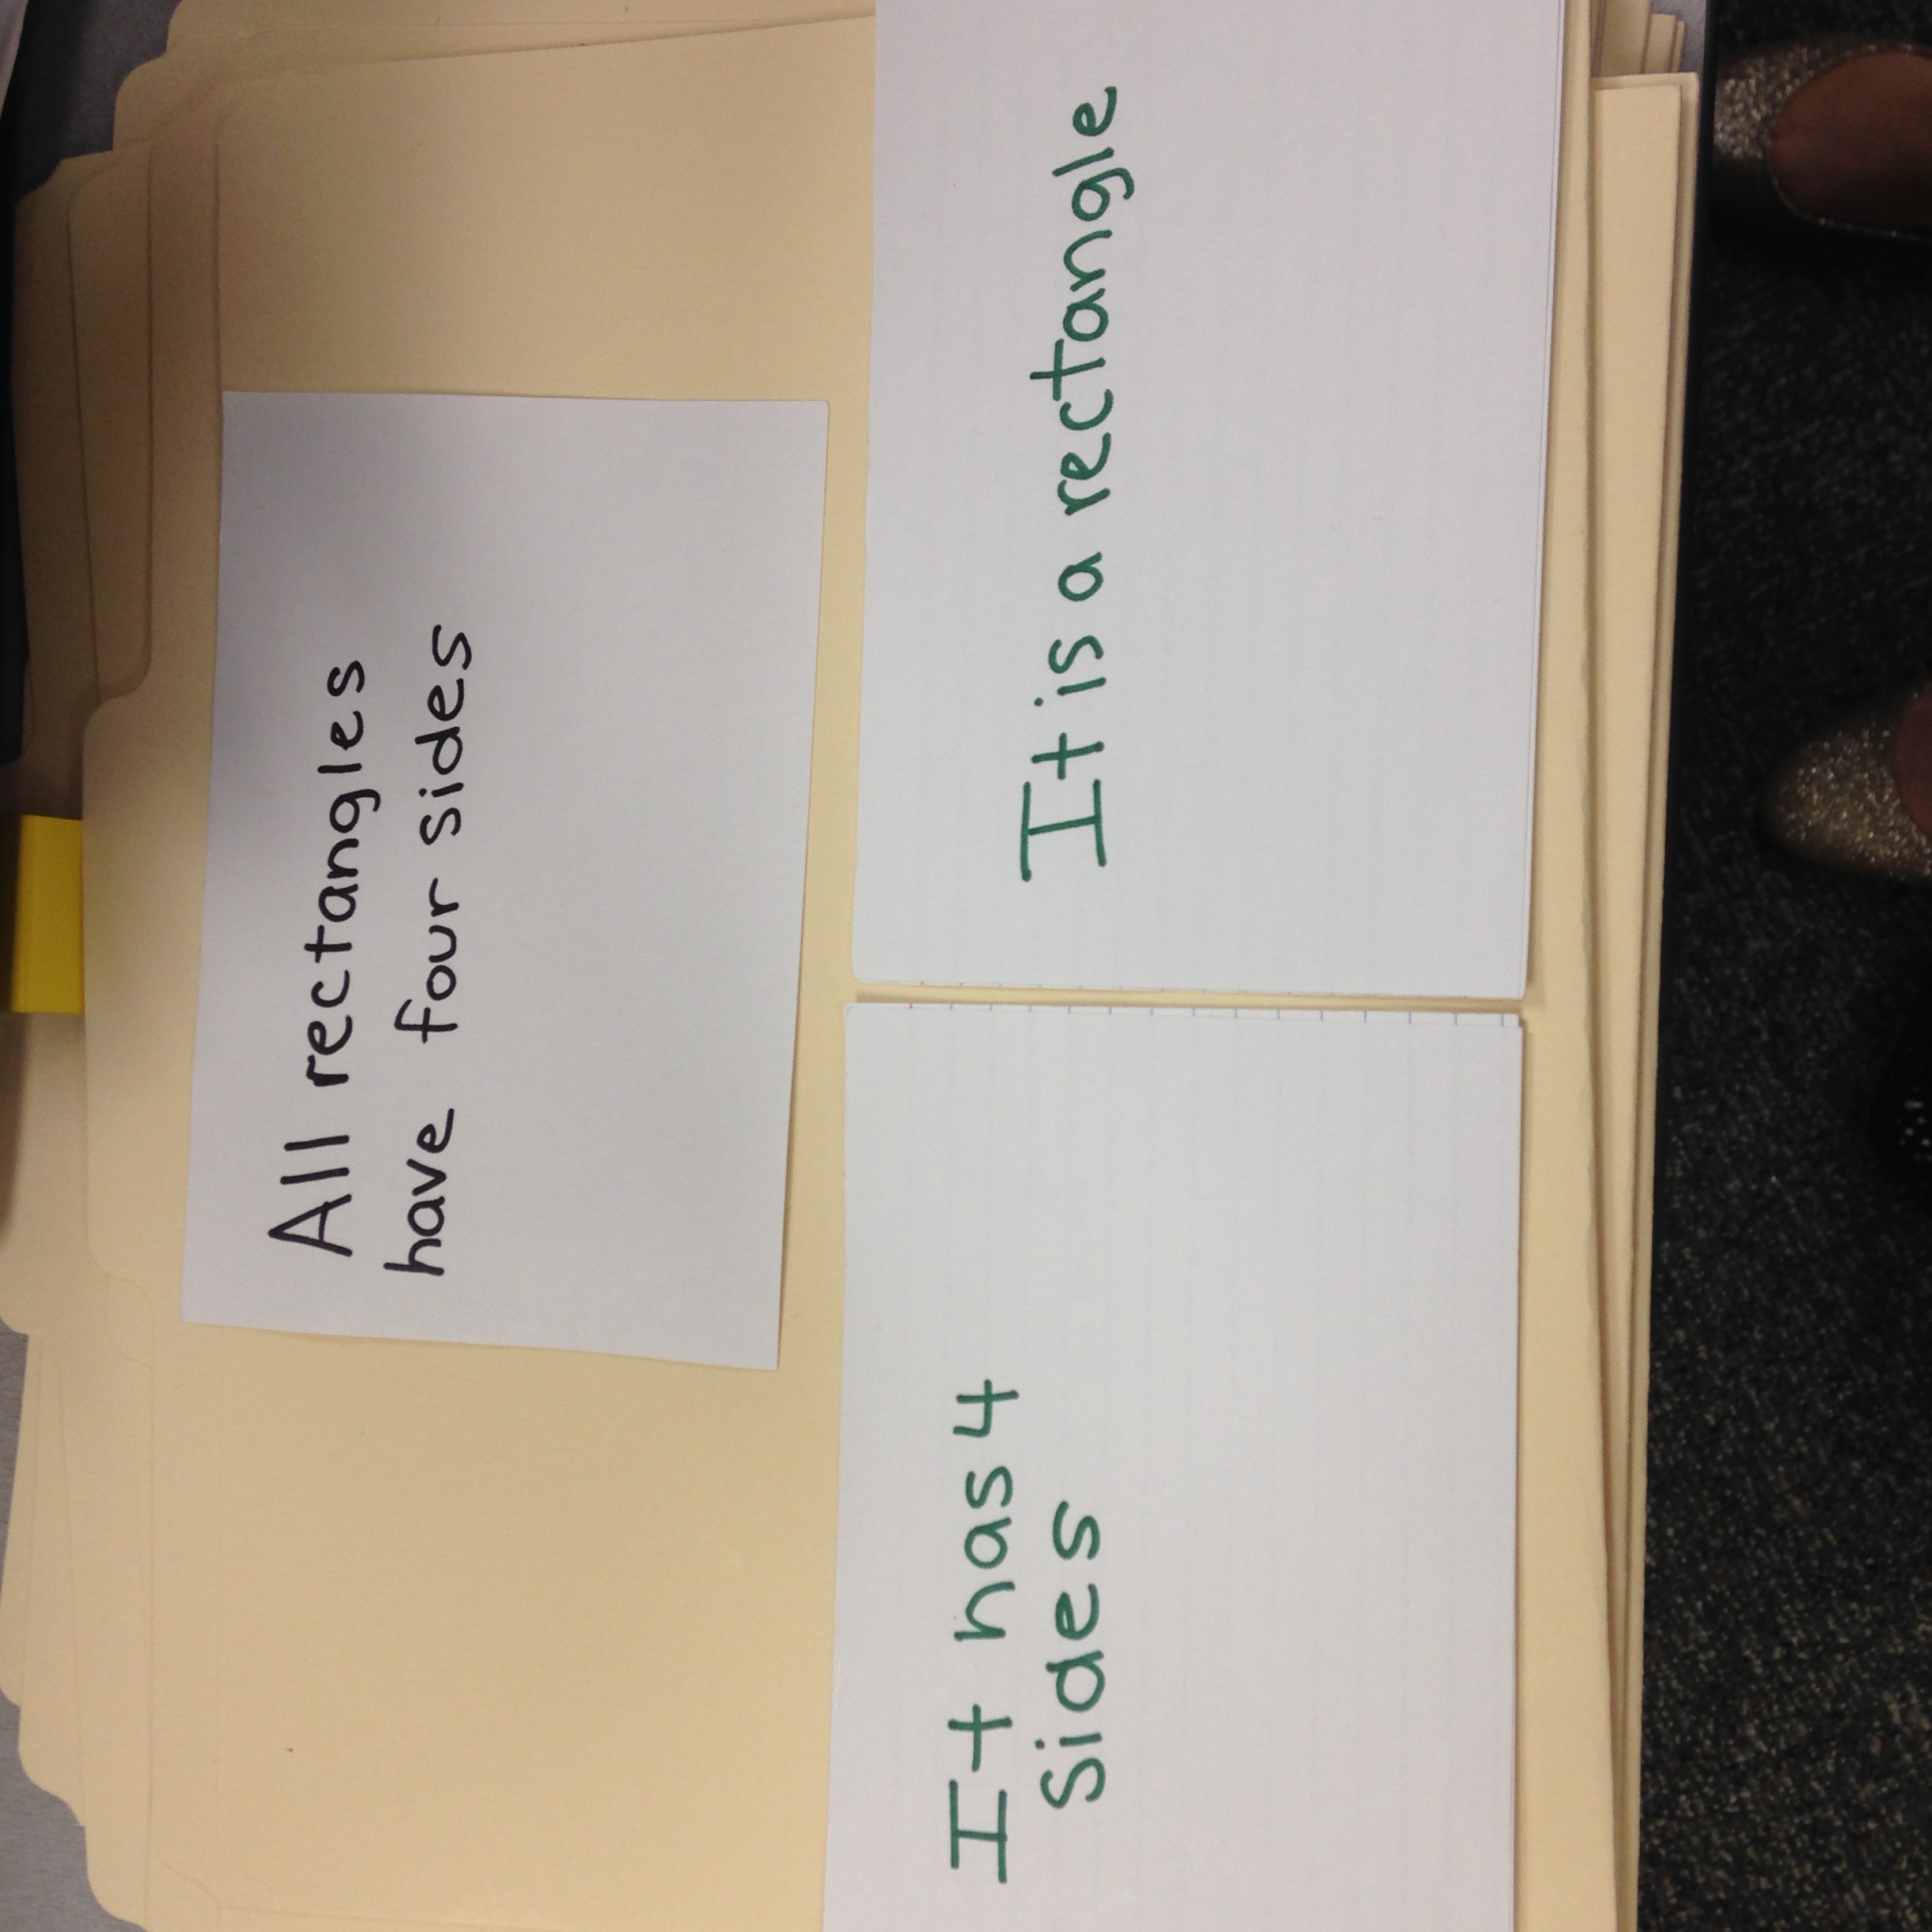
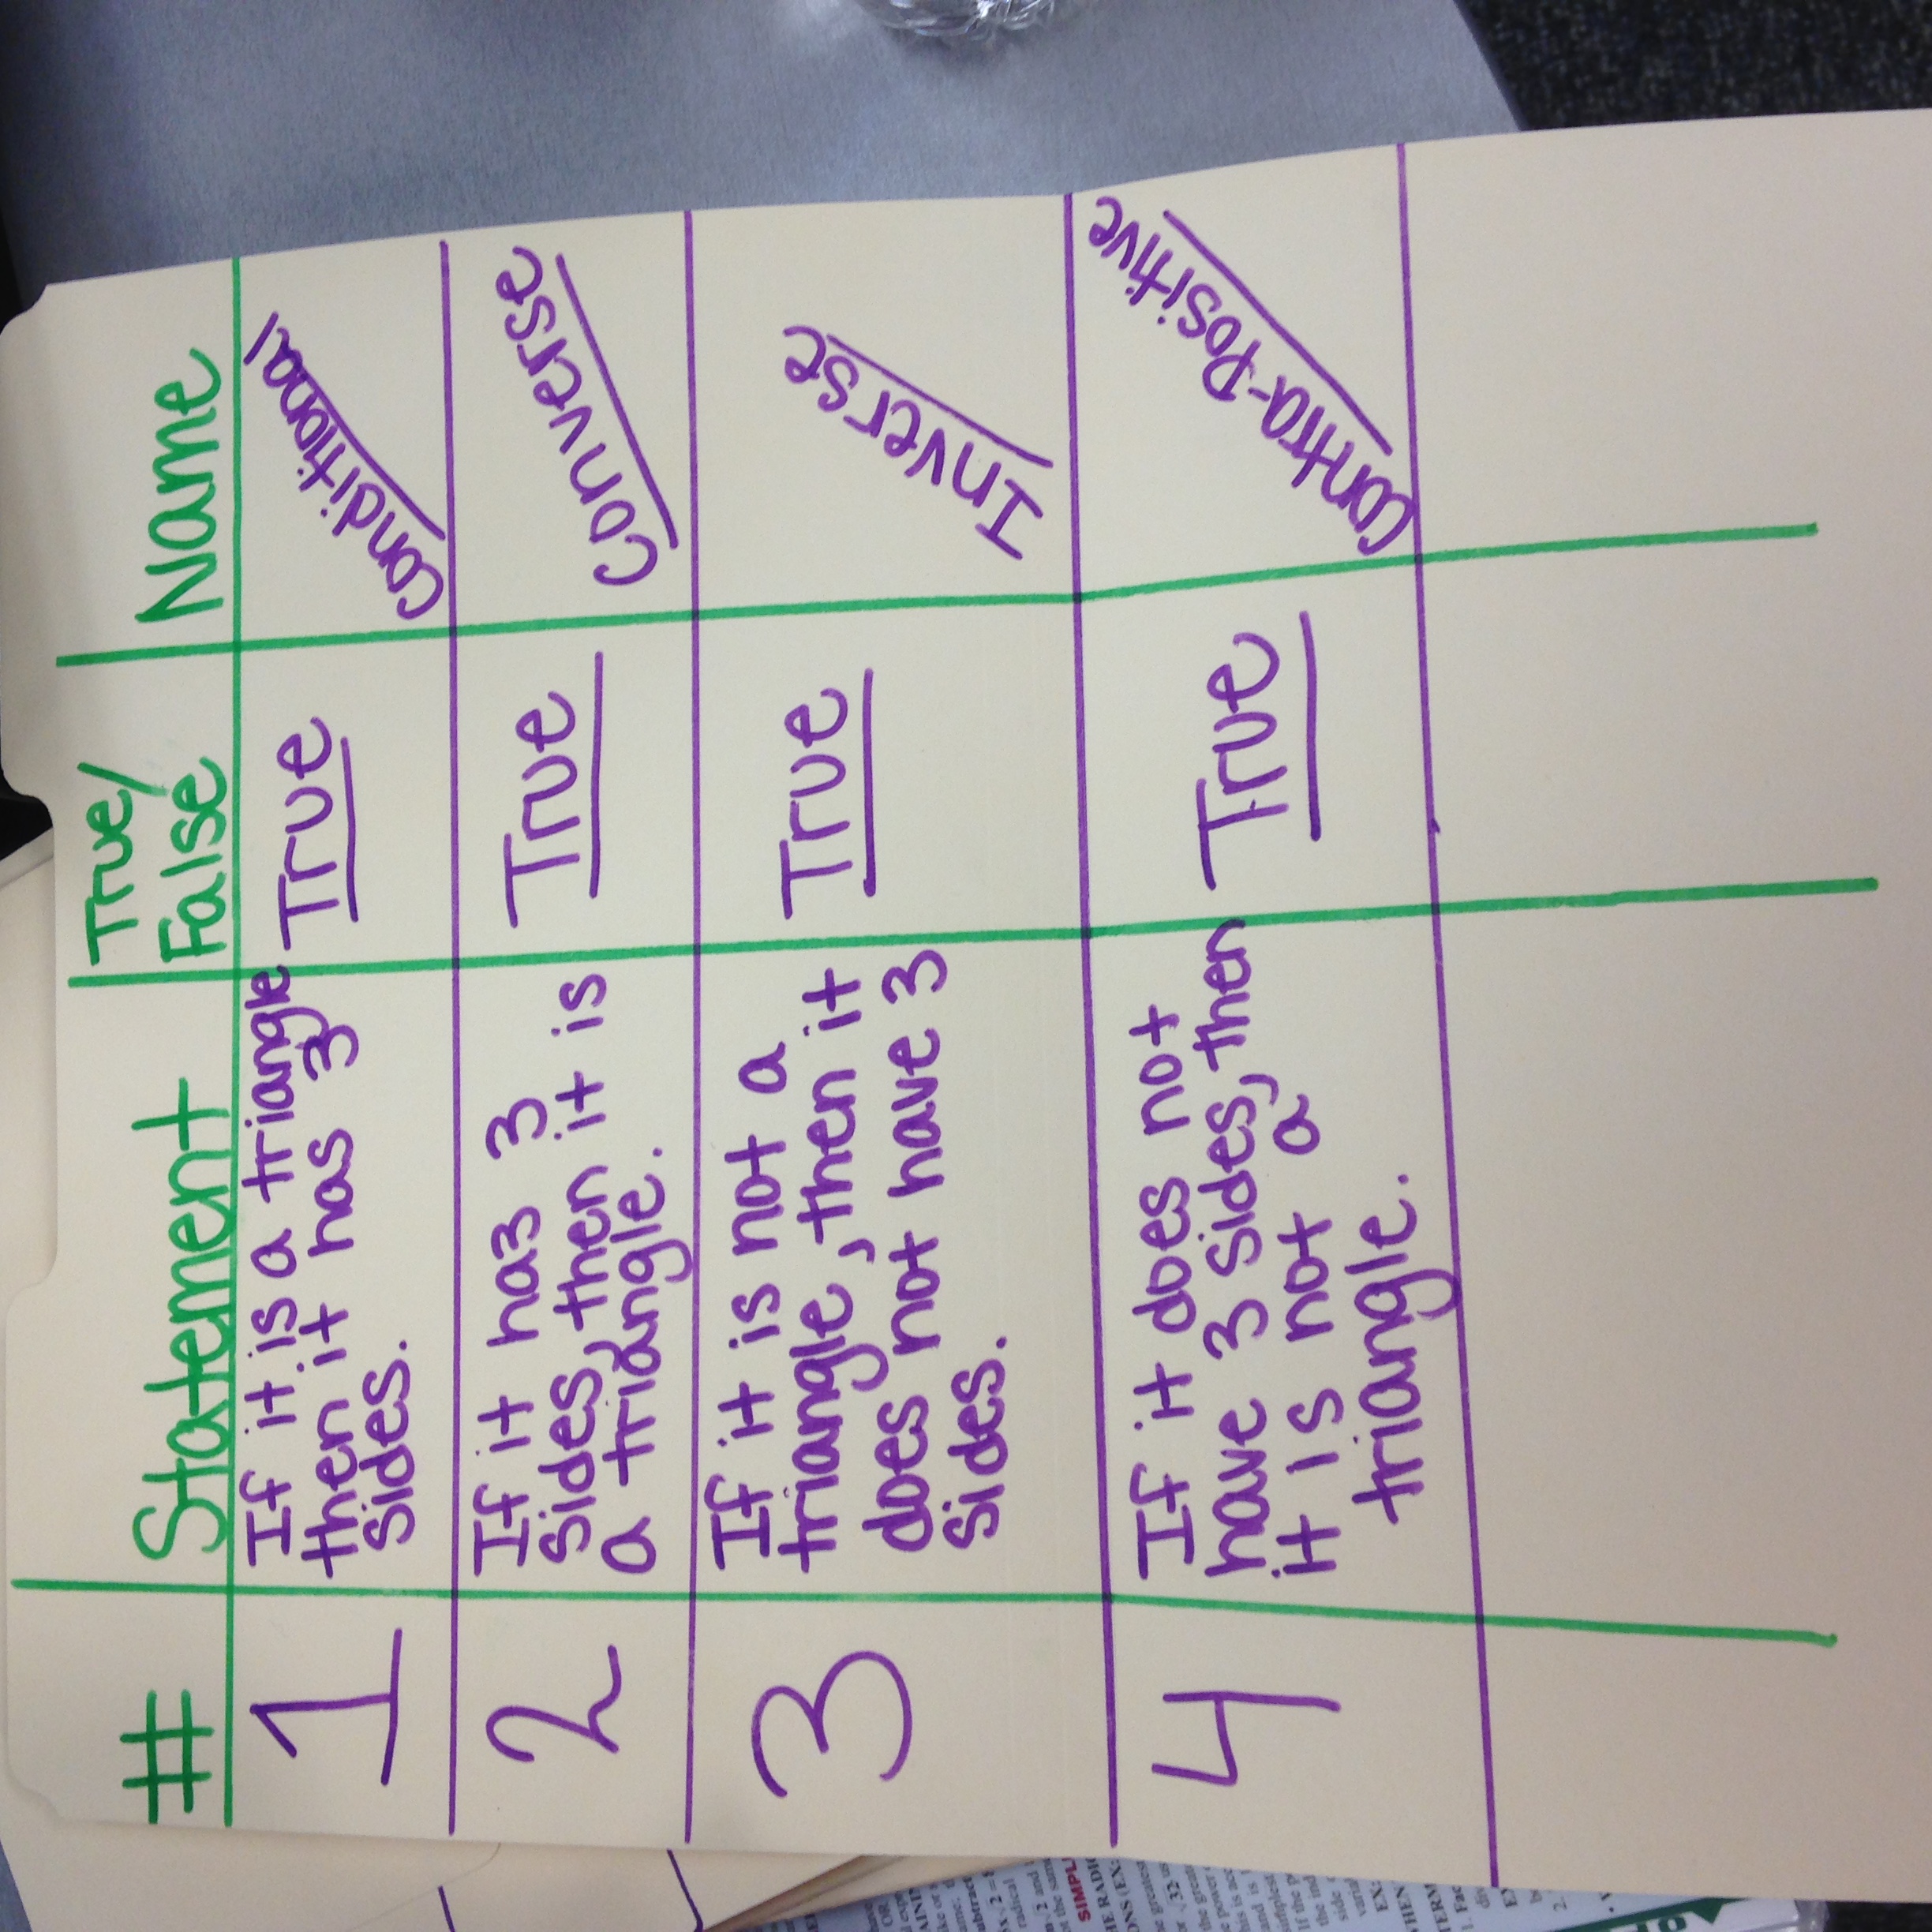
efore even introducing Conditional statements I had my students write 3 if-then rules that they live by. I then had 3 students to come to the board to write their rules. When I finally did introduce conditional statements we usScreen Shot 2015-09-22 at 7.17.34 PMed my students rules to point out the hypothesis and conclusion of each statement. This was good because the students felt by looking at their own rules. I also had students come up to the board and underline and label the hypothesis and conclusion. This got my students up and moving around the room. During a class that is mostly lecture it can be hard to keep students engaged. I tried my best to keep students moving and involved in the notes.

After students became comfortable with labeling conditional statements we moved on to using p and q to represent statements. I told students that mathematicians are “lazy” and wanted a quick way to write conditional statements that made sense to everyone. We worked through a few statements, making them conditional and then writing it in p q form.

Next we moved onto truth values and negations. I introduced truth values the day before but now they were being applied to conditional statements. Students seemed to understand negations pretty quickly. Although taking it one step at a time seemed a little show students seemed to truly understand what was going. Screen Shot 2015-09-22 at 7.17.09 PM

Students were finally introduced to truth tables by given a p and q and then multiple case scenarios. Students were able to see and figure out themselves that the only time the conditional statement was negative was when the hypothesis was false. I thought that this lesson went pretty well even though “math felt like an english class today”. The intro into logic can be tough and confusing, so I hope that my students continue to go into it with a solid foundation!