This year, I have been trying to make my classes mostly student-paced. It really helps differentiate and allows me to answer questions all class.
I started my unit for Parallel Line proofs by exploring parallel and perpendicular lines algebraically. In my geometry course, we explore the geometric and algebraic aspects of almost every unit.
Day 1 : The Desmos activity I created for this unit explored standard, slope-intercept, and transformation (vertex) form. Students also explored what it means algebraically for lines to be parallel or perpendicular. My students have books/workbooks that I put together for each unit that includes guided notes and homework. This activity followed along with the pages below. At the end of class, we pop-corned around the class and discussed the pros and cons of each form.


Day 2: We started looking at parallel lines geometrically, and the angle relationships formed by parallel lines being cut by a transversal. During this class, I used Peardeck and embedded a Geogebra Activity for students to explore angle relationships. The worksheet that went along with the activity went here. This was a 95-minute class, so once we finished we practiced labeling out dance boards and played dance dance transversal!
Day 3: Parallelogram Mazes. I used this last year too. I love it. It gets students really thinking about angle relationships and how you can “jump” from one angle and end at another. I called it “Parallel Line Land” in class.
Day 4: Now it was time to introduce parallel line proofs. I decided to make this class almost entirely student-paced and create it using Desmos Activity building. I was able to scaffold proof building in this activity. I had students copy the proofs they did on Desmos ALSO in their notes. 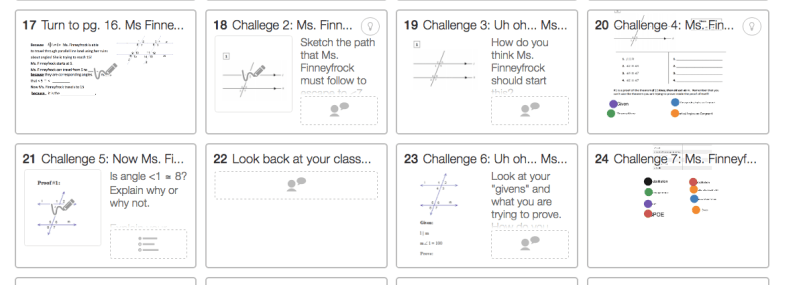
Day 5: Proof practice. Today we used a Desmos Activity and Whiteboarding. This Desmos Activity has student walked through a scaffolded proof of their own, and then they work with their partner on a proof on their whiteboard. I had students walk around and see how/if other groups proved it differently. Students also created their own “parallel Line land” together and decided what they wanted to prove. They then created their own proof.
Day 6: I created a Desmos Activity that walks students through proving lines are parallel. It scaffolded the proof process and goes through all of the converse theorems. I utilized the Desmos Pause button a lot during this activity! It gave us the opportunity for a lot of great discussions!
Day 7/8: Review- On day 7: I gave each student a different proof (there were 10 so I split them up evenly). It was the student’s job to become an expert on the one problem. They had to create a video explaining how they proved it and upload it onto Seesaw. Instead of adding each student’s name to Seesaw, I grouped everything by problem number. Students uploaded their video to whatever number they became an expert at! By the end of the day, each problem had about 4-6 videos. On day 8, students completed all the proofs! They could call over the “expert” for help or watch the videos! It was a great way to help them study for the test!
