Using Edpuzzle in the classroom

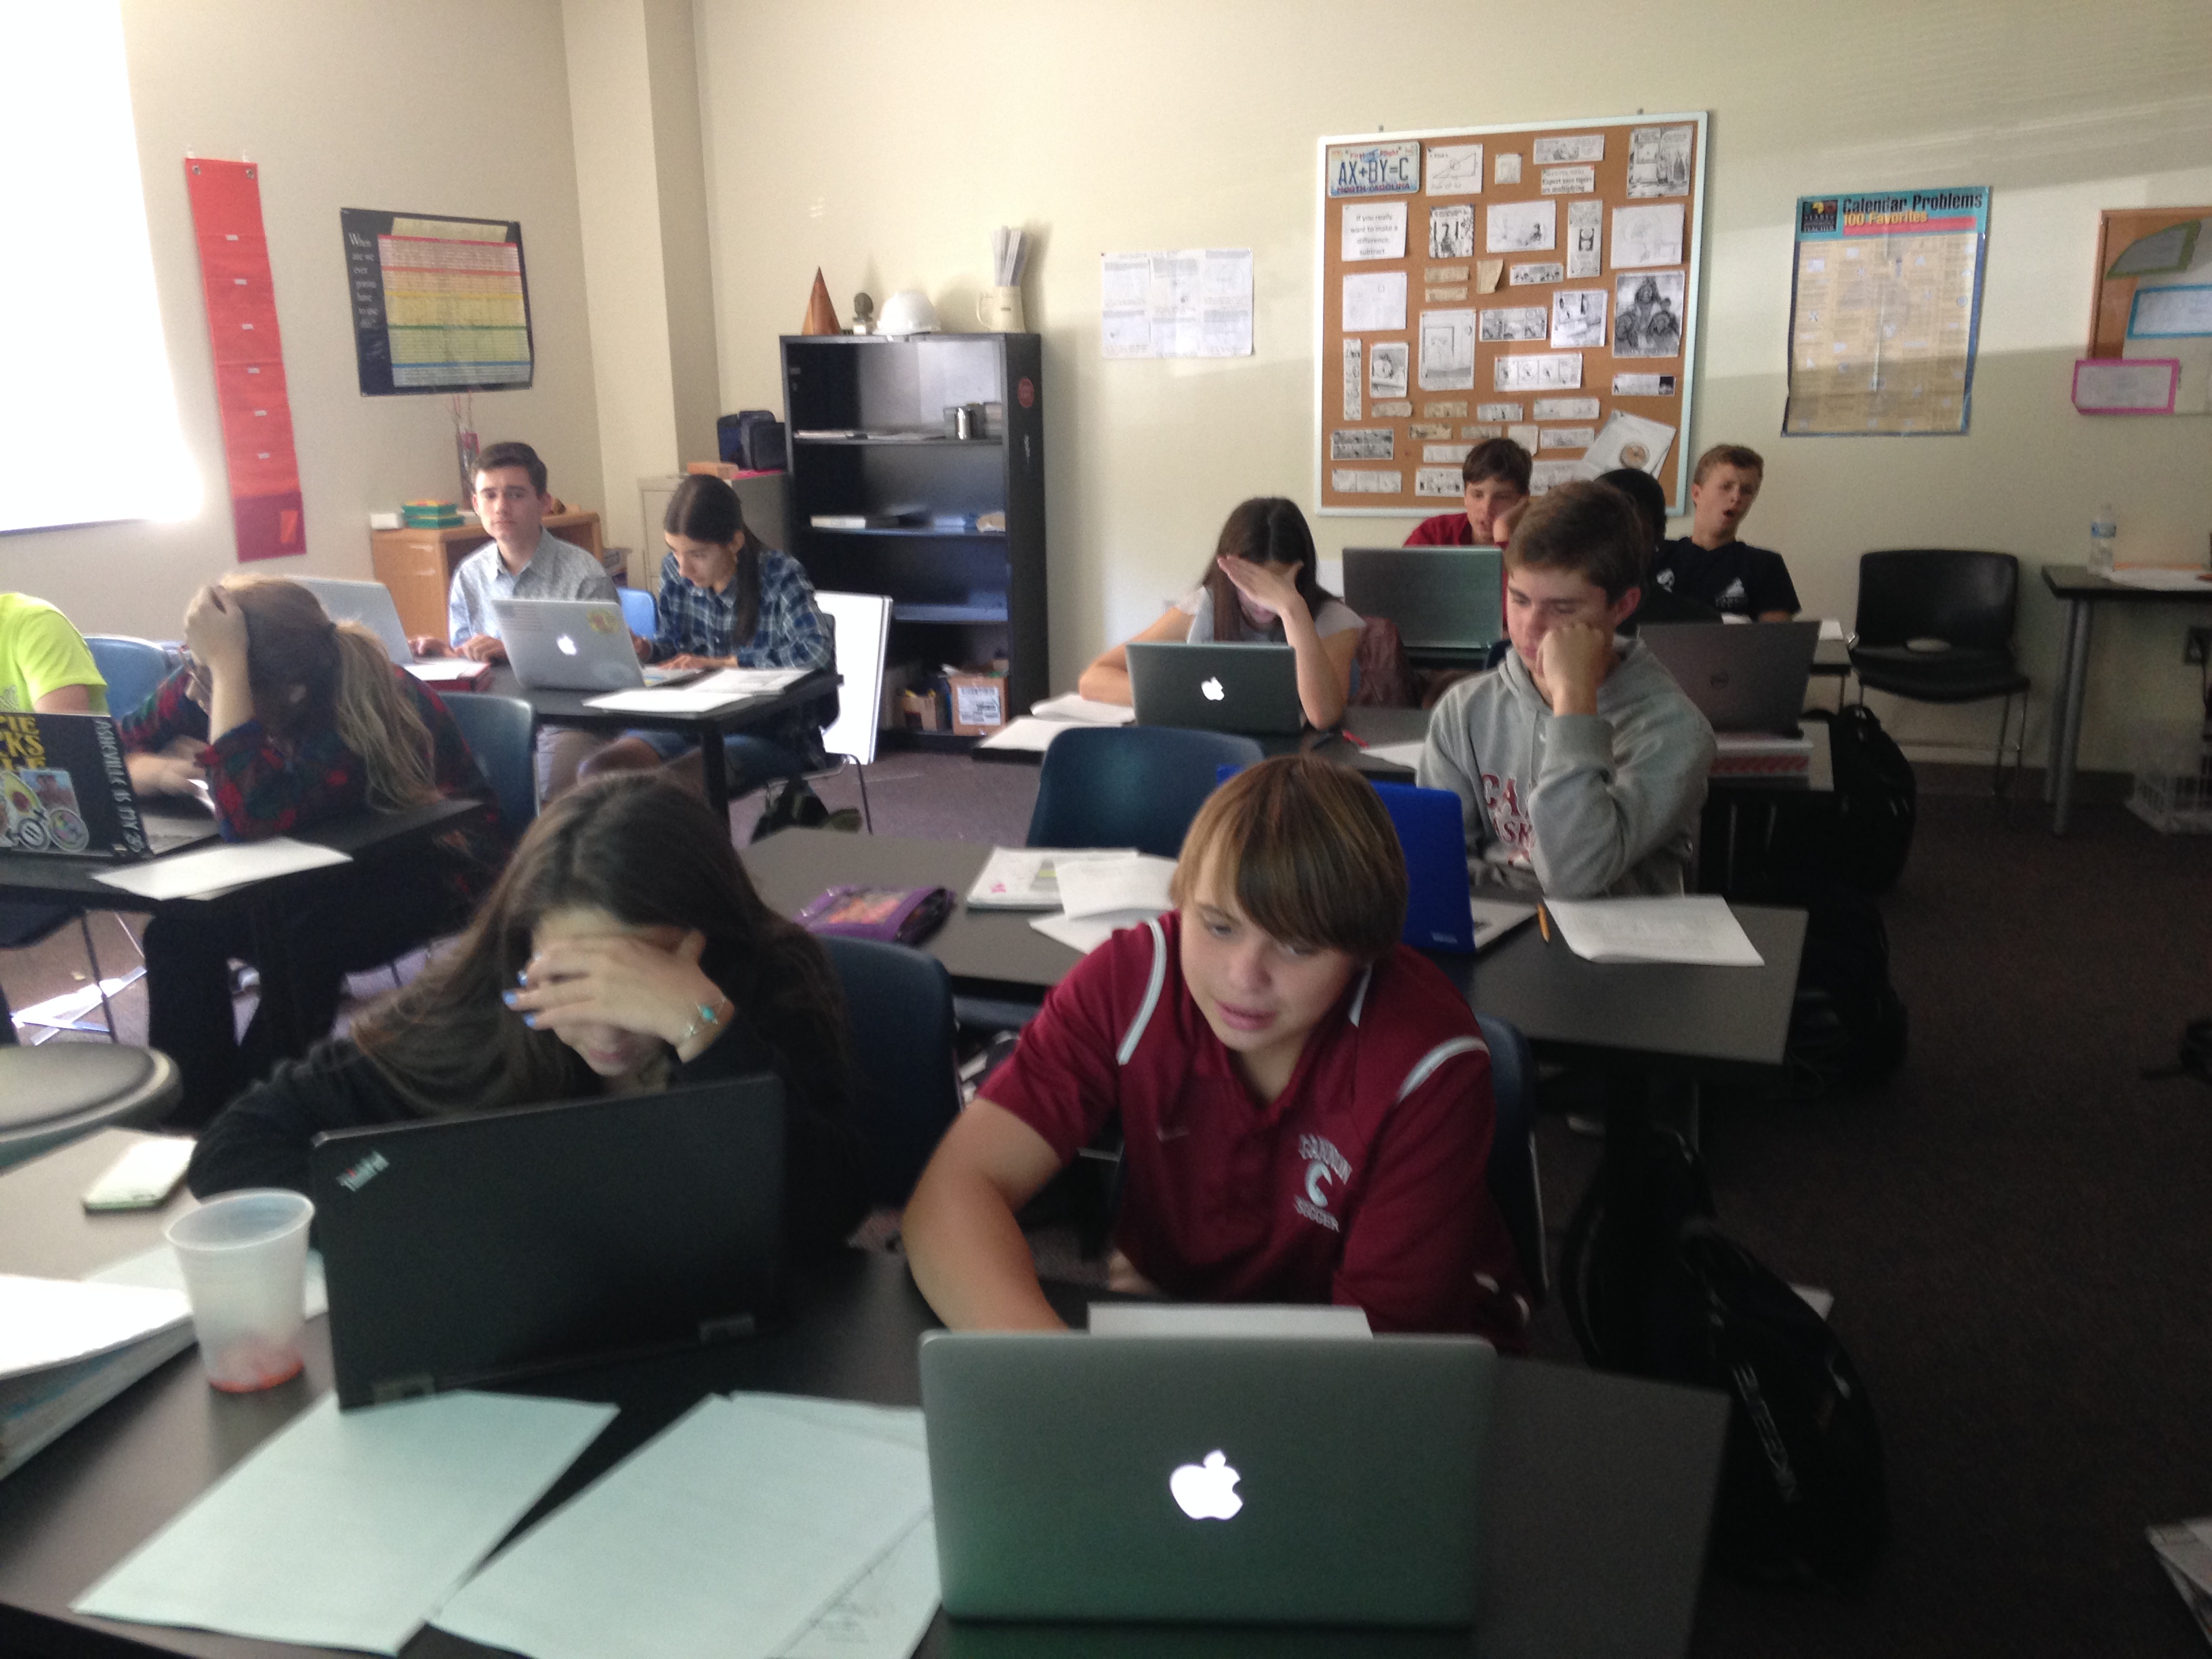
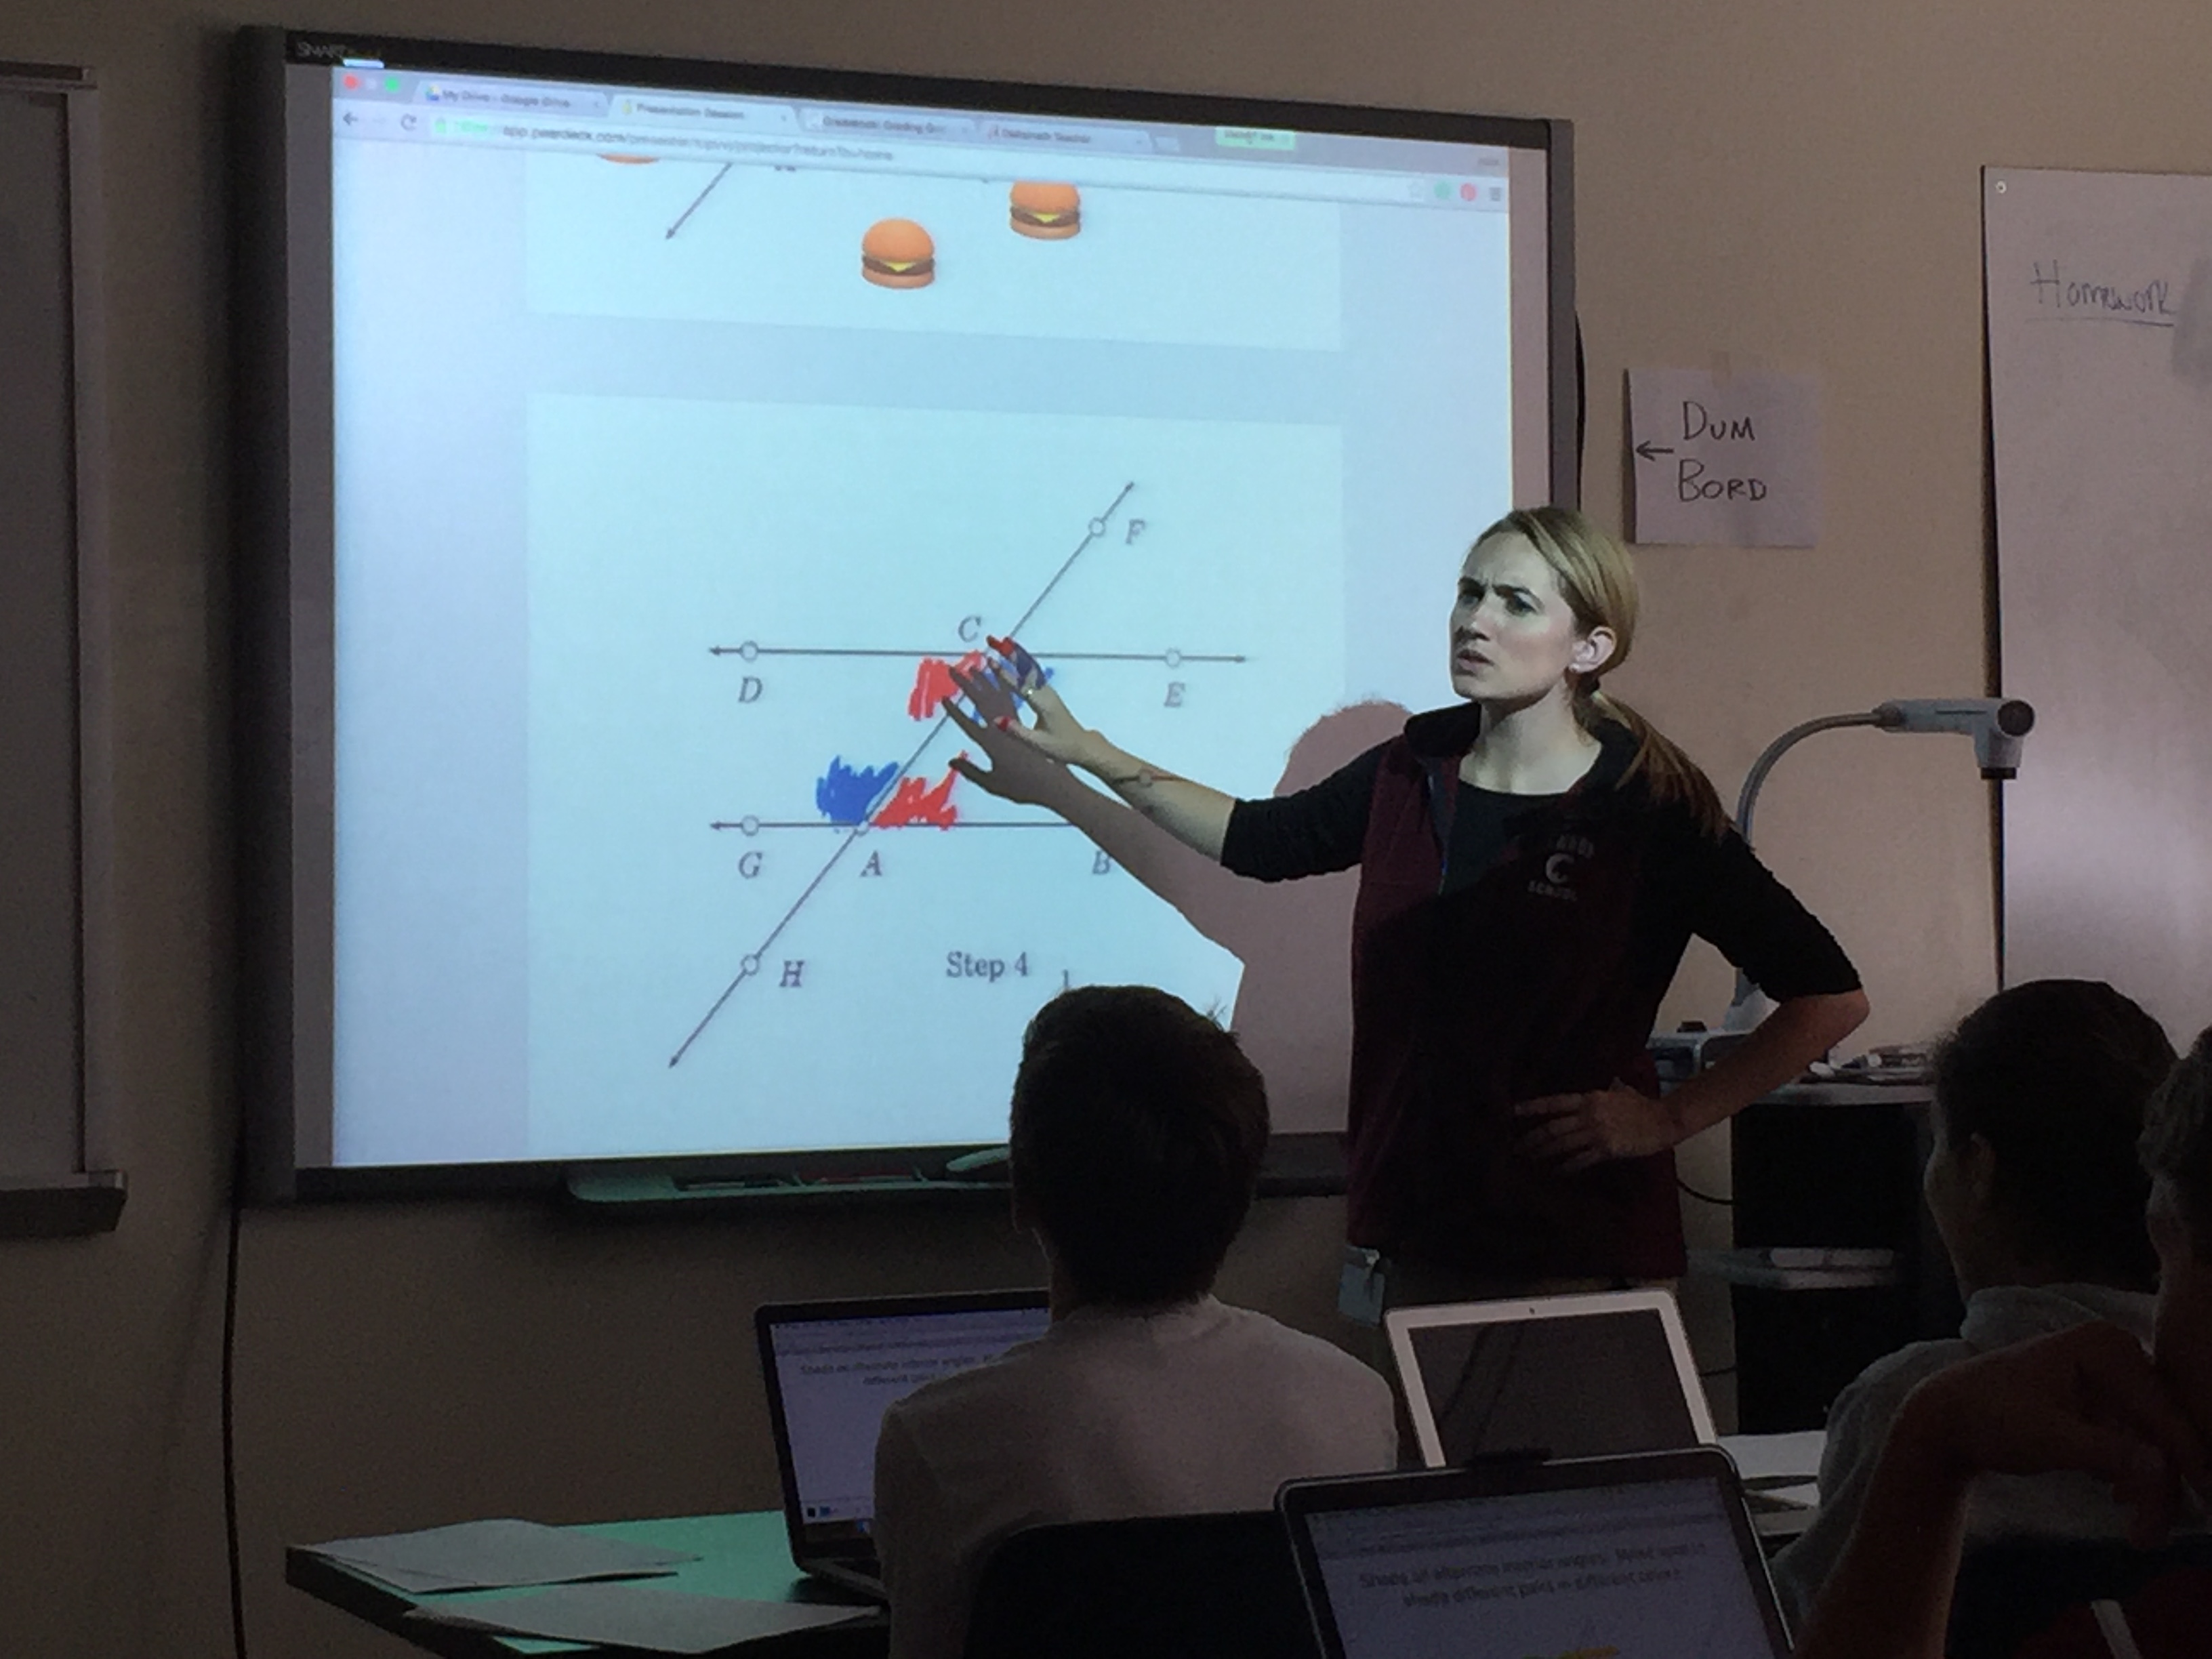
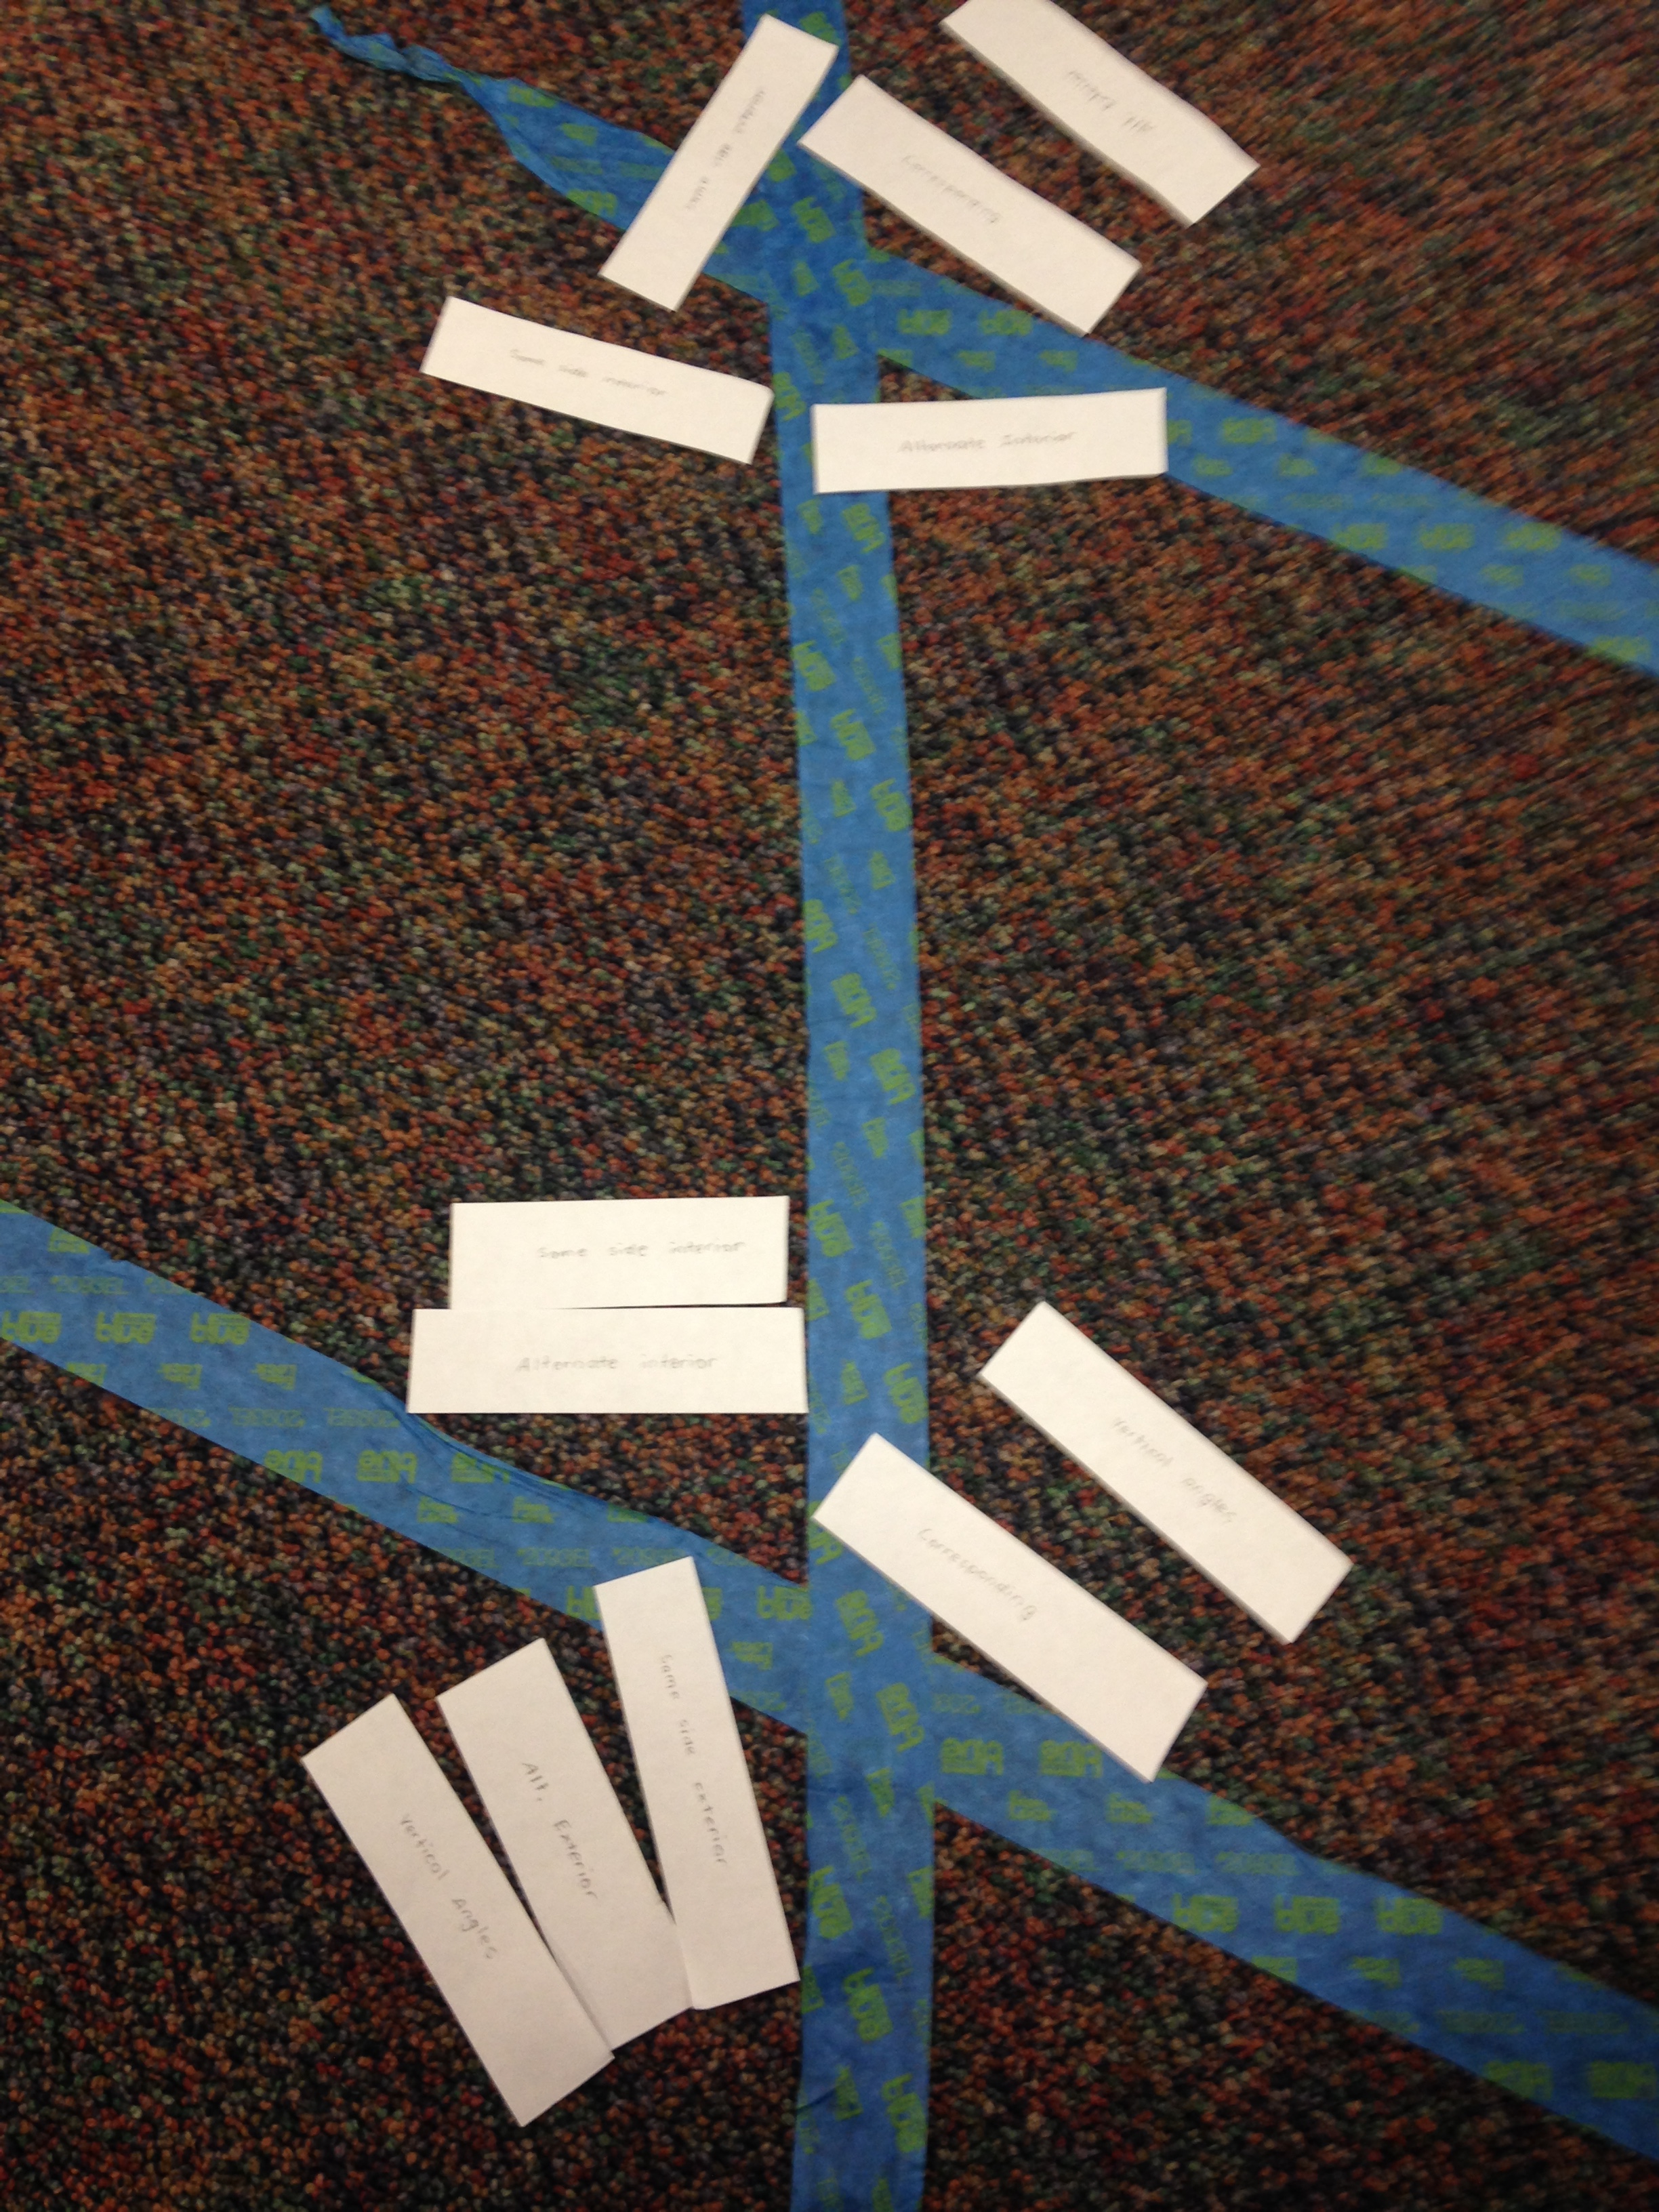
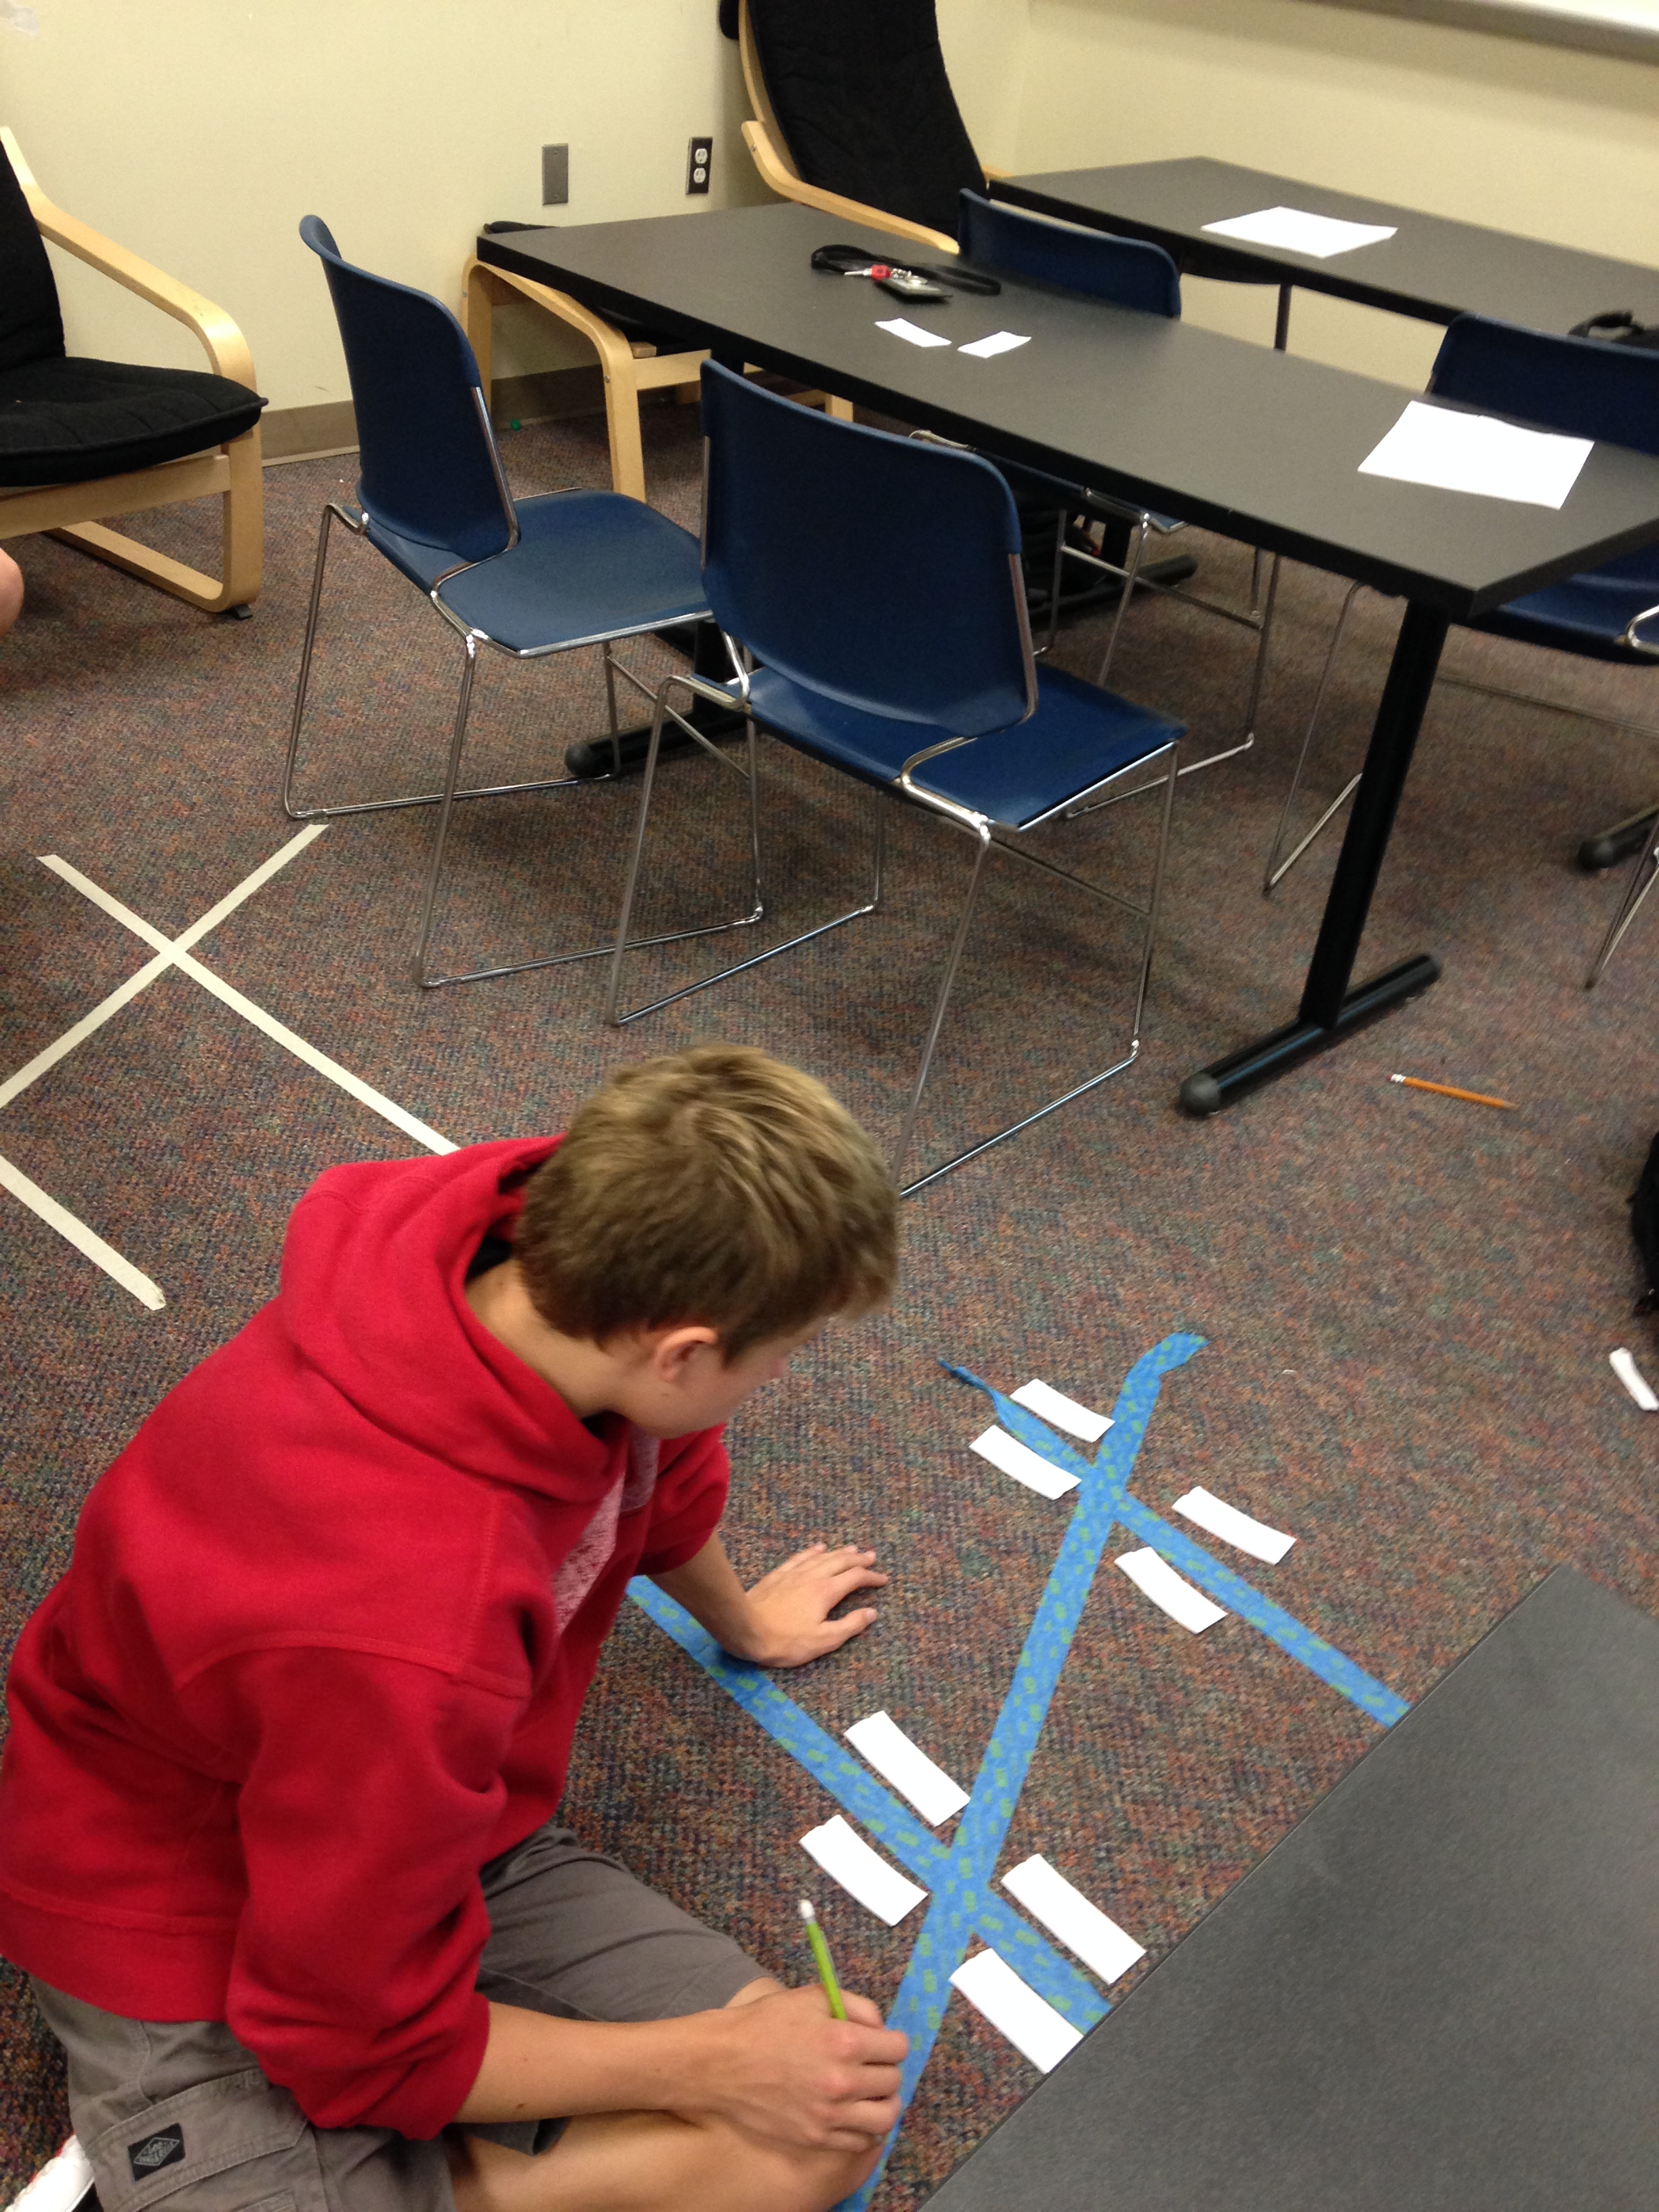
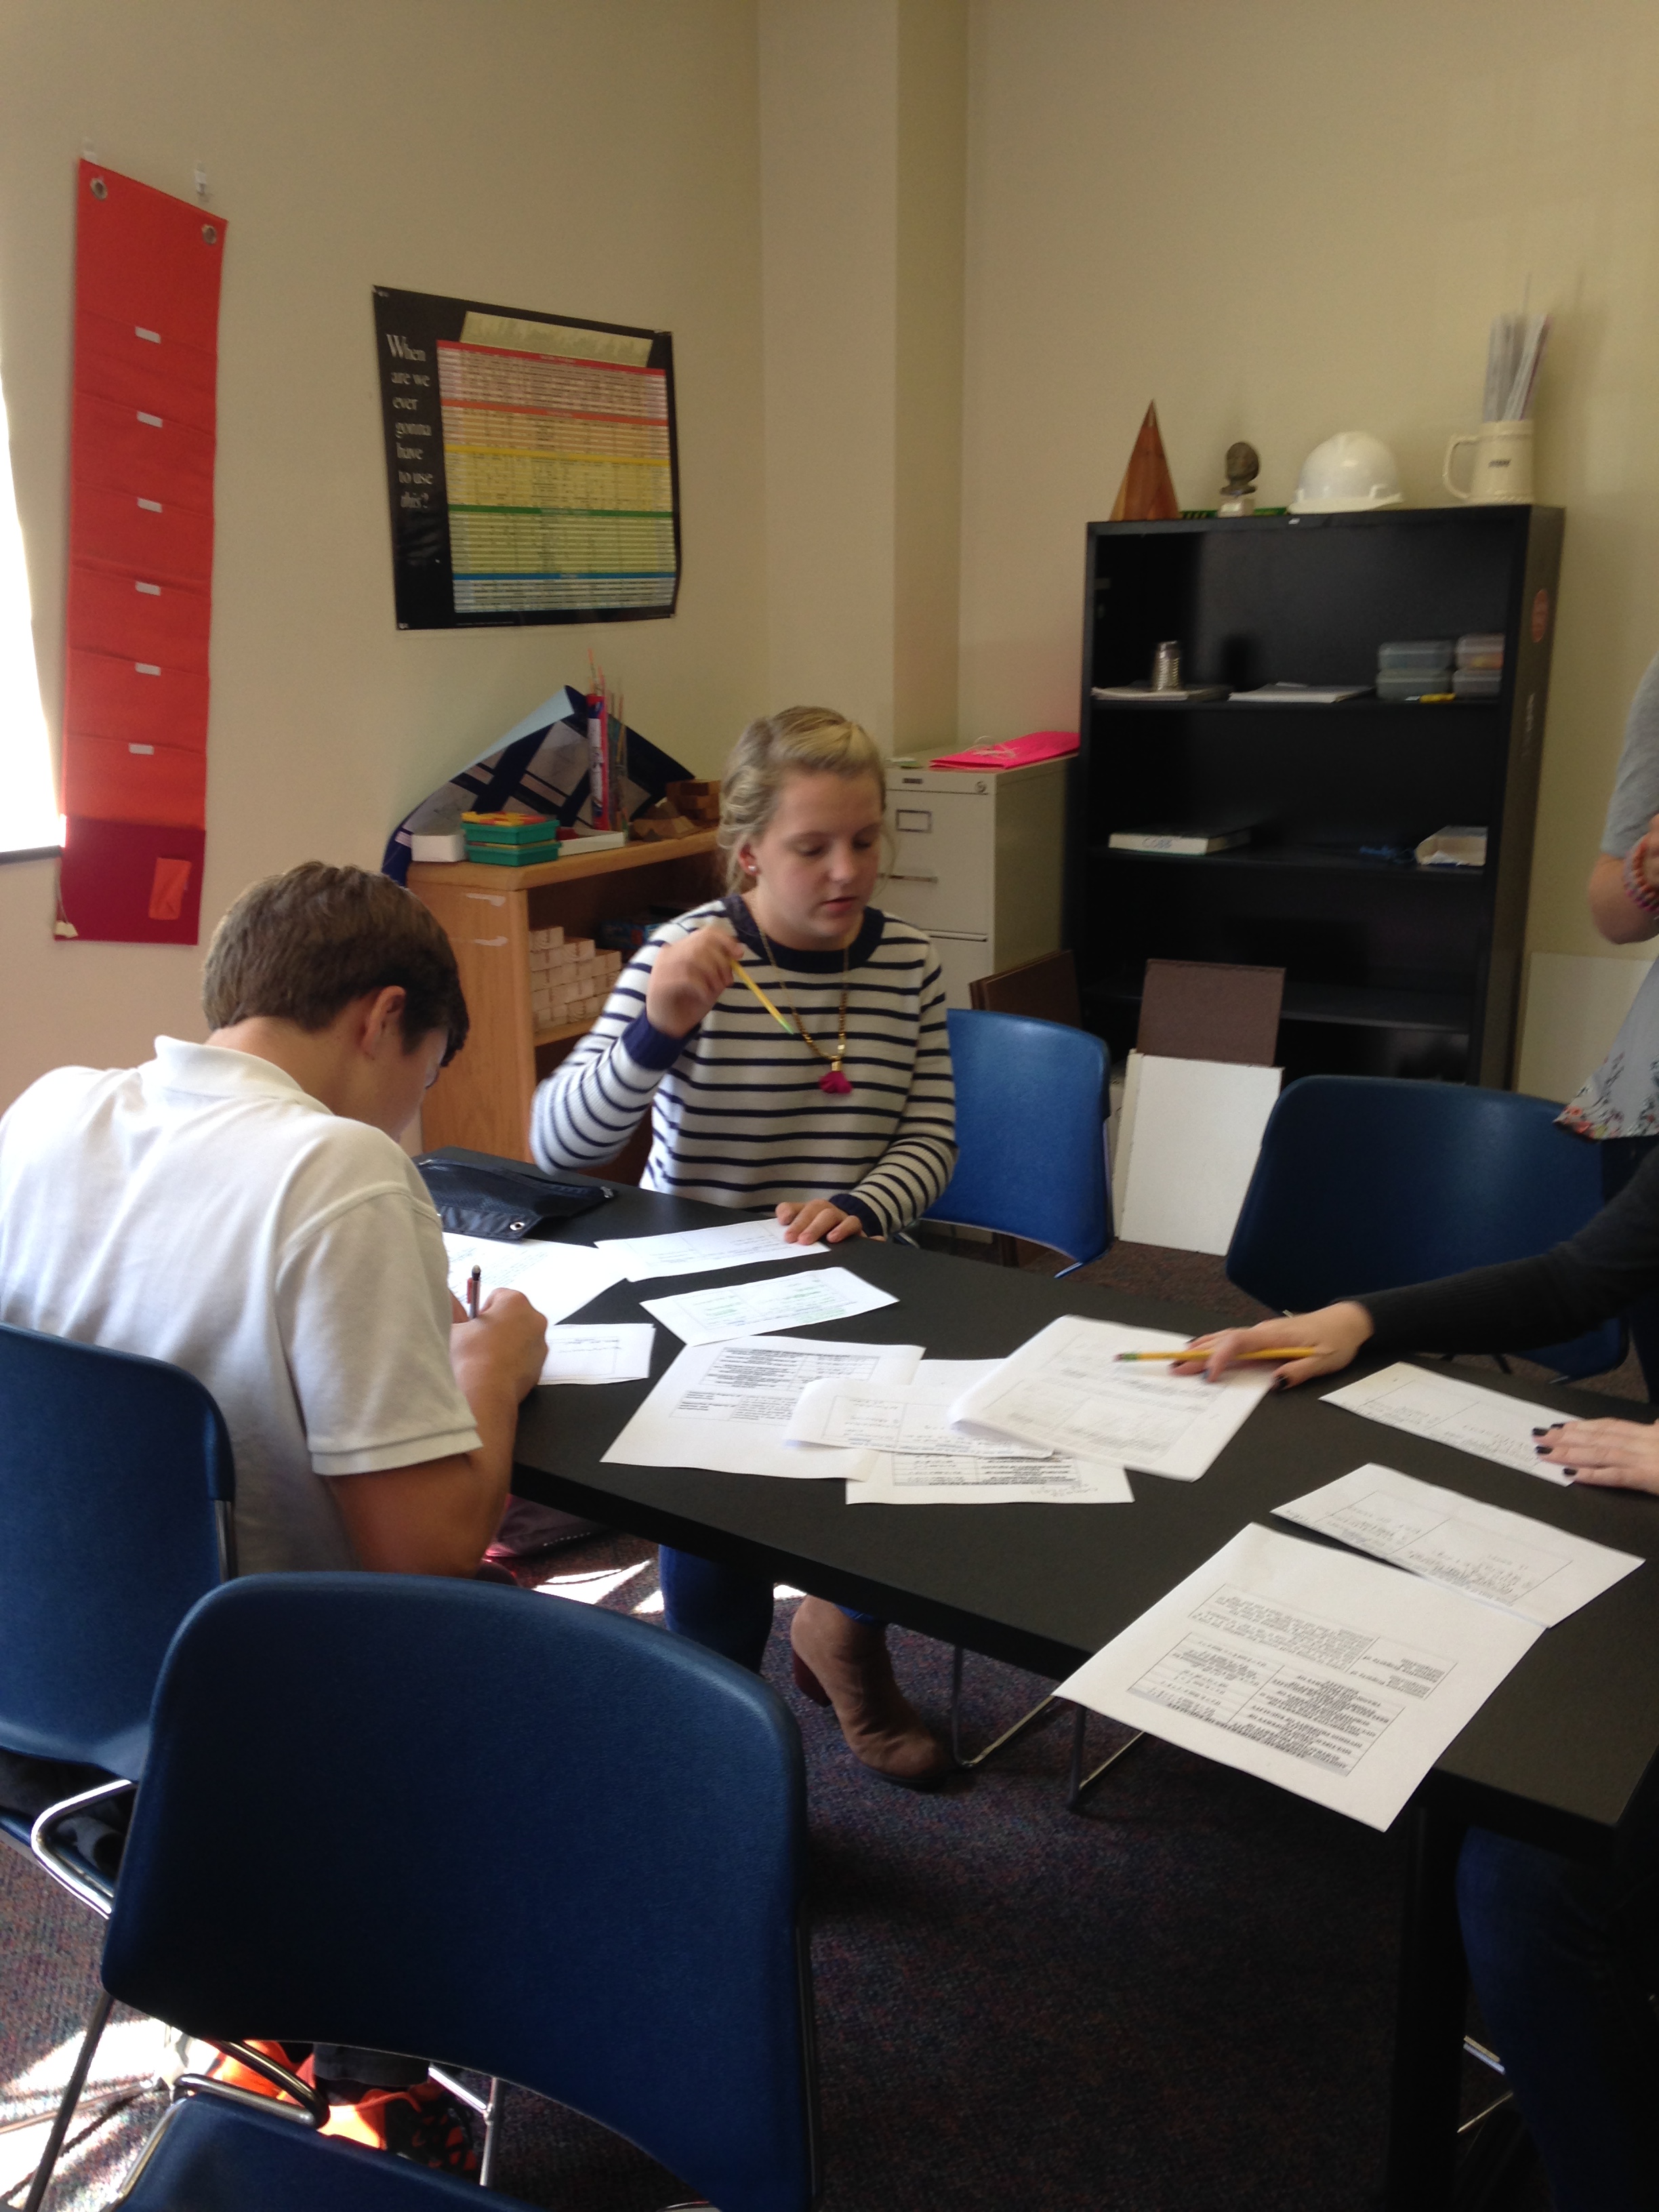
I was missing class last week for a conference, and I didn’t want to lose a day with my Geometry class by giving them busy work. We’ve been working on parallel line indirect proofs by working through Parallel Line Land mazes.  While I was gone I wanted to introduce them to parallel line direct proofs. This was a long block day (1:30 class), so they had plenty of time to be productive. Our schedule rotates, and it happened that I would be in class for 2 sections of geometry on Tuesday, but miss one section on Wednesday. I decided to try out my plan with my Tuesday classes and then tweak my lesson so my students on Wednesday could do it without my help.

I was slightly familiar with using EDpuzzle but never used it in class before. Edpuzzle is a tool that is typically used in a flipped classroom. You can upload videos, add voice overs, comments, and questions for students to answer.

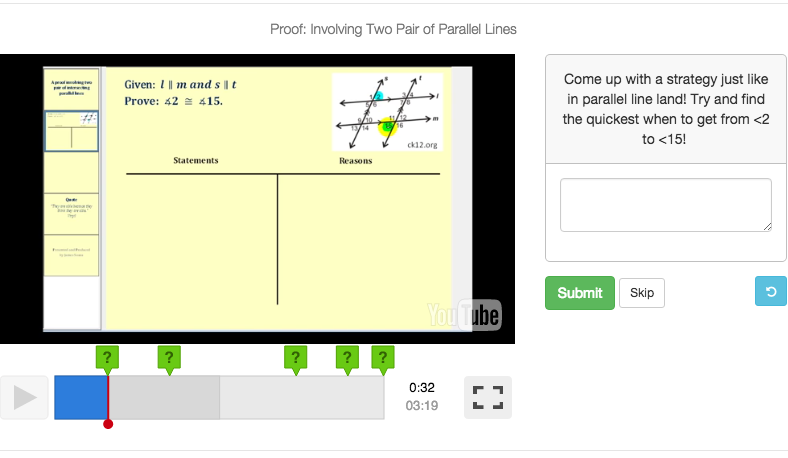
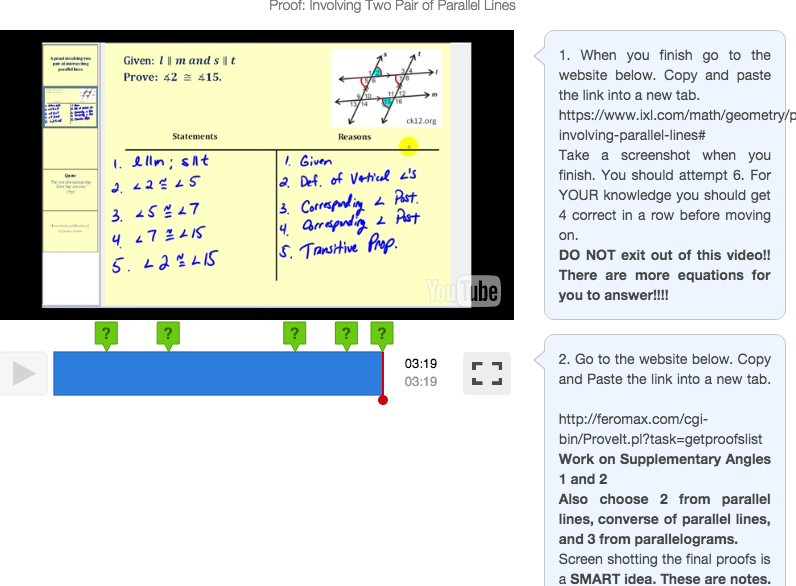
I didn’t make my own video, but found a one that walked students through a formal proof. During the video I created scaffolding questions. I wanted my students to be engaged in the video. Just like with flipped classroom videos, the length of the video should be 7 minutes tops! If you need the video to be longer you should split it up into multiple videos. I noticed that students zone off if it the video is too long.

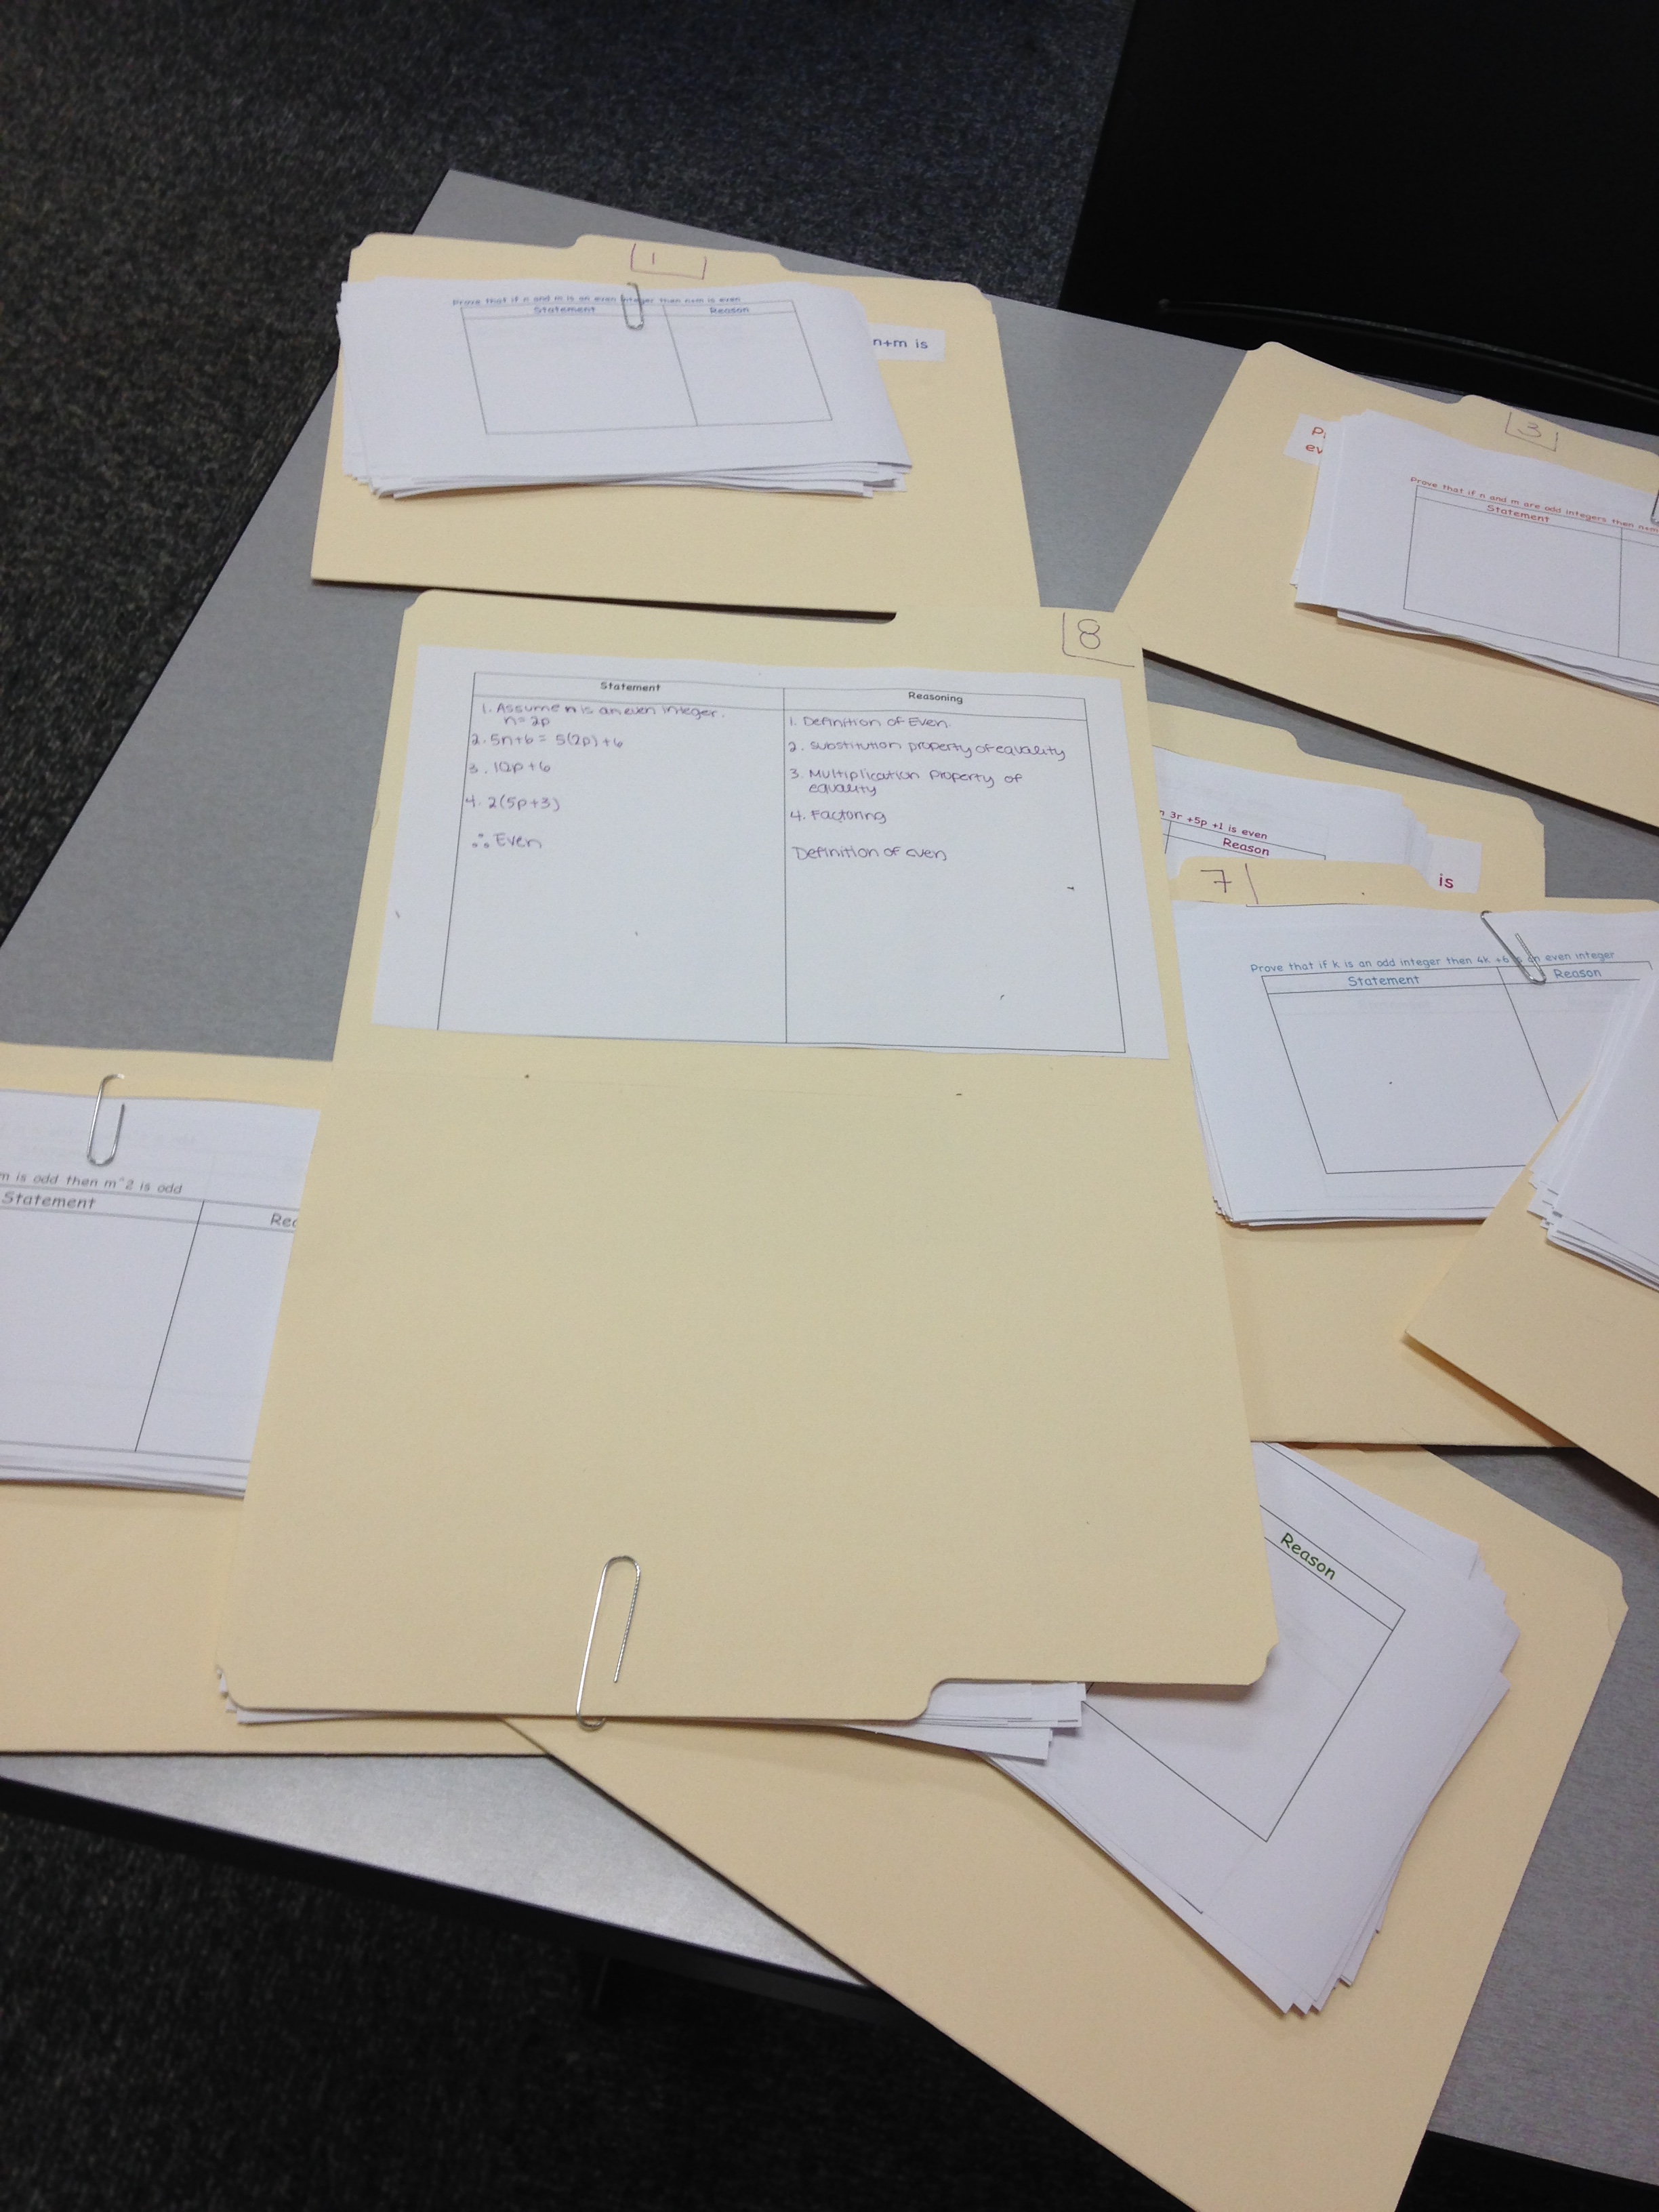
At the end of the video, I added a comment with directions to practice proofs on different websites. The first site had a proof and then had students fill in the last “reason” of the proof. The second site was a little more difficult.  Students were given “the givens” and what they were trying to prove. They were also given a list of statements. They had to click on the statement that should come first and then a list of givens popped up and they had to pick which one went with the statement. This really confused my students when I wasn’t there to help them, but once I explained the concept they understood.

After they finished working through the links,  I  added a place for students to tell me how they felt about the video/websites and if what questions they had.

For homework students had 3 proofs they needed to work through. I created another edpuzzle for the next class (I was out two days) of me explaining the homework, so students could watch it and ask me questions while I was out.

Screen Shot 2015-10-22 at 9.19.20 PM Screen Shot 2015-10-22 at 9.19.44 PM Screen Shot 2015-10-22 at 9.24.05 PM

Screen Shot 2015-10-22 at 9.55.21 PM

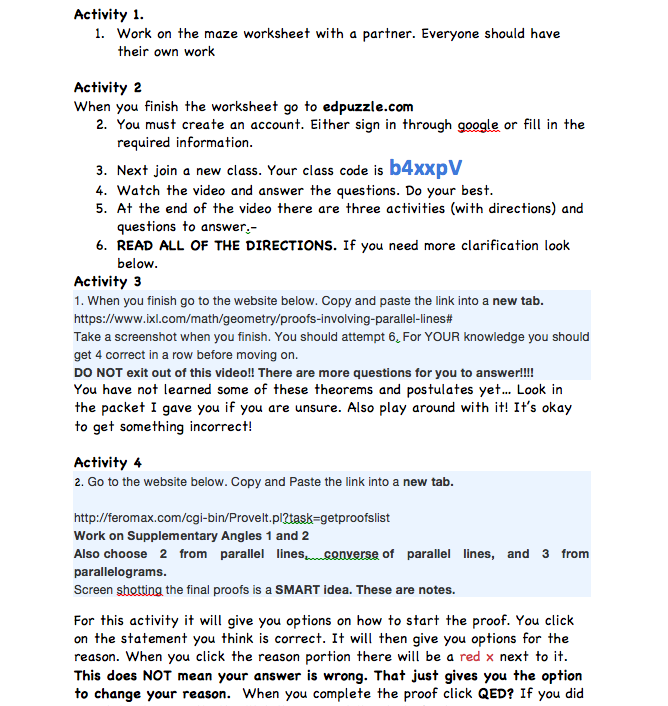
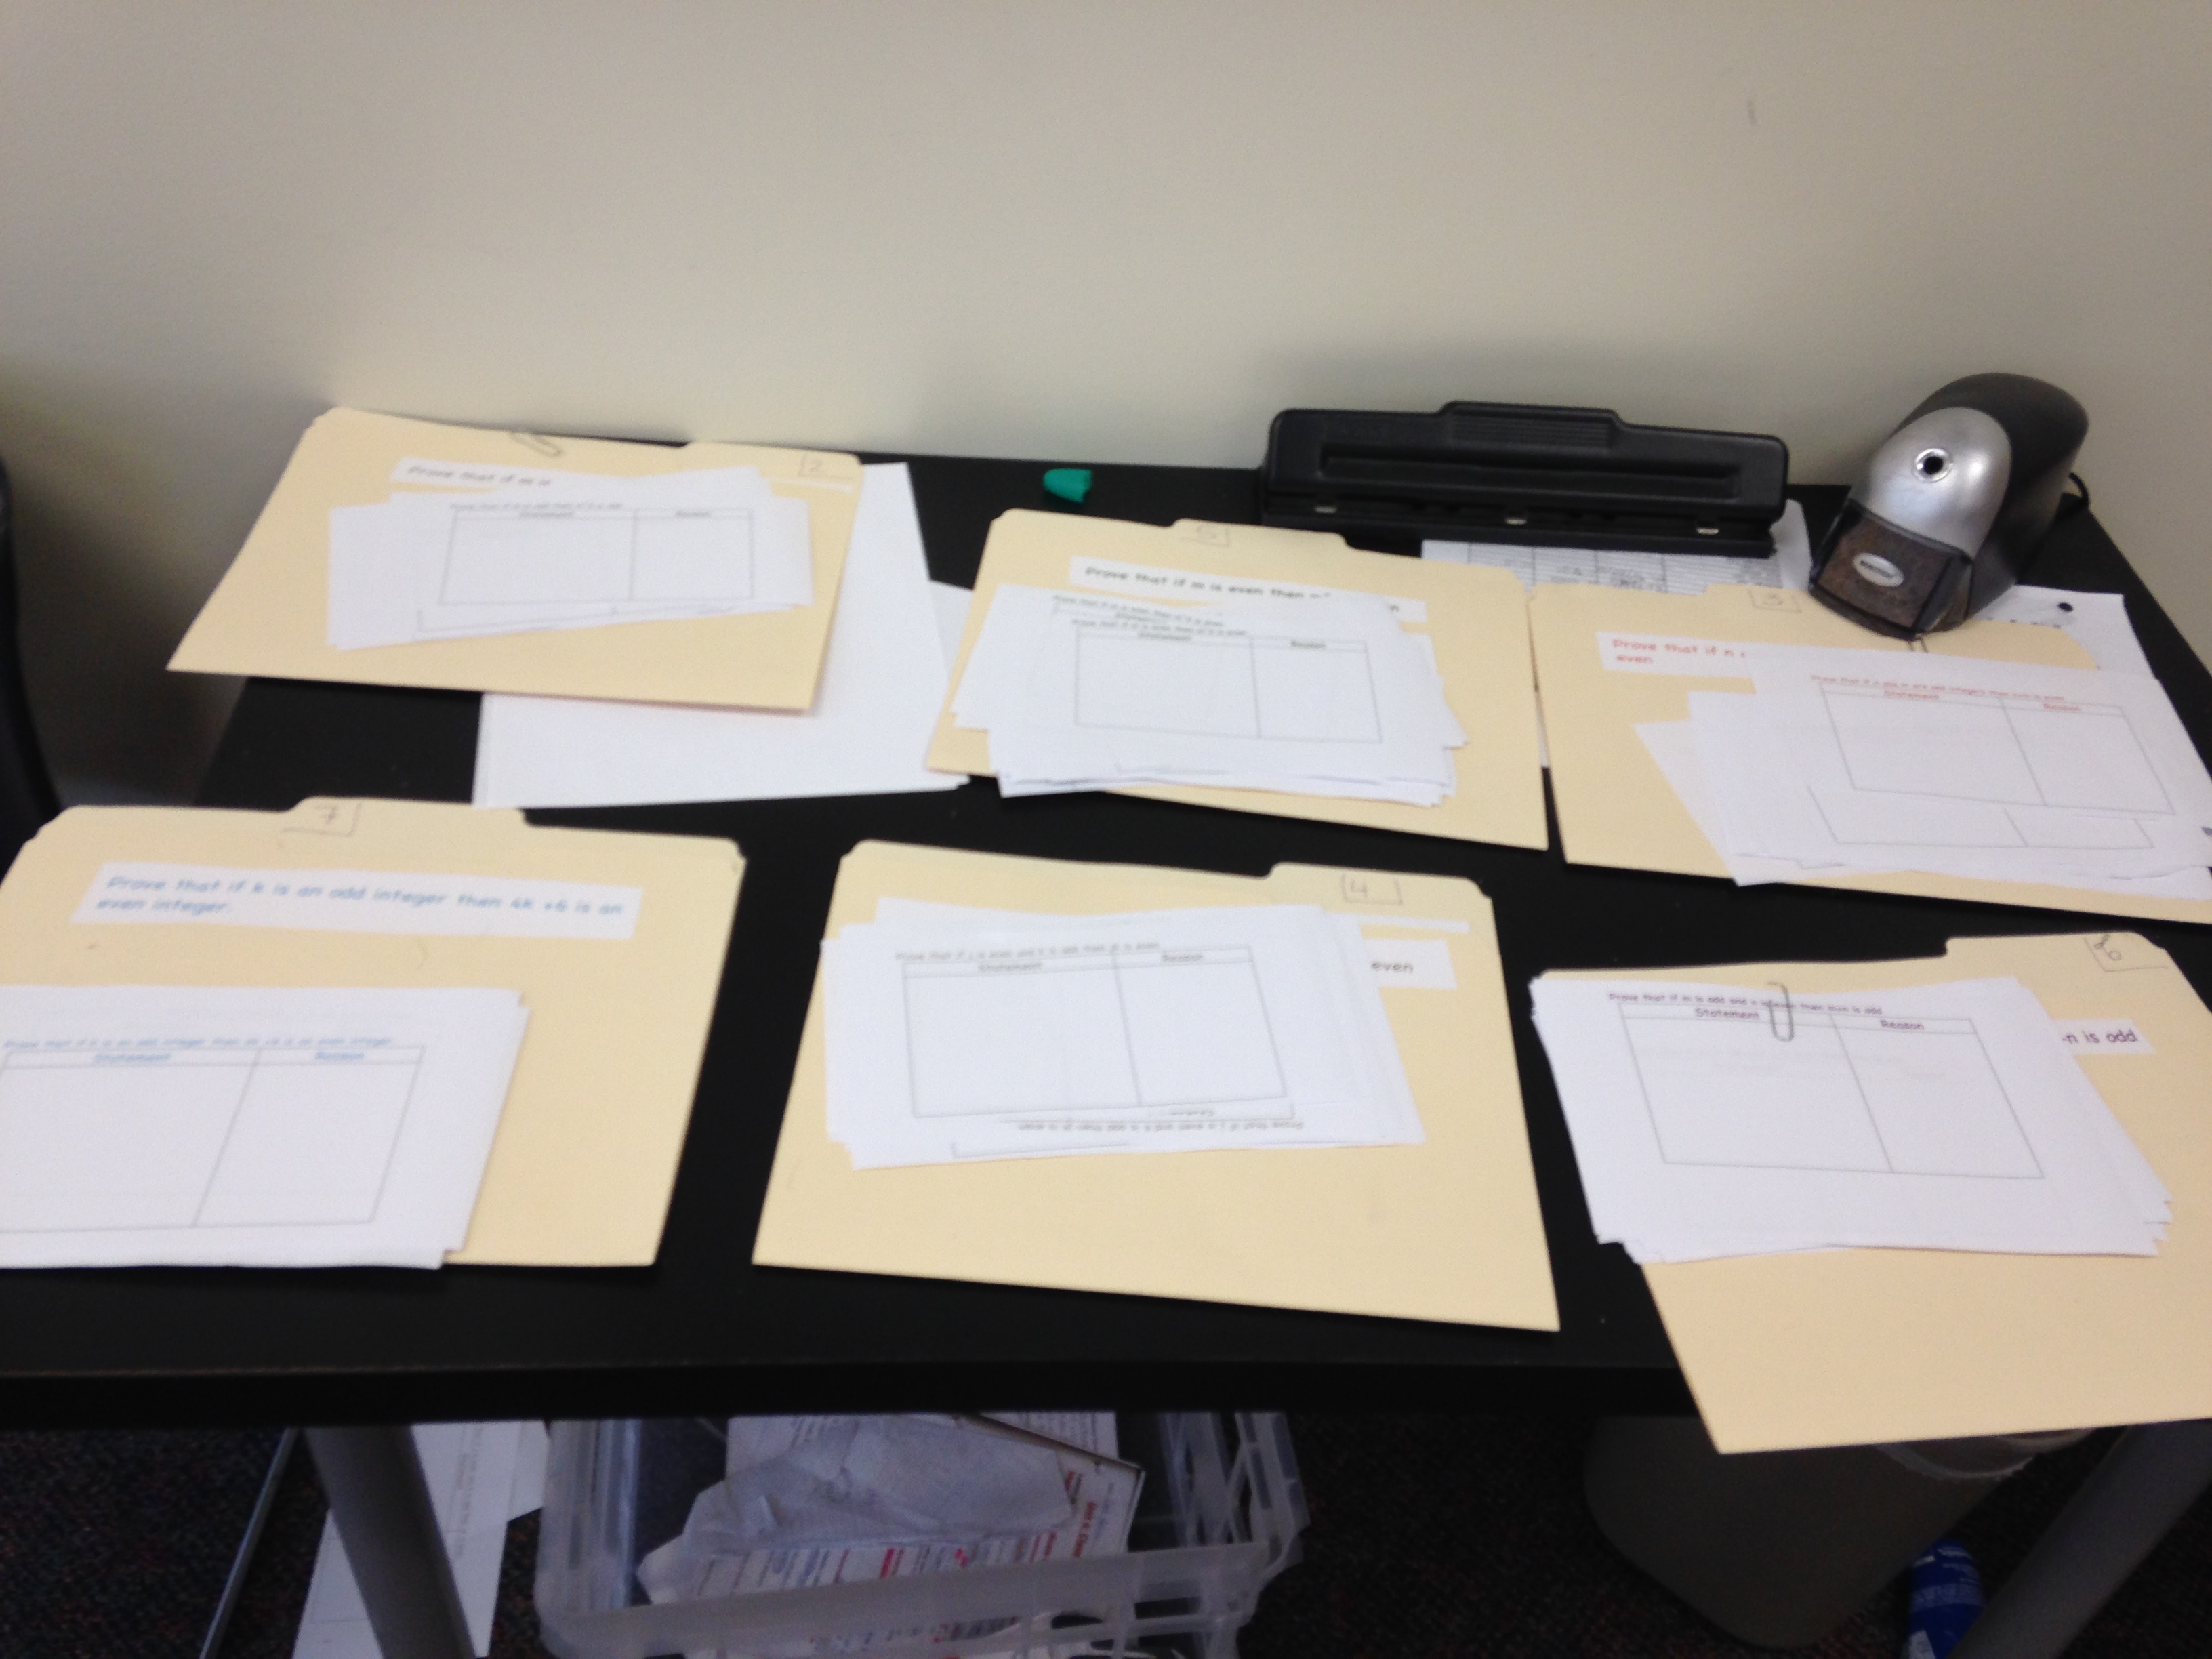
After seeing the questions by two classes had about the activities, I typed up a sheet answered all of the questions that I was asked.  I wanted to make the activity completely doable. I left a huge sub  folder with materials for my students. However, my sub somehow did not get my sub folder and my students were in a PANIC trying to figure out what to do. This activity also required students to try and really think about proofs, so students had a difficult time understanding that they could struggle. “Productive struggle” is a phrase we use daily in class, however, without my direction sheets and without me being there to help, students felt completely lost 😦 I would recommend not using this for a sub plan. It worked so much better when I was there!

However, I really do like edpuzzle. It was a great way to get feedback and give video lessons or just a review of homework. You can set due dates for the completions of the videos, but students can watch the video whenever and how many times they like!

Dance Dance Transversal!

I really wanted to teach properties of parallel lines through investigation When I was working on my constructions unit using GeoGebra I found this great scaffolding worksheet for properties of parallel lines. I decided to try it so my students could discover and play around with parallel lines cut by any transversal. Some students figured out the sheet very quickly and others were extremely confused. I had students work on their own on GeoGebra but could work on the questions with a partner. This helped clear up a lot of confusion and created a lot of mathematical discussion.

IMG_6255 IMG_6256

After they completed the geogebra investigation, all of my students got onto Pear Deck. I started my Pear Deck lesson with the question “what is a transversal? ” All students answered and I was able to scroll through their answers to see who understood the activity. We then came up with a definition together. Next I was able to discuss corresponding angles, alternate interior, alternate exterior, same side interior and exterior, and vertical angles. I wanted to see if my students understood where these angles were from the previous activity so I had them shade in their angles on Pear Deck. This lead to the discussion on why certain angles were there and which ones were congruent or supplementary. At the end of the Pear Deck I had students rank their understanding of the lesson and ask me a question. I did student takeaways so the entire Pear Deck lesson was sent to each of the students google drive, and I was able to go in and enter comments to answer their questions. SO COOL.

IMG_6302 IMG_6301 IMG_6300

Day two of this lesson was introduced to me by Julie Reulbach. She suggested that I do Dance Dance transversal. In order to this I had to make 10 dance floors around my classroom (two parallel lines cut by the transversal) using tape. I suggest using painters tape! SO much easier to take off!

I wanted to clear up any misconceptions before we danced so I had students work with a partner and find a dance floor. I gave them each scraps of paper and they had to use them to label each type of angle. This gave me a chance to walk around and help students who were struggling and to see who really had a firm grasp on the lesson.

IMG_6275 IMG_6272 IMG_6262 IMG_6259

When they all finished we trashed the scraps and had 10 rounds of dance dance transversal!! We had 10 rounds and partners switched every other round. This made properties of parallel lines so much fun!! Check out my instagram for videos of my students dancing!!!

Making Math Stations Easy By Using Folders!

In Geometry, we have been working on even/odd proofs. Some students were picking it up extremely quickly, but others were struggling (mostly over thinking everything)! I wanted to create an activity where students were able to work at their own pace to practice even/odd proofs. I decided that I would try out creating stations. I created 9 even/odd proofs ranging in levels of difficulty. I allowed my students to work with a partner and use their notes from our class before.

I started class by handing everyone proof #1 and a list of algebraic properties and explained the rules of the day.

  1. Work through proof #1with your partner. If you get stuck look at the examples in your notes. If you still don’t understand call me over for help.
  2. When you finish find the folder with the same color as your proof labeled “#1” Open the folder and check your answers. If it doesn’t match up where did your proof go wrong?
  3. Once proof #1 is perfected find the folder labeled #2. Paper clipped to this folder is your sheet for Proof #2. Go back to your seat to complete it.
  4. Repeat until finished Proof #9.
  5. When finished turn your proofs into a “proof book”
  6. ALL proofs must be completed before class tomorrow.

This activity was GREAT. It took a lot of prep, but students were able to check their proofs right away and work at their own place. Some students finished all of the proofs in class while others still had a few left. The ones who finished in class walked around and helped students who were struggling. For the students who did not finish had to complete the proofs for homework. I posted the answers to the proofs online, so my students could check their answers. Each proof was written in a different color, so it was easy to decipher which proof students were struggling with. It also made for a colorful booklet 🙂

These stations were great! They weren’t the typical stations where students rotated from table to table to switch problems, but I think they really enjoyed getting up to check their answers and grab the next problem. I liked having  them work with a partner because they wouldn’t move on to the next proof until both of them understood it.  Although this required a lot of prep, I had to do very little in class. Students were extremely very self-directed and only called me over to ask specific questions. These were questions that they were not able to figure out from their notes the day before. Once students started finishing up and started helping their peers this also decreased my involvement with my students.  By having the answers in the folders the question of “is this right?!” was completed eliminated. This gave me time to walk around and answer essential questions and figure out which students were struggling.

I LOVED using folders for stations. I’ve had students in Algebra 1 make their own stations with folders and worked beautifully. Having a problem on the front of the folder and the answers and work on the inside eliminate the teachers work of having to discuss every single problem. I also liked the folders for stations because it gave students instant feedback and a created a place to keep the papers for each problem.  If you do math stations of any kind I highly recommend using folders! The classroom felt so alive, students could work at their own pace, receive instant feedback, and ask questions!

IMG_6165 IMG_6166 IMG_6168 IMG_6169 IMG_6171 IMG_6173 IMG_6175 IMG_6176 IMG_6177

Using Manilla Folders to increase classroom engagement

One day I was sitting at my desk trying to figure out a way to keep my students engaged in class. I wanted students to be able to work through multiple problems and see multiple examples at their own pace. This is when I saw my box of manilla folders.

I first used the folders for an activity in Geometry where my students discovered the converse, inverse, and contrapositive.  Each pair of students worked on the activity together on the manilla folder, and at the end of class they were passed around. Students were able to see multiple examples and figure out the patterns of converse, inverse, and contrapositive without having to do multiple problems.

I next decided to use these folders in my algebra 1 class for teaching word problems. This particular class has A LOT of energy. It’s hard to get them to focus and take notes. I’ve been trying to figure out a way to have them practice word problems (perimeter, consecutive numbers, uniform motion). Students already filled in notes with notes with me and had examples of every type of word problem. Instead of giving students multiple problems to practice, I broke the class into partners and gave each group a word problem. It was each group’s job to complete the word problem and call me over when they finished. Once a group completed the problem correctly they had to copy their problem onto the manilla folder. On the front of the folder, they had to write the word problem. On the inside of the folder, they had to draw a chart (if necessary) and show their algebraic work. They also had to write their answer to the question out in complete sentences.   Students finished at different rates so this activity gave me plenty of time to walk around and help students and check for understanding.

IMG_6112 IMG_6114

For homework that evening I had my students do the same thing, but this time they had were given a specific type of word problem and they had to create and solve their own problem. I wrote down the different types of problems on slips of paper and put them in the cup. Students got to reach into the cup to pick the problem they had for homework. This added a sense of excitement for getting the homework that night. I had students send me pictures of their problem before they copied it to the folder.

IMG_6118 IMG_6121

In class the next day, students passed around the folders from their homework and from class the days before. The problems were on the front of the folder and the answers were on the inside. This was great because students were able to practice a variety of problems that they SOLVED and CREATED and were able to check their work instantly. This activity freed me up to be able to answer questions without the hassle of checking if every student had the right answer. This also gave my students the autonomy to create their own problems, decorate the folders, and work at their own pace. This activity took a little more time than just giving students a worksheet, but it was definitely worth it.  A worksheet would only keep this class engaged for a quarter of the time, but using folders kept them engaged the entire class.

IMG_6157 IMG_6156  IMG_6153 IMG_6158