Functions are always fun to teach in Algebra 1. I’ve seen different function machines used to explain functions and the idea that every input has exactly one output. I LOVED Sarah Hagan’s unit on functions. I used a lot of her worksheets when I taught Math 1 last year. I love that she had an actual function machine that changed the inputs into outputs. I wanted to create something that was interactive for my very energetic students to help them understand functions. I decided that I wanted to create a life-size function machine for my students to go through. However, we didn’t use the function machine until day 2 of functions!
Day 1 (50 min)
I created a Peardeck presentation to introduce relations and functions. I started by using the Fryer Model to define a relation. I actually took a picture of my Fryer Model and discussed it, instead of having my students fill it out. On Peardeck, students receive takeaways from the lecture, so my students have my model in their google drive. After discussing relations, I asked my students to give me examples of a relations using ordered pairs. We then did the same thing for defining a function. Students then gave me examples through peardeck of functions and explained the difference between a function and a relation. We practiced function mapping using x and y coordinates and also inputs and outputs.
Next, we moved into our discussion of domain and range. I used Sarah’s mnemonic device DIXROY with my students. DIX: Domain, Inputs, X-Coordinates. ROY: Range, Outputs, Y-Coordinates. My students found that DIXROY was funny to say, so whenever I would say it they’d all laugh We will see how well it well help them remember everything though!!
Day 2 (95 min)
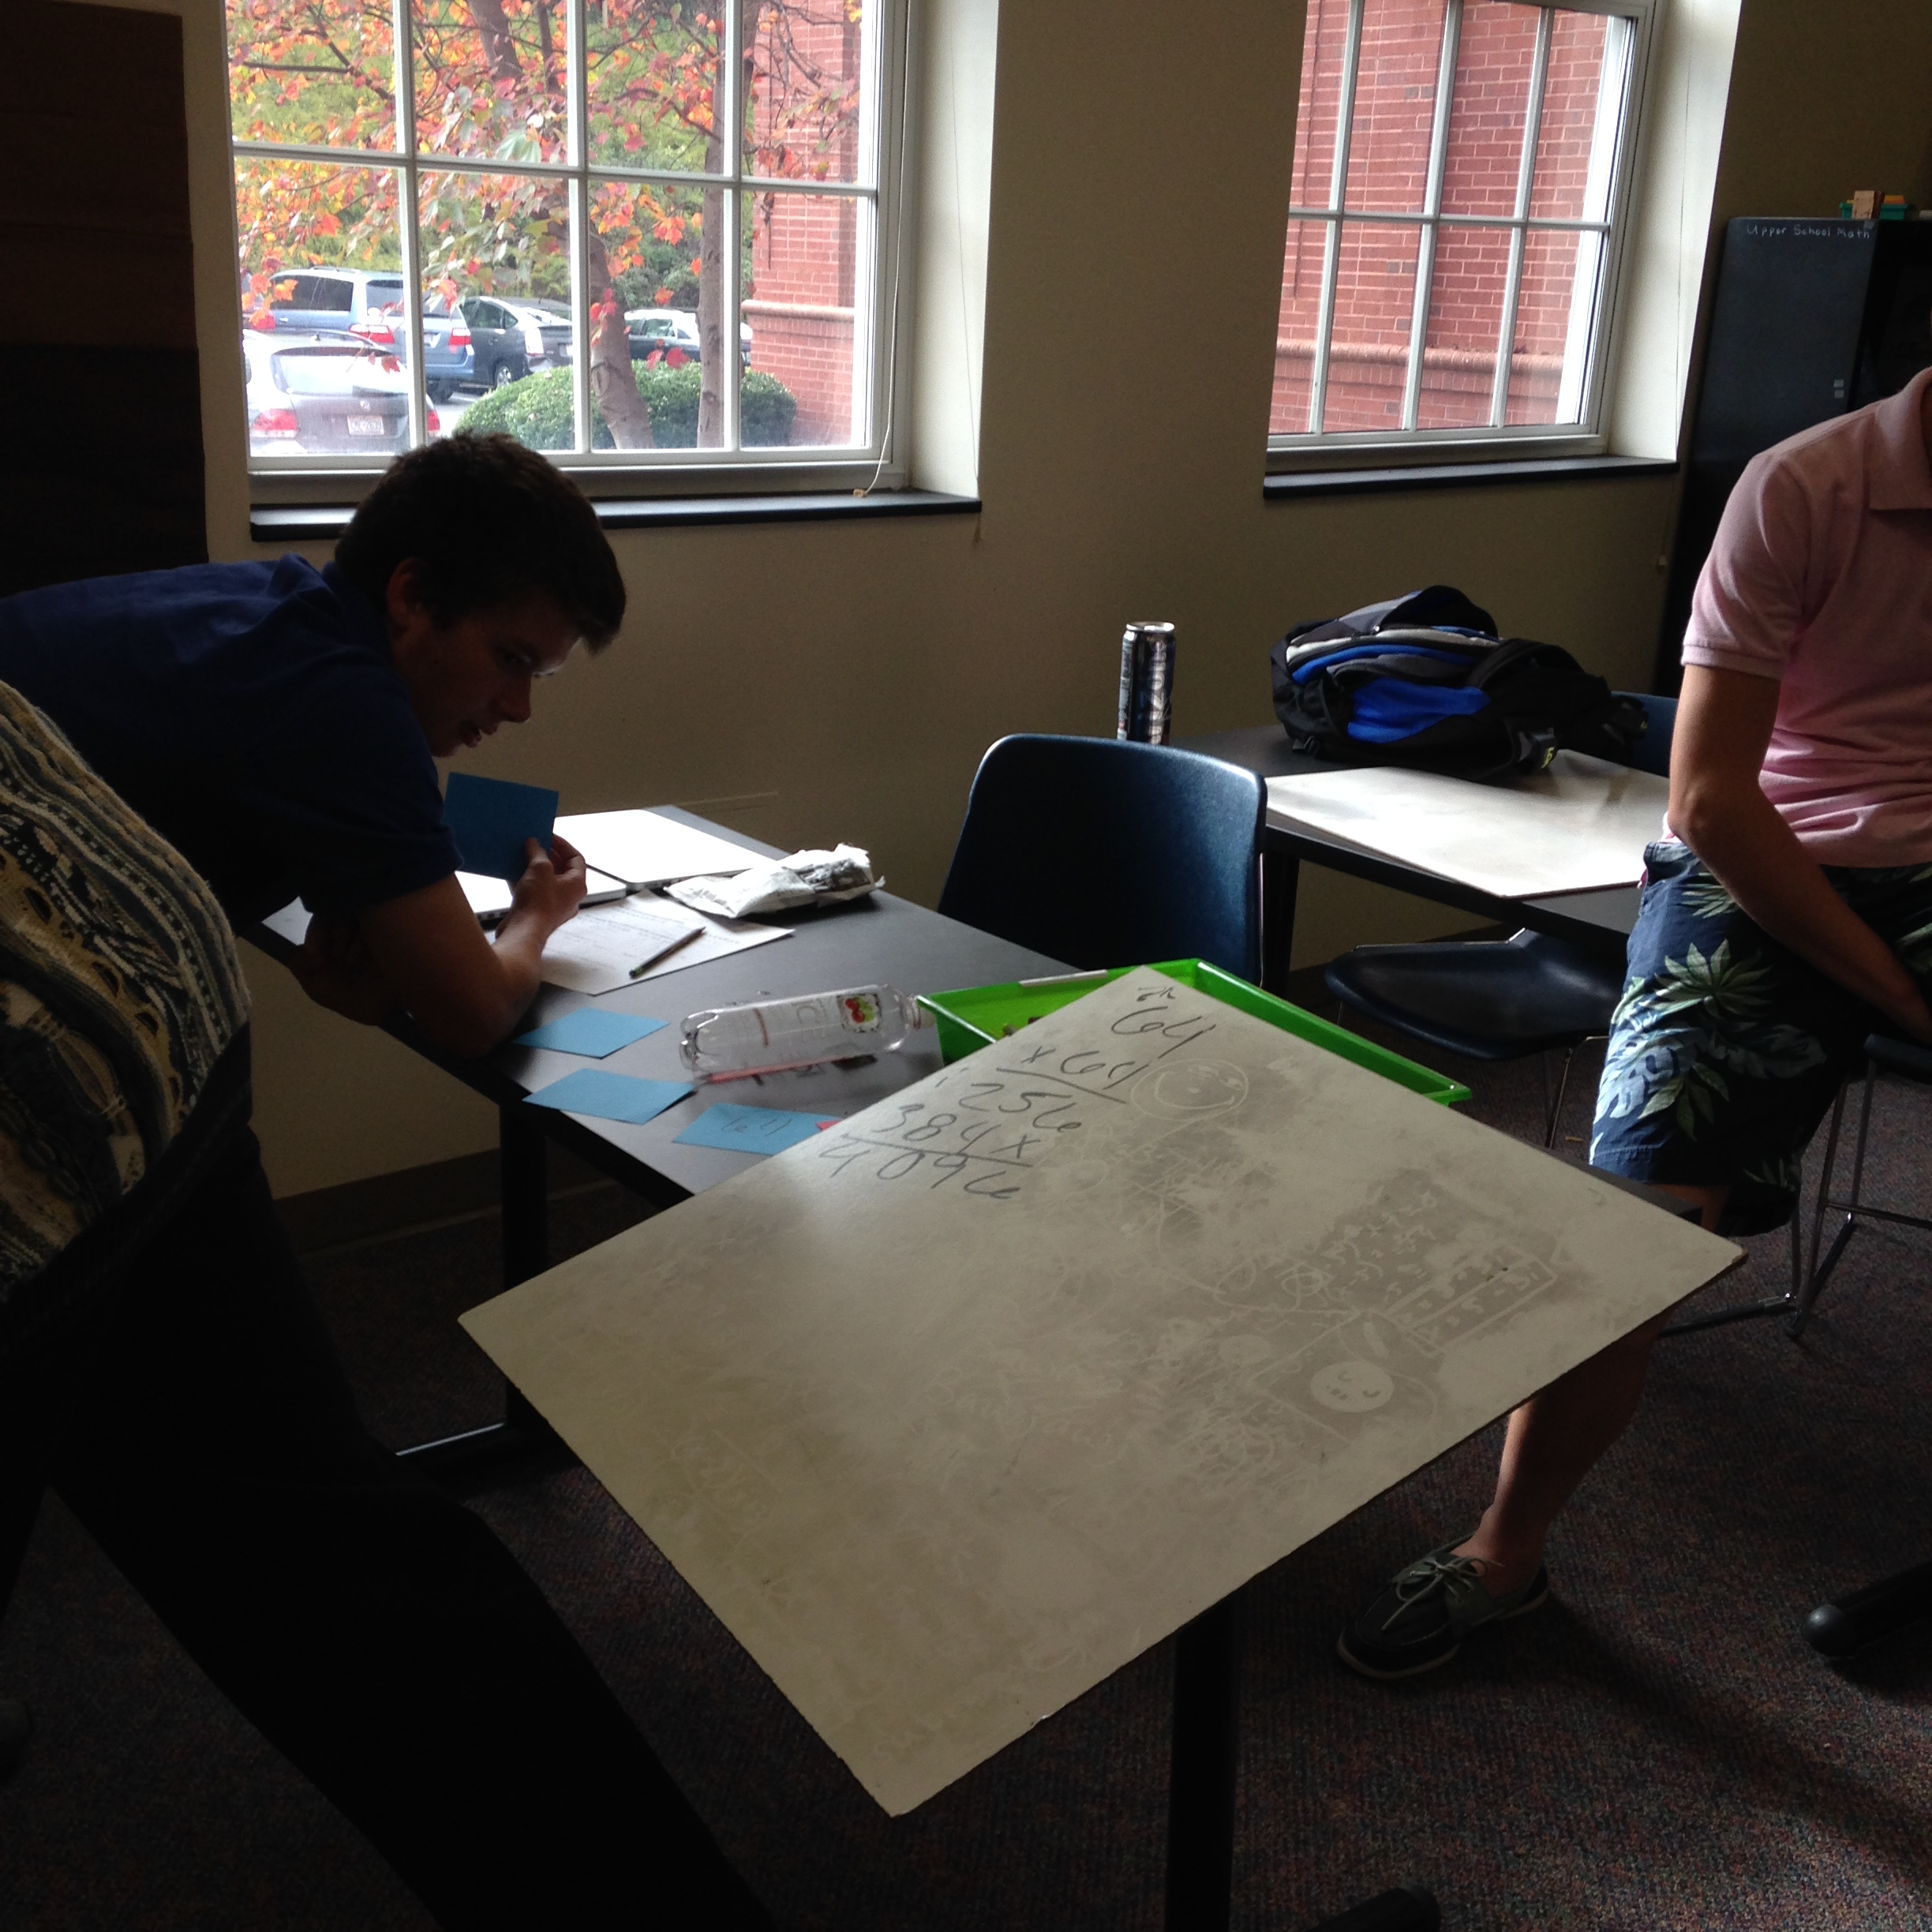
I started day two out with vertical whiteboarding. I have 11 students in my algebra 1 class, and they each got in groups of two or three and stood by the white board. Each group only had one marker. On the board I had a list of ordered pairs. My students had to identify the domain and range of the ordered pairs and state if it were a function or not. Because each group only had one marker, the group had to work together to come up with an answer. It seemed as though most of my students retained the information from the class before.


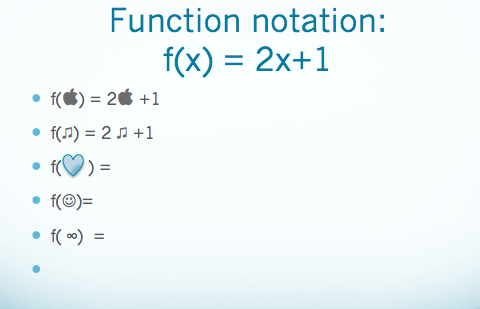
Next I introduced function notation. I started by giving my students a function, but writing it as y= 3x +2. Still on their whiteboards, I had students solve for y if x= 2, x= 5, x= 10 ect. I then introduced function notation… first with an example using x and then we used symbols (hearts, smiley faces, apples). After showing a few examples, students worked through the functions using symbols on the whiteboards. It wasn’t until after the symbols that we practiced function notation with numbers.
My students are extremely rambunctious and sometimes it’s hard to get them to focus. Vertical white boarding keeps them focused and constantly working. I can also see everyone’s work from the middle of the room which is AMAZING. . Thanks for the great idea Anna!!
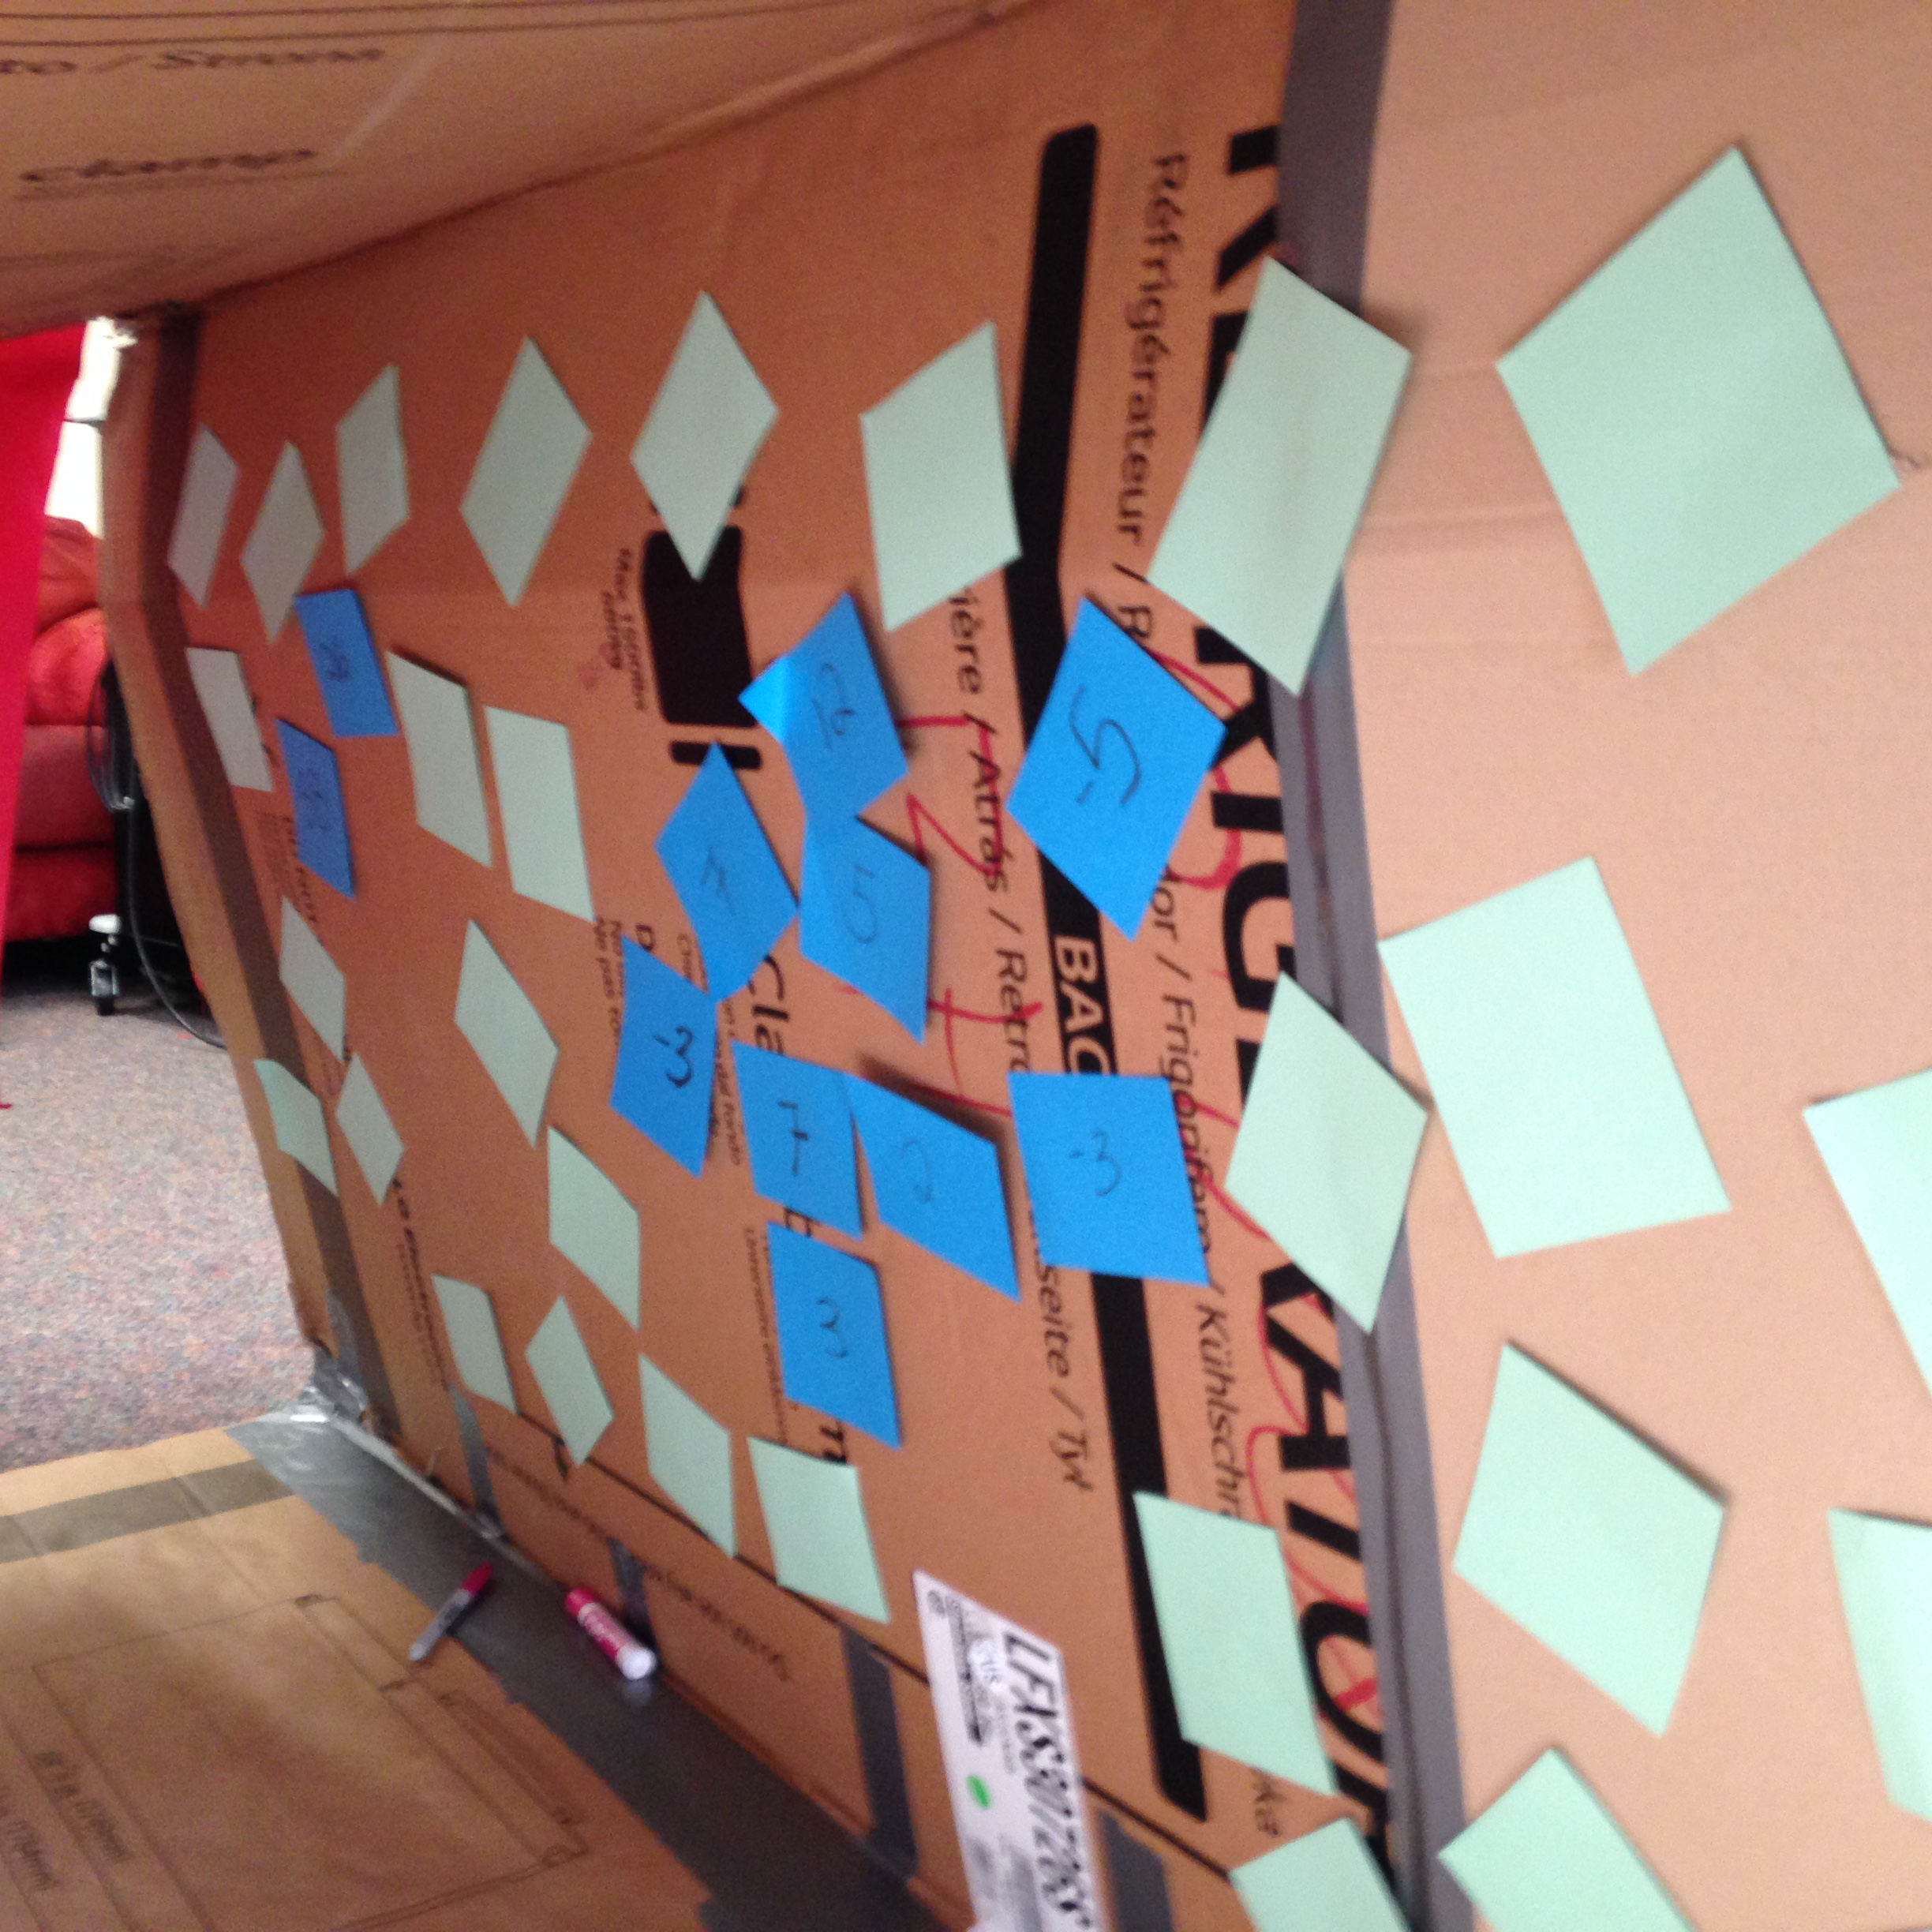
Now it was finally time to bring out the FUNCTION MACHINE!!!!!!
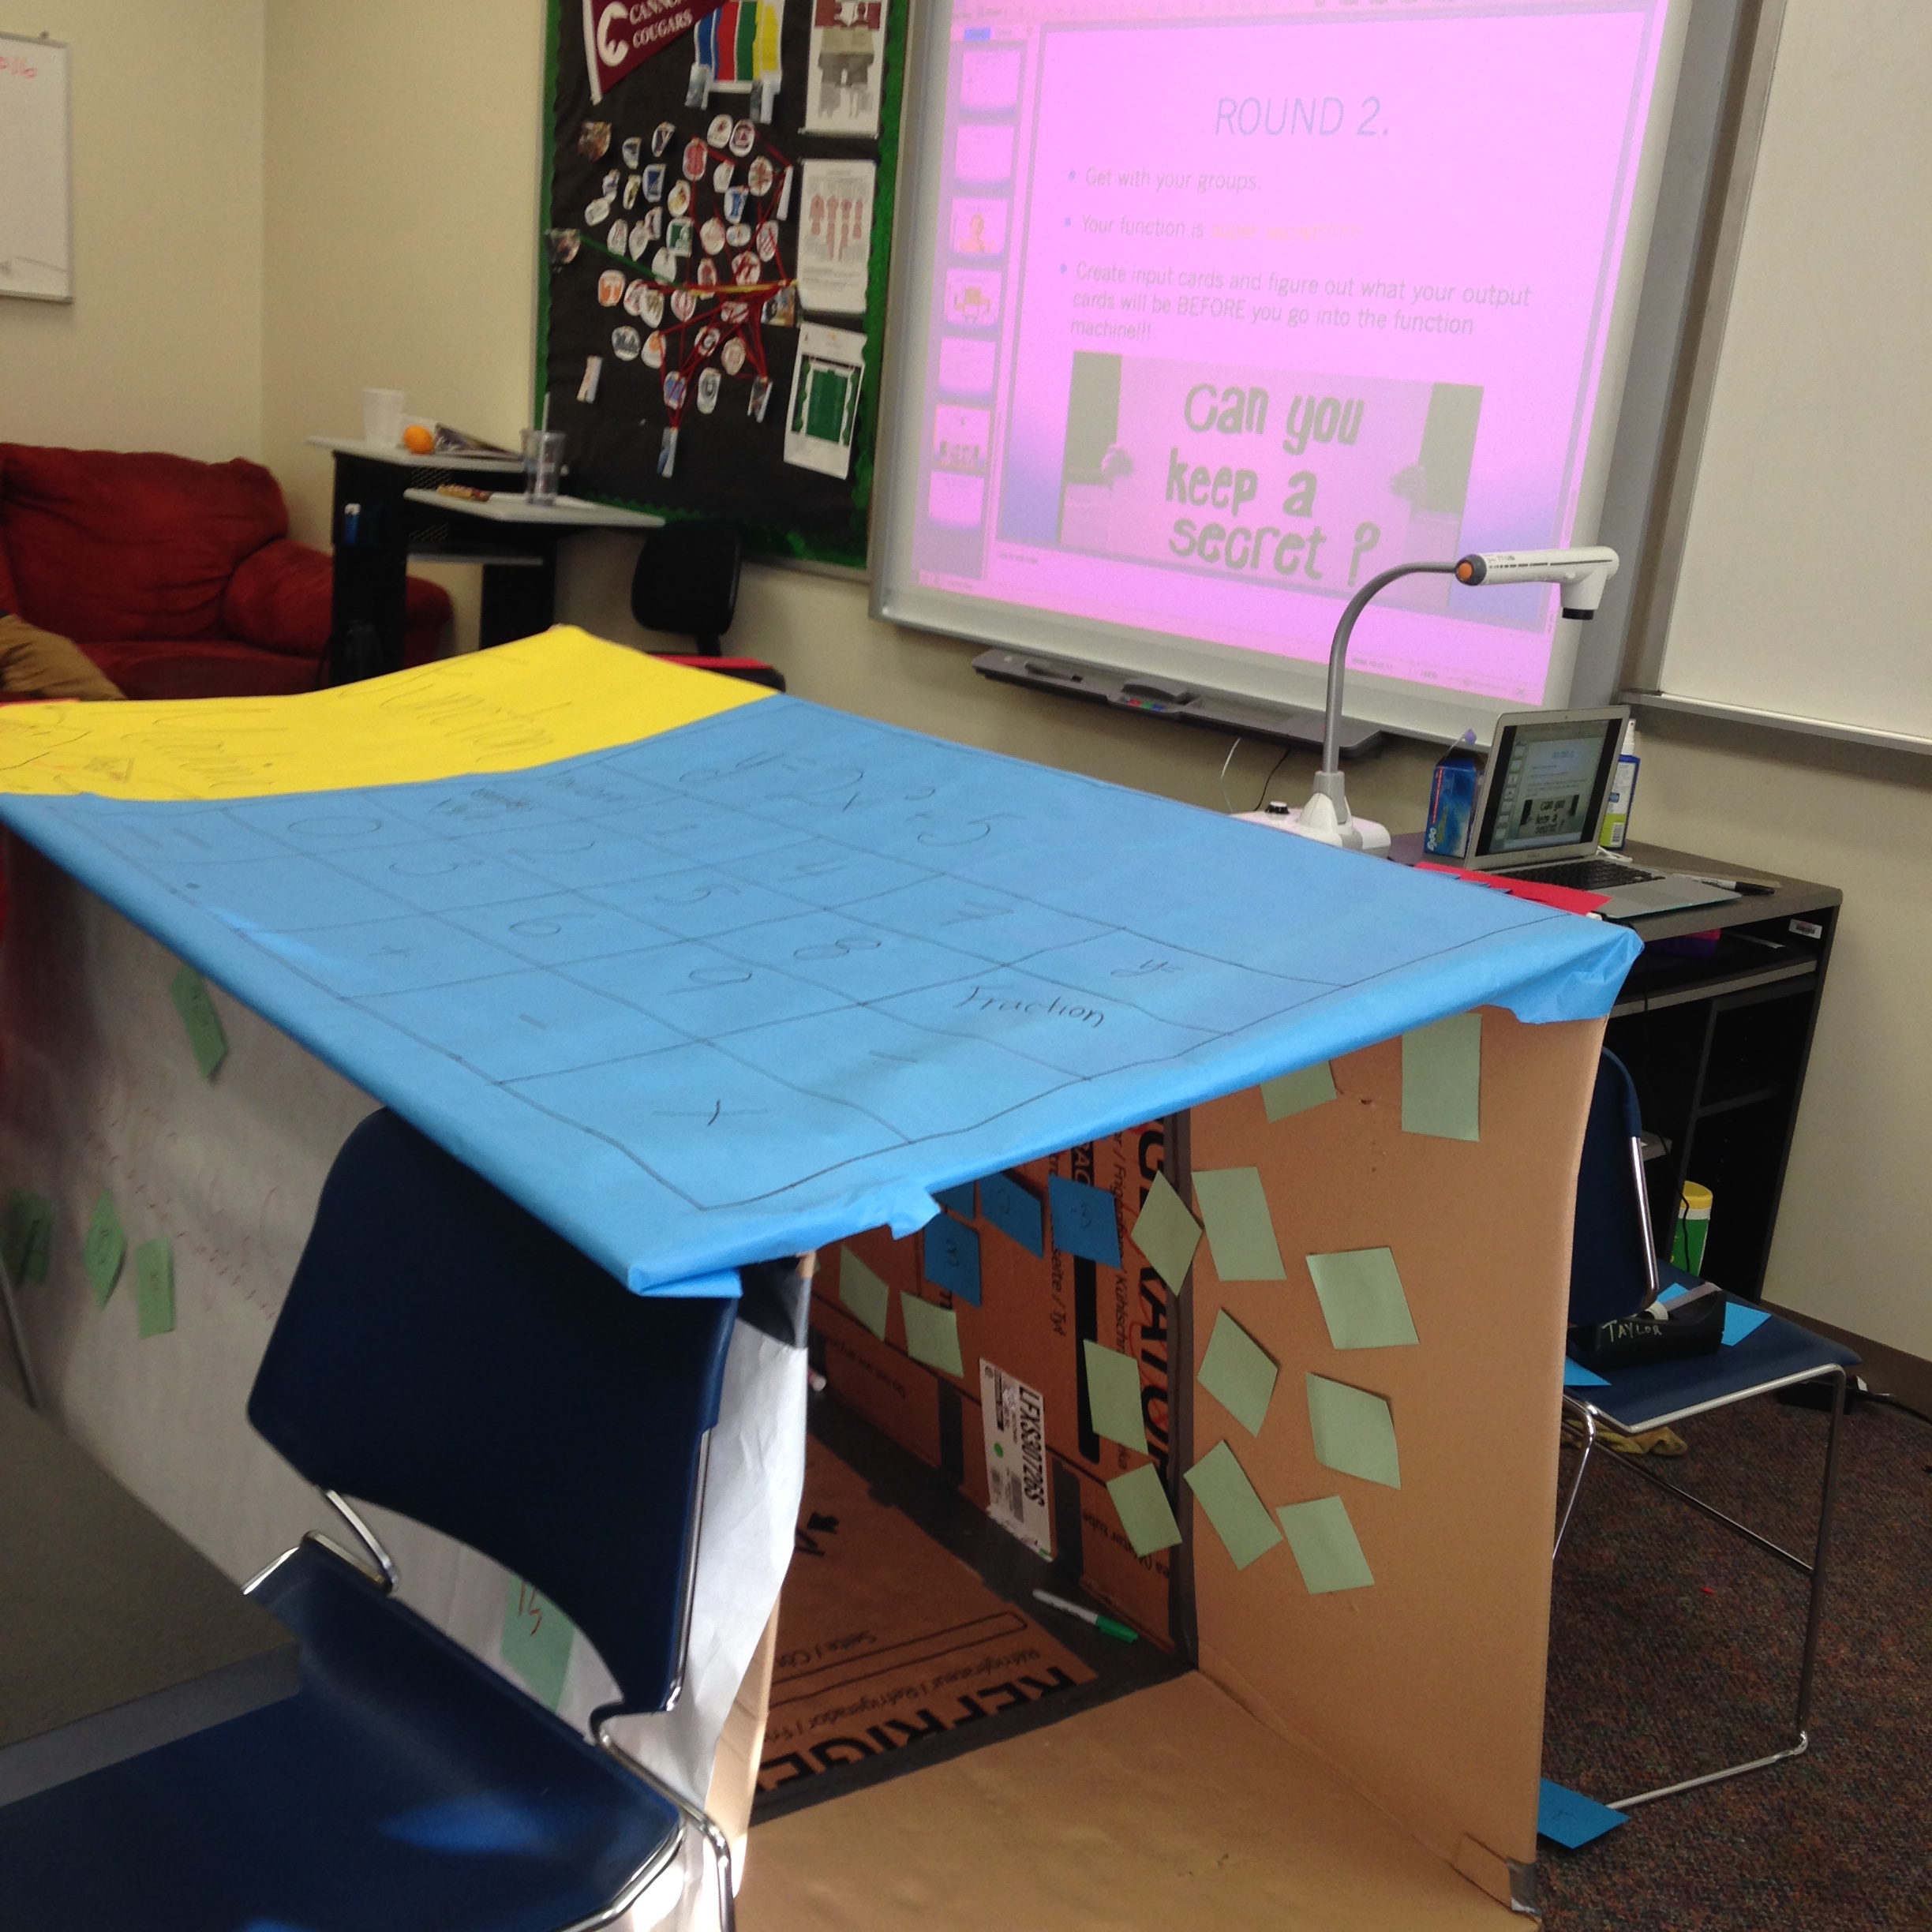
I made my function machine out of a refridgerater box from Lowes and then decorated it! On the top of the machine I had a “function calculator”. I really wanted my students to understand that there is exactly one output for everyone input. Taped inside the box were blank square green cards and markers. These green cards were the output cards. I had students break out into their same groups and each group recieved a function. Each group had a chance going through the function machine with their function. When they were going into the machine I gave them a blue “input card” with a number on it. Insde the machine they had to figure out the output and write it on the green card. They left their input card inside the box and brought their output card out with them. I had the other students try and guess what the output would be.


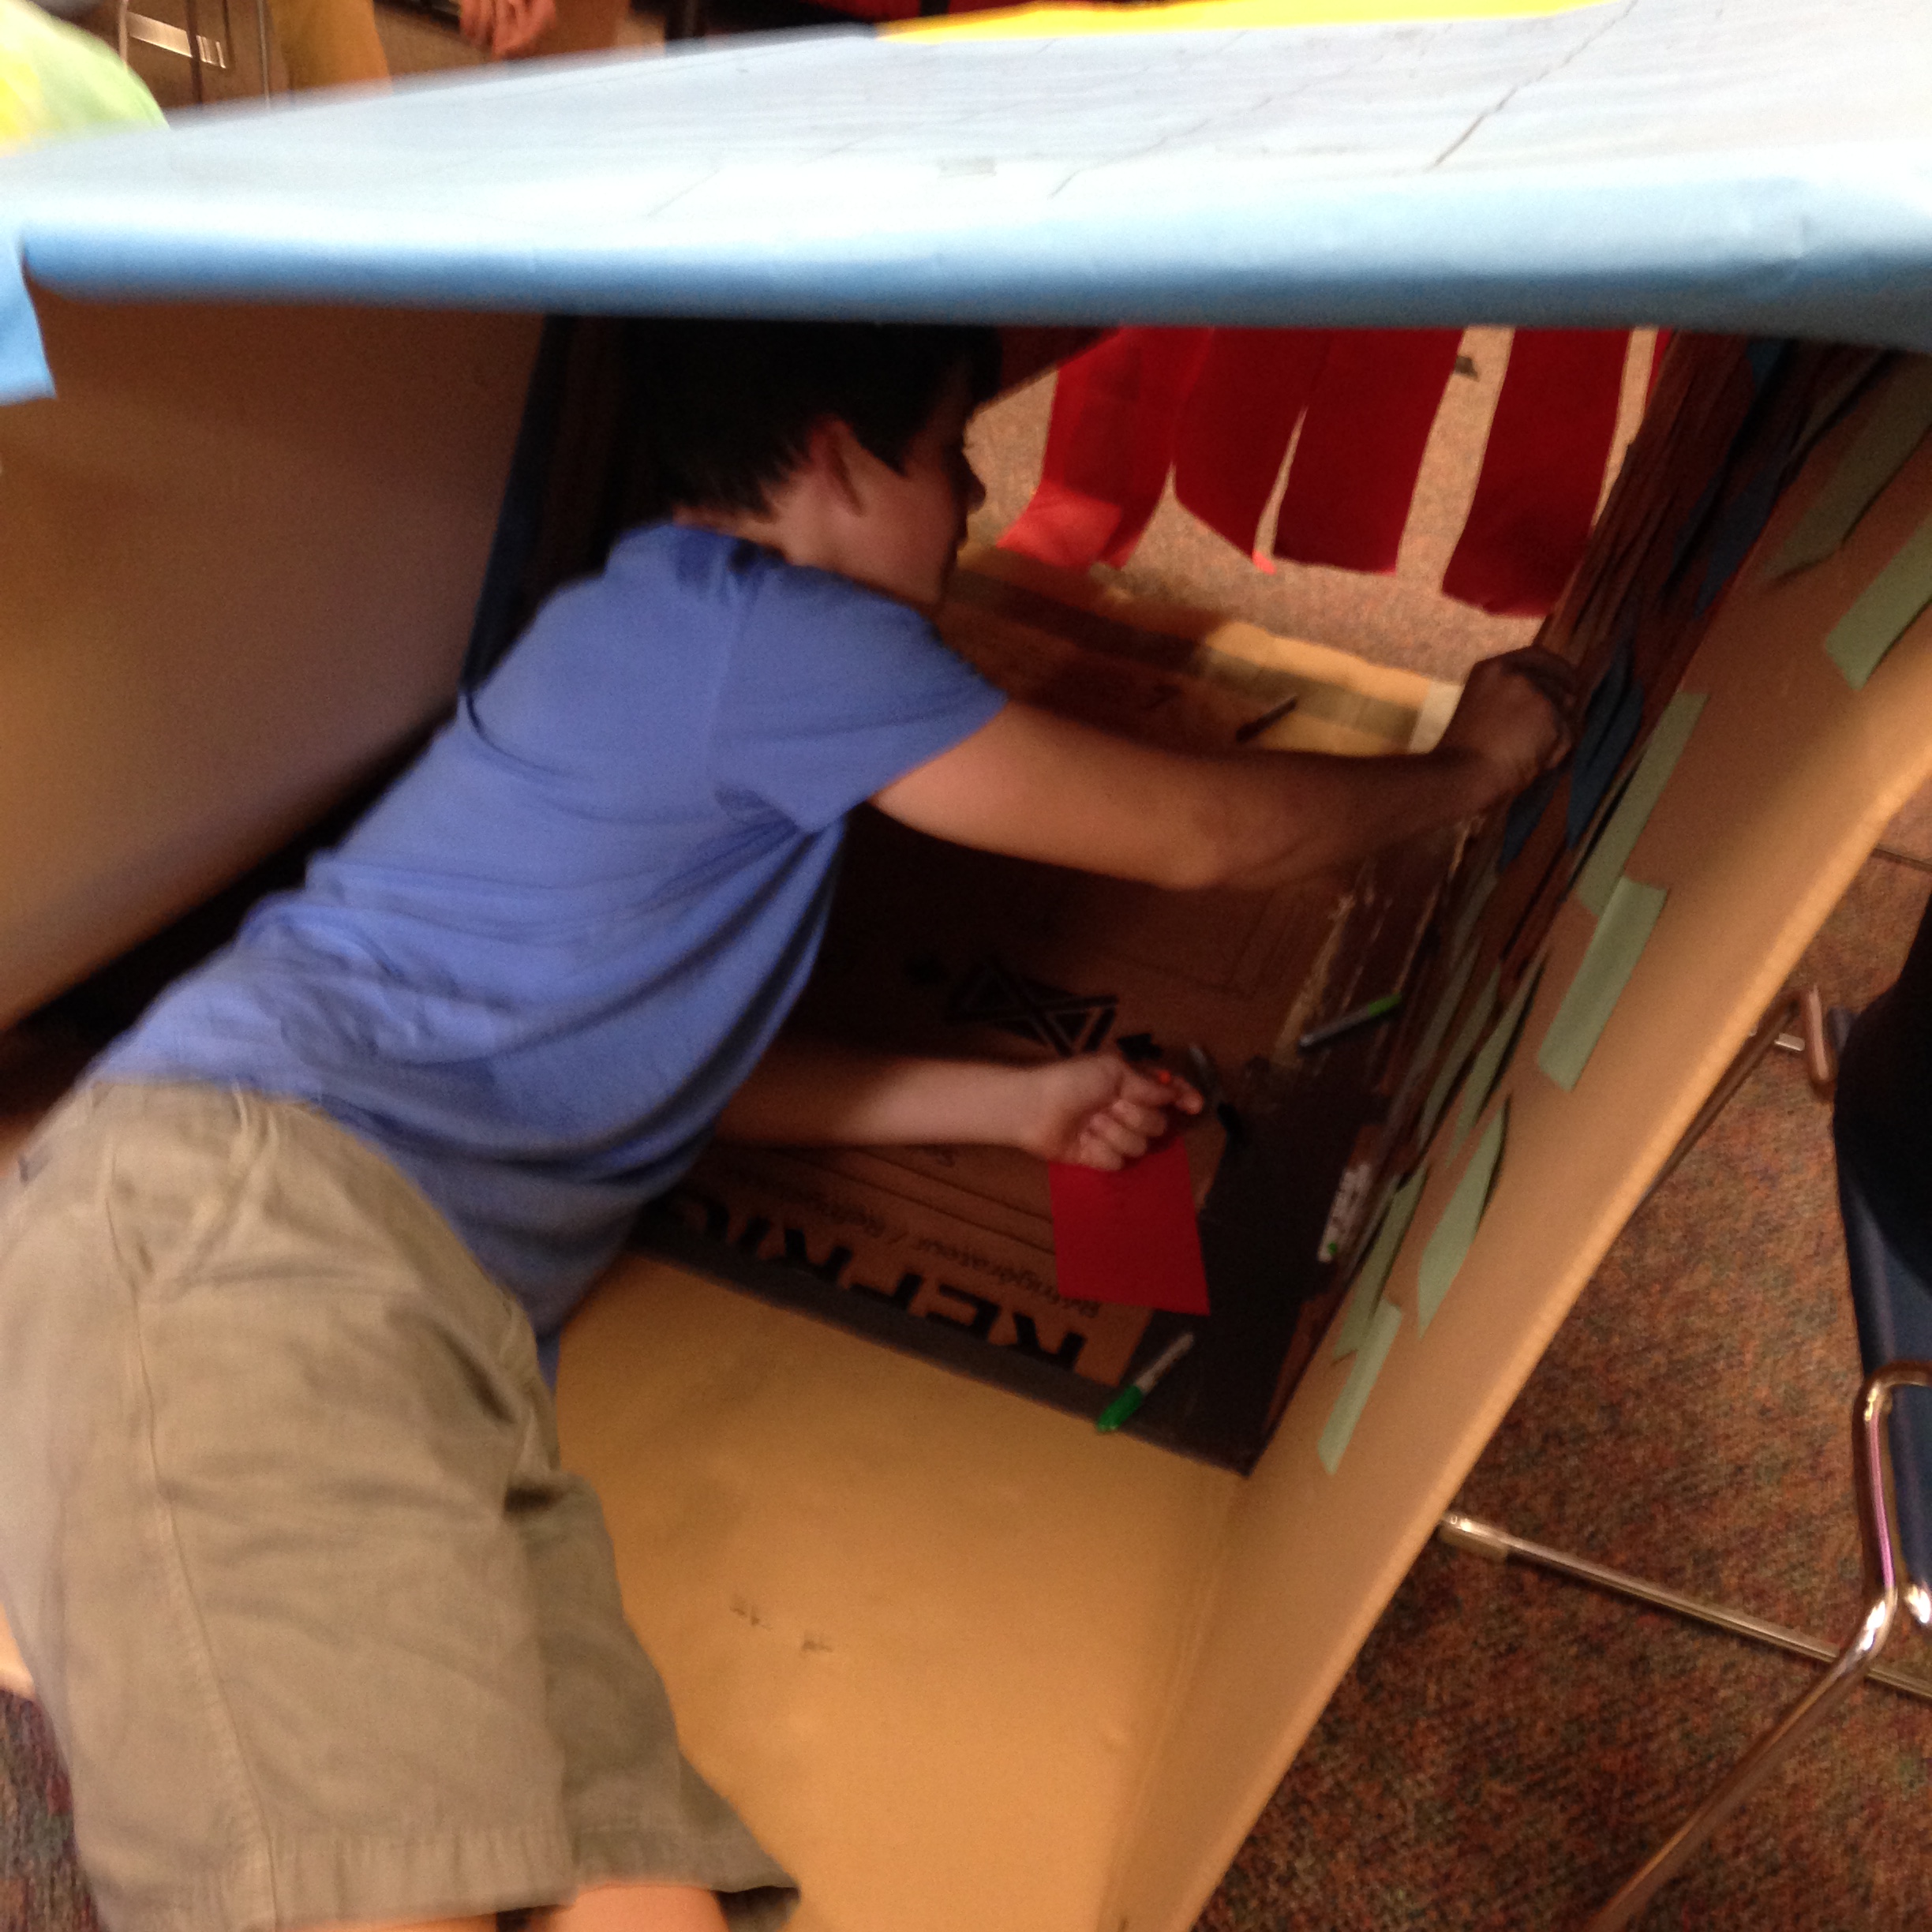
After every group went through the machine, I gave each group a secret function. I told them that only their group memebers were allowed to see the function. Each group had to come up with inputs and outputs for their functions. They then took turns going through the function machine with inputs and coming out with their outputs. We kept a table of the inputs and outputs on the board. The rest of the class then had to guess the pattern to figure out the function.

This was a great activity. My students were engaged the entire time and really started to understand functions. Next time, I plan to make the functions into a type of necklace that each student can wear so they feel like they are the actual function. I may also create a worksheet that students can fill in during the activity.
The next day was spent figuring out patterns and function rules using an online function machine. This site was great. Because my students already played around with the life sizse machine the day before, they understood this machine and looking for patterns right away. After working the machine for about 20 minutes, we had a great discussion about finding the function rules.
Overall, this unit has gone pretty well. The life-size function machine was a lot of fun!!! I really liked that my students went in with an input and then had to figure output while inside the machine. Let me know if you have any questions!!! More pictures of the function machine are below!!